This guide provides all the essential information on using the Drag & Drop invoice designer in Easy Order Manager+.
Activating the Drag & Drop Invoice Template
Step 1: Log in to your Shopify account.
Step 2: Navigate to the Apps section of your Shopify store and select Easy Order Manager+. You will be automatically redirected to the app dashboard.

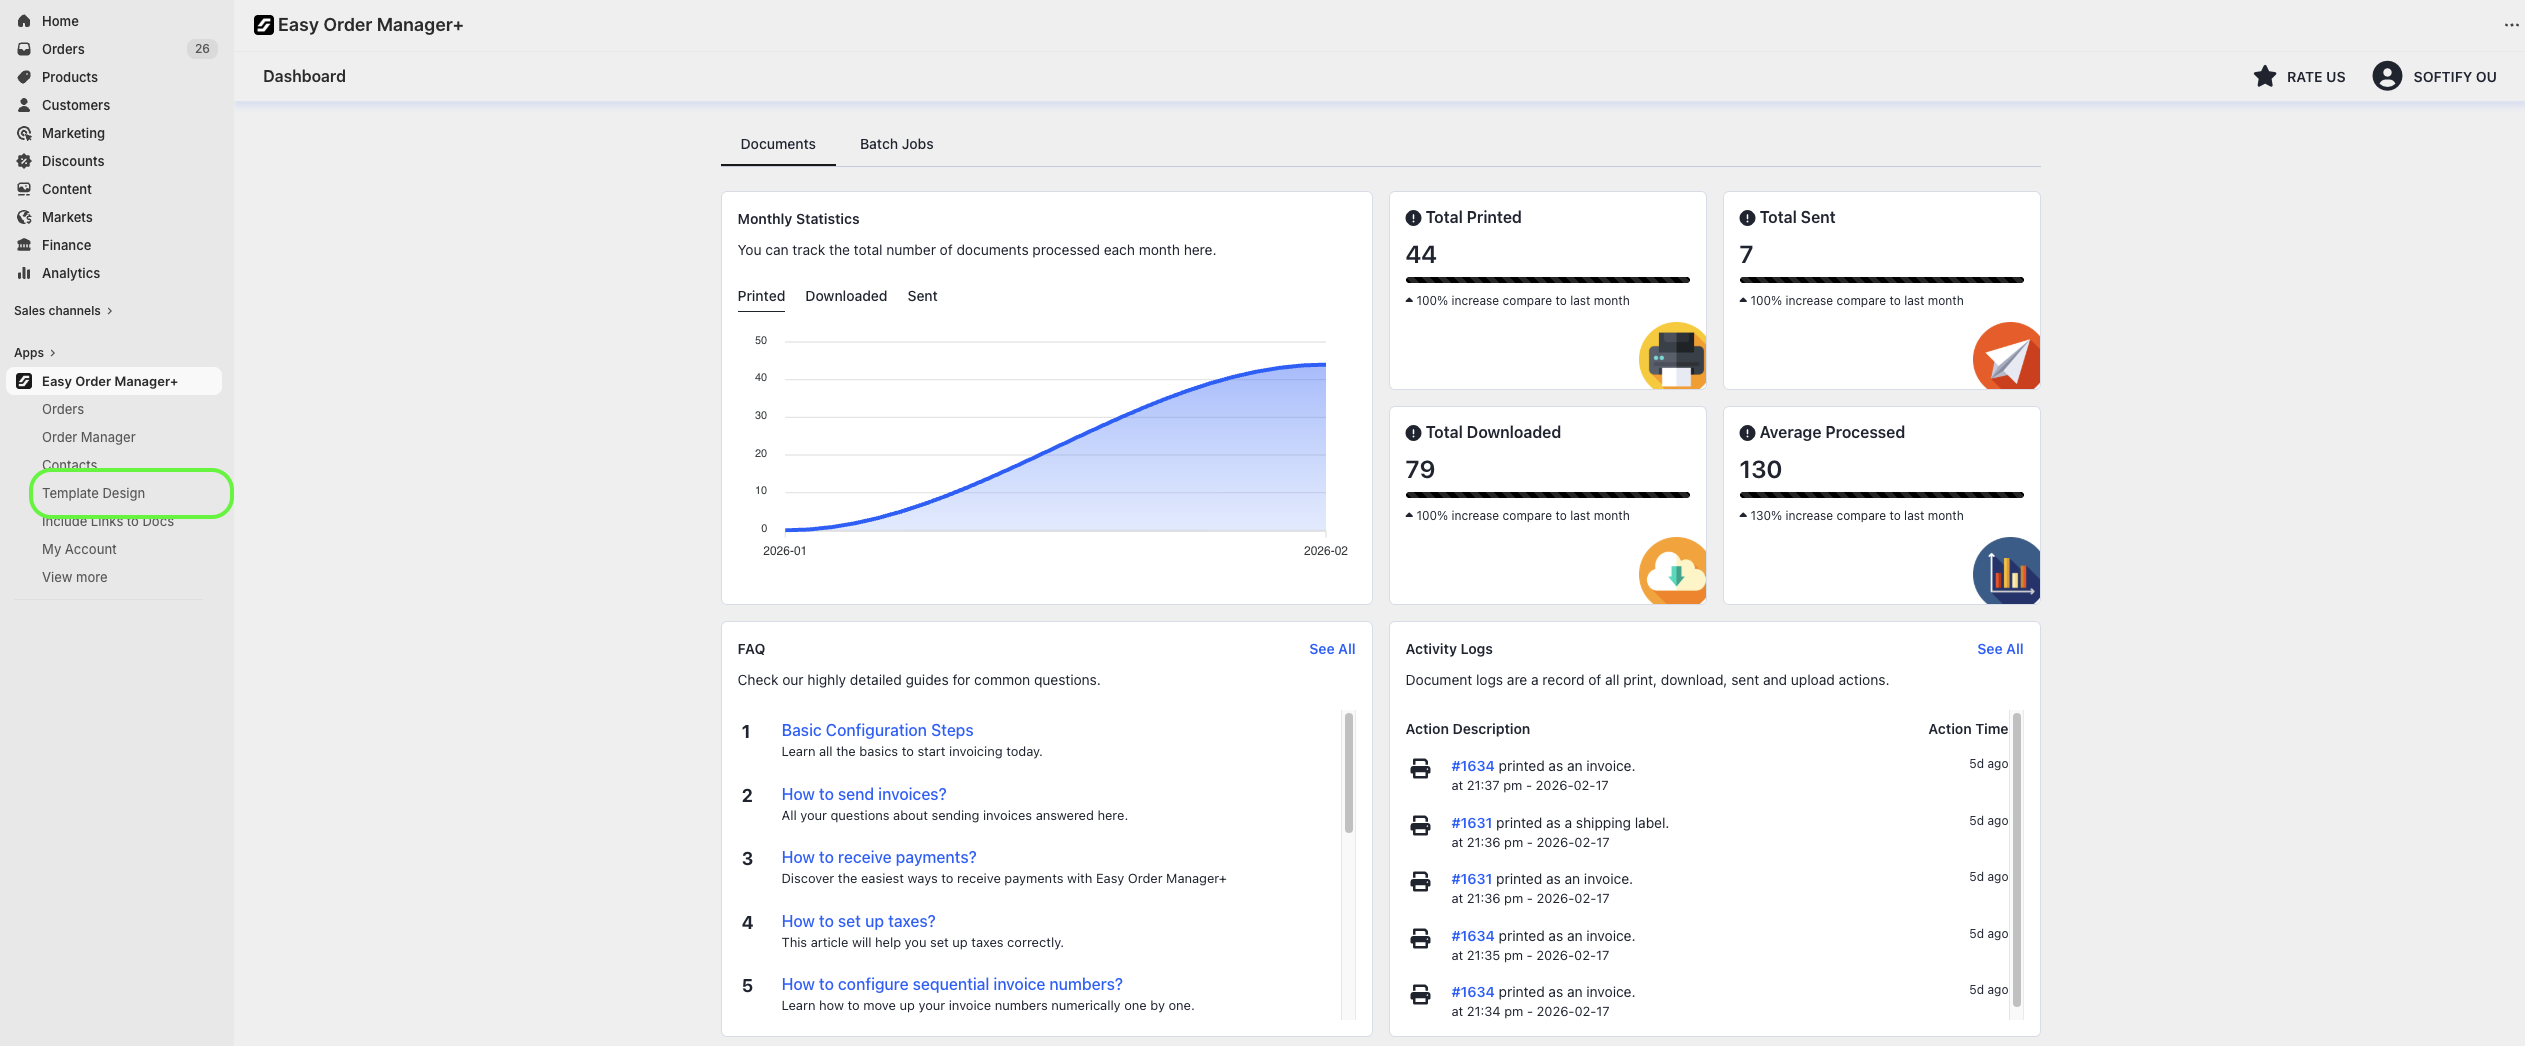
Step 3: From the dashboard, click on Template Design.
Step 4: Click the Change Theme button.

Step 5: Select the Drag & Drop template.

Step 6: Once you’ve made your selection, click the Save button at the top center of the screen to apply your changes.
![]()
Customizing the Drag & Drop Template
Once the Drag & Drop template is selected, you can fully customize it within the Template Design section. There are two main areas to configure:

In the General section, there are four sections you can customize. These are Design, Localization, Options, and Social Media.
Design: You have five sections, and the following options you can customize.
A) Document Settings
- Document Title: You can change the document title here.
- Document Title Font Size: You can change the font size of the document title here.
B) Branding & Layout
- Font Name: You can change the template’s font settings here.
C) Colors & Typography
- Text Color: You can change the text color here.
- Text Font Size: You can change the text size here.
- Display Caption: You can show or hide the display captions here.
- Caption Font Color: You can change the font color of captions here.
- Caption Font Size: You can change the font size of captions here.
- Line Color: You can change the line color of the line items here.
D) Product Display
- Variant Options: You can change the display of the variant options here. You can select from; Single Line, Multiple Line, or Don’t Display.
- Product Images: You can change the size of product images here. You can select from; Small, Medium, Large, or Don’t Display.
- Display Product Discounted Price: You can show or hide the discount price here.
E) Pricing & Refunds
- Display Product Discounted Price: You can show or hide the discounted prices here.
- Show Refunds: You can show or hide the refunds here.
- Line Item Outline Color: When you activate the “Show Refunds” option, you can select the “Line Item Outline” color here.

Localization: You have four sections, and the following options you can customize.
A) Document Settings
- Page Format: You can adjust the document’s page size here. You can select from; A4 Paper, A5 Paper, A6 Paper, or Custom Paper which allows you to adjust Width and Height (in cm).
- Document File Extension: You can change the extension of the document file. By default, it is set to PDF, if you prefer, you can select HTML.
- Document File Name: You can customize the name of the invoice file.
B) Currency & Price
- Currency Symbol: You can show or hide the currency symbol here.
- Currency Format: You can change the currency format displayed on the document here.
- Digits After Price Separator: Adjust the digits printed after the price separator.
- Currency Conversion Method: You can select the currency converter here. You can get more information about multi-currency invoices by clicking here.
C) Address & Measurement
- Address Format: You can change the address format here.
- Weight Unit: You can select the preferred unit for product weight (default: kg). Options include grams (g), pounds (lb), or ounces (oz).
D) Date & Time
- Date Format: You can change the date format here.
- Time Format: You can change the time format here.

Options: You have three sections, and the following options you can customize.
A) Document Numbering
- Display Custom Invoice Number: You can show or hide the Custom Invoice Number that you set in the Prefix & Number Settings section.
B) Document QR Code & Barcode
- Product Barcode Type: You can change how the product barcode is shown.
- Order Barcode Field Name: You can change the order barcode from the ID to Name (Shopify Order Number)
- QR Code Data (Store URL / Plain Text): You can change the QR Code URL from this field.
C) Line Item Fields
- Display Line Item Meta Fields: You can show or hide the product metafields.
- When enabled, all meta fields will be printed by default. If you prefer to display only specific meta fields, you can enter the relevant keys under Include Meta Fields.
- Similarly, use the Exclude Meta Fields field to prevent specific meta fields from appearing on your invoices.
- Display Line Item Properties: You can show or hide the product properties.
- Display Line Item Tags: You can show or hide the product tags.

Social Media: You can show or hide the social media icons here. These icons are placed horizontally.

2. Data Fields Section
This section is divided into five subcategories:
Customer Data Fields: You can customize the following options for billing, shipping, and customer details as bundled information or individually. You can only add bundled information horizontally. If you want to add individual information, you can add them horizontally or vertically.
- Bundled Items: When you add this, you can add all the information below.
- Full Name: You can add the customer’s full name.
- Address: You can add the customer’s address information.
- Phone: You can add the customer’s phone information.
- Country: You can add the customer’s country information.
- City: You can add the customer’s city information.
- Zip Code: You can add the customer’s zip code information.
- Company: You can add the customer’s company information.
- TAX ID (Billing Details Only): You can add the customer’s Tax ID information.
- Email (Customer Details Only): You can add the customer’s e-mail information.

Product Data Fields: You have four sections, and the following options you can customize.
A) Product Identifiers
- Product Title: You can add the product title.
- Product SKU: You can add the product SKU.
- Product Vendor: You can add the product vendor information.
- Product Barcode: You can add the product barcode detail.
- Product HS Code: You can add the product HS code.
B) Shipping
- Product Country of Origin: You can add the product’s country of origin.
- Product Weight: You can add the product weight information.
- Product Quantity: You can add the product quantity.
C) TAX & Pricing
- Product TAX: You can add the tax information.
- Product TAX Amount: You can add the tax amount information.
- Product TAX Excluded Unit Price: You can add the product unit price without tax.
- Product Unit Price: You can add the product unit price.
- Product TAX Excluded Total Price: You can add the product total price without tax.
- Product Total Price: You can add the product total price.
D) Additional Information
- Product Comment: You can add product comment information.
- Product Reason Code: You can add the product title.

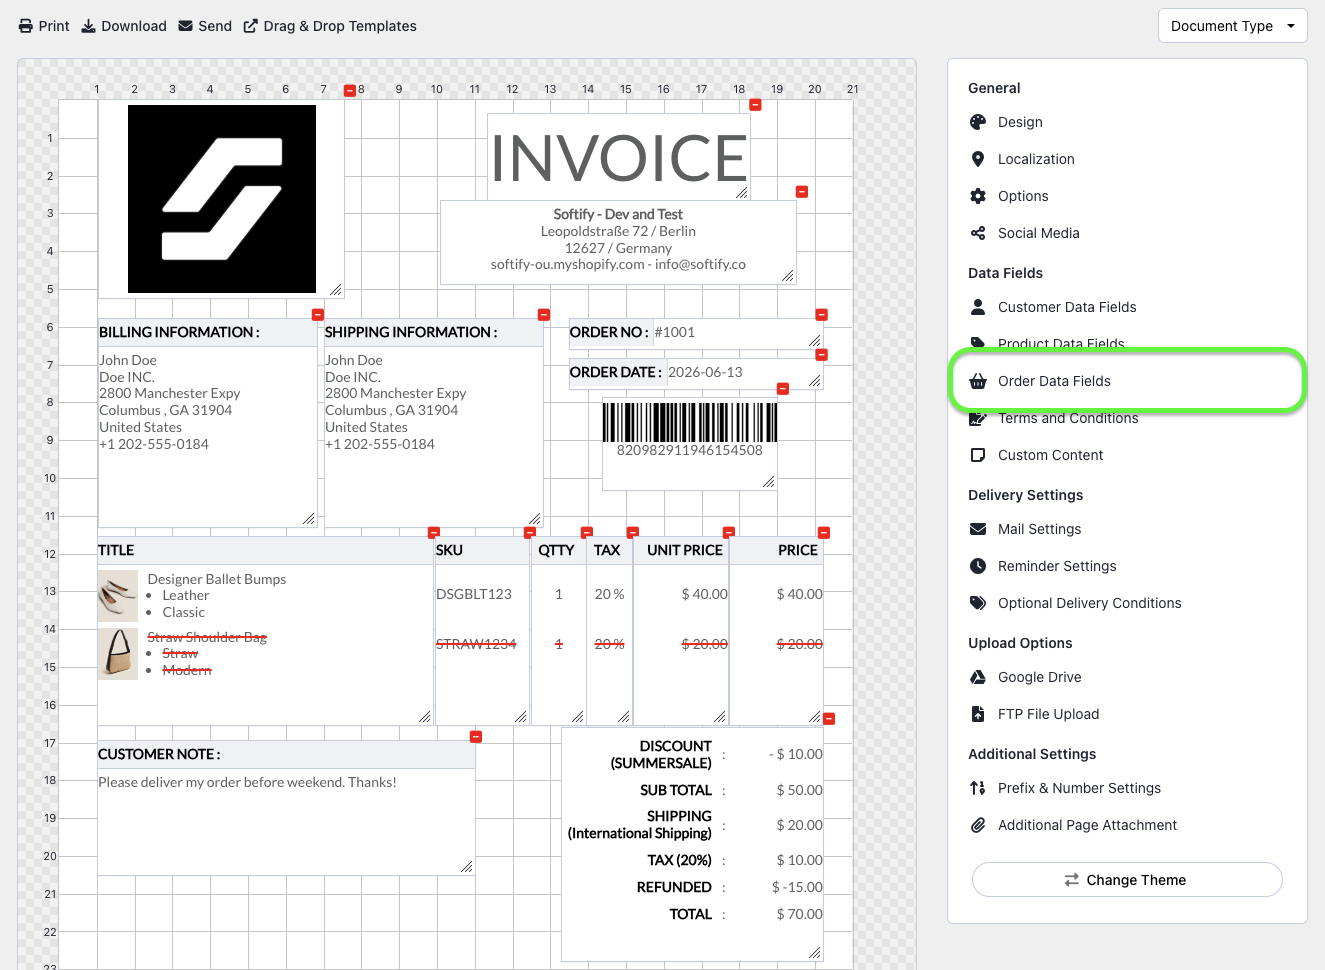
Order Data Fields: You have seven sections, and the following options you can customize.
You can add the following options horizontally or vertically. You can only add the Bundle Price Items, Barcode, and Document Title horizontally.
A) Order Details
- Document Title: You can add the order title here.
- Order Date: You can add the order date here.
- Order Note: You can add the order note here.
- Total Item Amount:
B) Document Numbering
- Order Number: You can add the order number from Shopify to the invoice here.
- Invoice Number: You can add the invoice number to the invoice here.
- Purchase Order Number: You can add the purchase order number to the invoice here.
C) Document QR Code & Barcode
- Barcode: You can add the order barcode here.
- QR Code: You can add the order QR code here.
D) Shipping Details
- Shipping Total: You can add the total shipping amount here.
- Shipping Carrier: You can add the shipping carrier information here.
- Fulfillment Date: You can add the fulfillment date here.
- Tracking Number: You can add the tracking number information here.
E) TAX Options
- Tax Amount: You can add the tax amount here.
- Tax Excluded Total Amount: You can add the tax excluded total amount here.
F) Pricing & Payment
- Total Discount: You can add the total discount amount here.
- Sub Total: You can add the subtotal amount here.
- Refunded Amount: You can add the refunded amount here.
- Total Amount: You can add the total amount here.
- Paid Amount: You can add the paid amount here.
- Amount Due: You can add the due amount here.
- Gift Card Amount: You can add the gift card amount here.
- Duties: You can add the duties here.
- Bundle Price Items: This bundle includes Discount, Sub Total, Shipping, Tax, Refunded, and Total Paid.
G) Order Metafields
- Order Metafield 1: You can add the order metafield data here.
- Order Metafield 2: You can add the order metafield data here.
- Order Metafield 3: You can add the order metafield data here.
Terms and Conditions: You can add the following options to your invoices.
- Payment Gateway: You can add the payment gateway information here.
- Credit Card Number: You can add the credit card number here.
- Payment Terms: You can add the payment terms information here.
- Issue Date: You can add the issue date here.
- Due Date: You can add the due date here.

Custom Content: You can add the following options to your invoices. You can only add these options vertically.
- Company Address: You can add and change the company address information here.
- Custom Text Area: You can add custom text here.
- Custom Text Area: You can add custom text here.
- Custom Text Area: You can add custom text here.
- Custom Images: You can add images here.

Step 8: Once you’ve made your selection, click the Save button at the top center of the screen to apply your changes.
![]()
Creating Additional Drag & Drop Templates
You can create and manage multiple Drag & Drop templates. Follow these steps:
Step A: Click Drag & Drop Templates.

Step B: Click Add Template.

You can also duplicate an existing template from the Actions menu.

Please note: Only one Drag & Drop template can be active at a time.

Need Additional Help?
If you’re still experiencing issues, feel free to reach out to our support team:
- Visit the Help Center section within your Easy Order Manager+ dashboard to create a ticket
- Or click here to email us directly.
We’re always happy to help!