This guide explains how to enable and configure multi-currency support for your invoices using Easy Order Manager+.
Easy Order Manager+ is designed to operate directly through the Shopify API. For security and data privacy reasons, we do not store any order, customer, or product data on our servers. All invoice data is generated in real time based on the information provided by Shopify.
Because of this architecture, Easy Order Manager+ does not perform currency conversions or modify order data. The app converts the latest order data received from Shopify into invoices exactly as provided.
If you require multi-currency support, currency conversion must be configured on the Shopify side, either by using Shopify’s native multi-currency functionality or a supported third-party currency conversion app.
Once your currency setup is properly configured in Shopify, follow the steps below.
Step 1: Log in to your Shopify account.
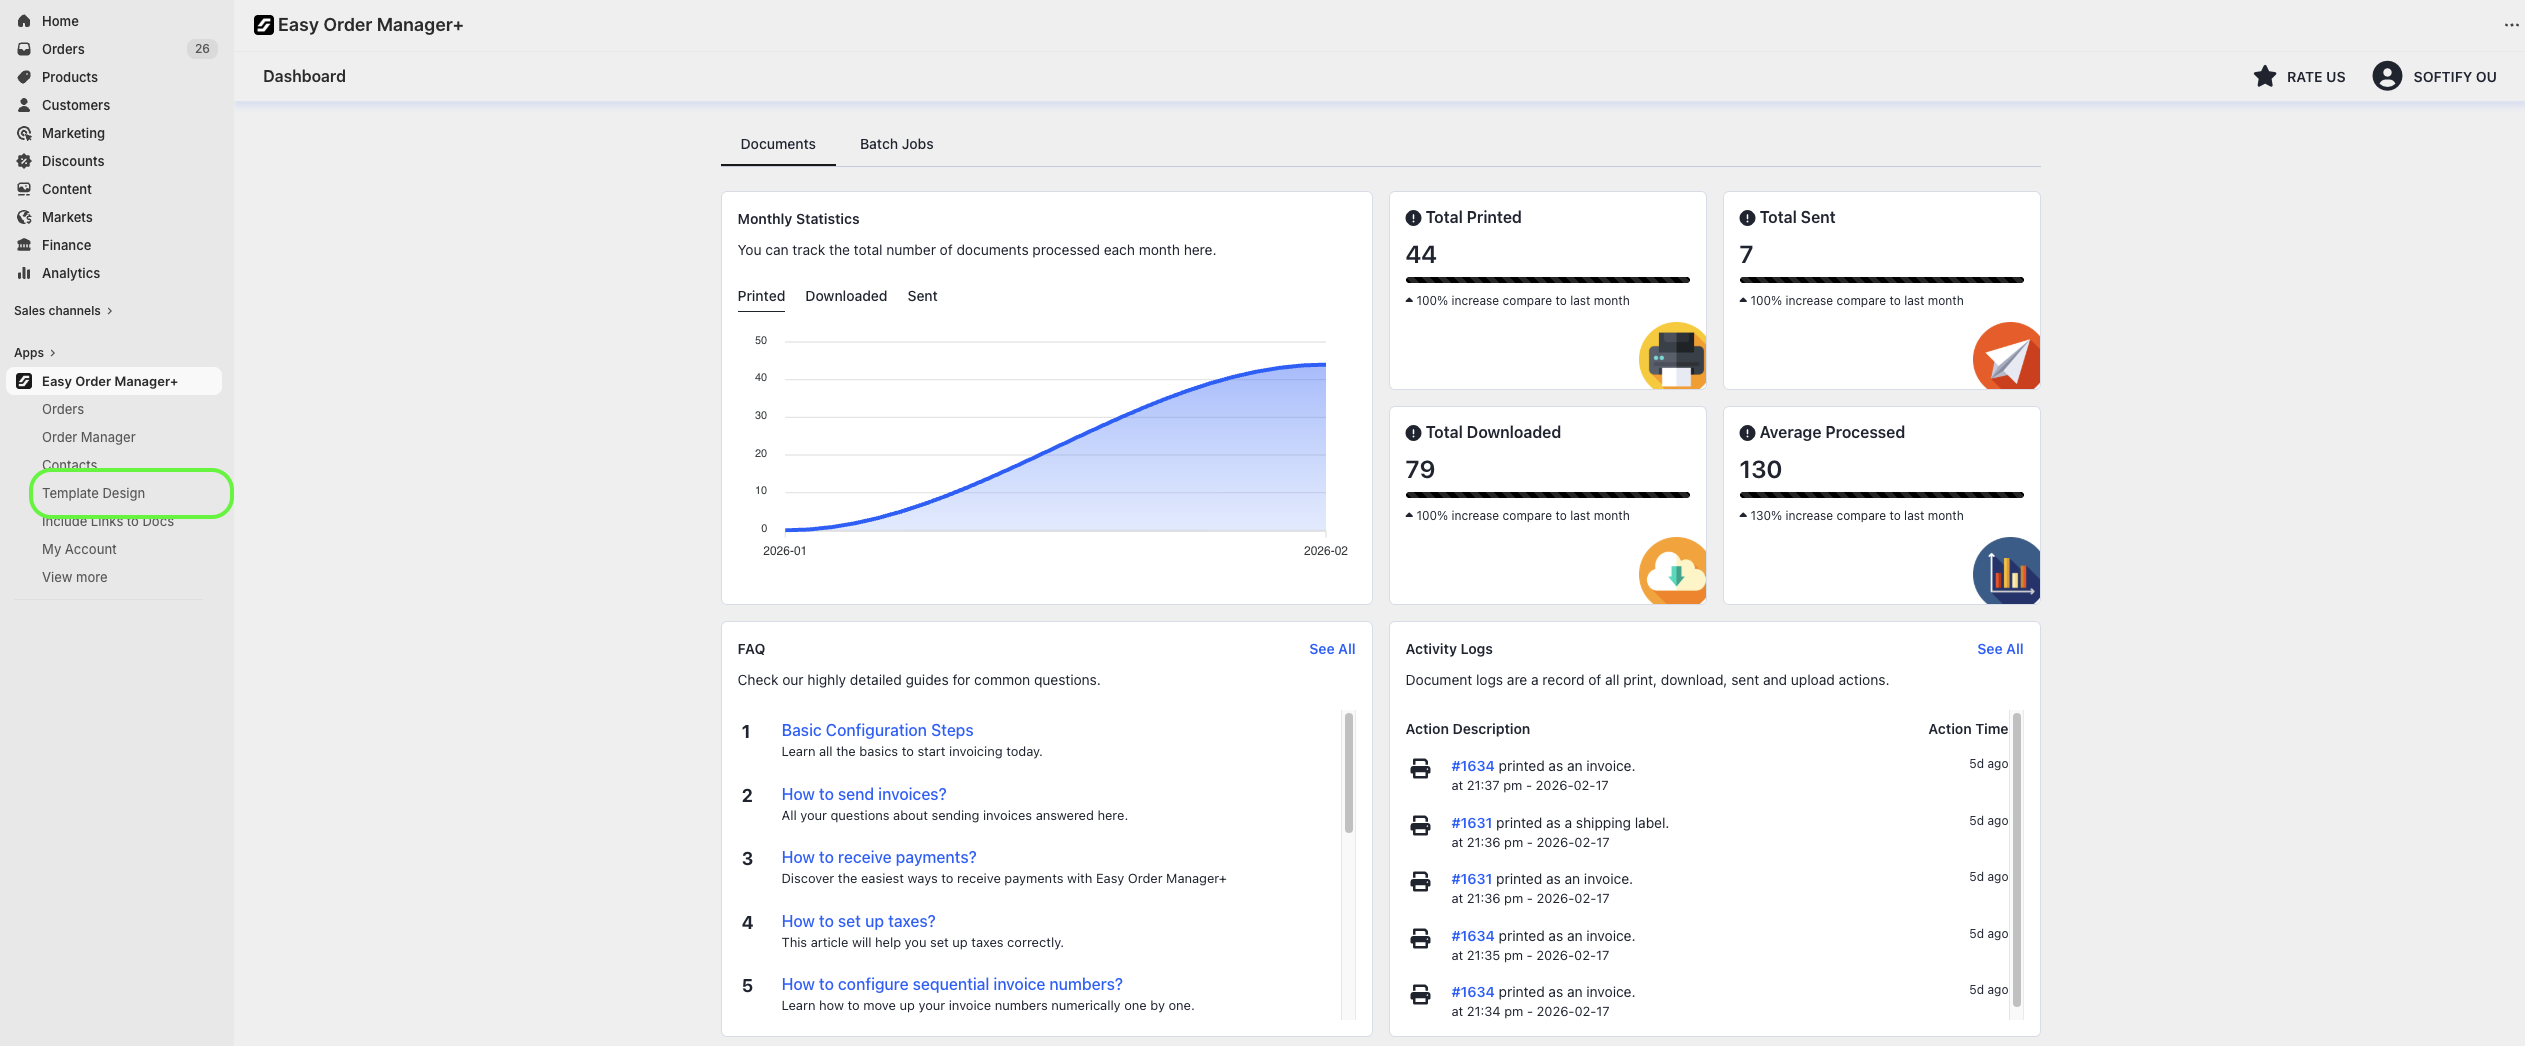
Step 2: Navigate to the Apps section of your Shopify store and select Easy Order Manager+. You will be automatically redirected to the app dashboard.

Step 3: From the dashboard, click on Template Design.
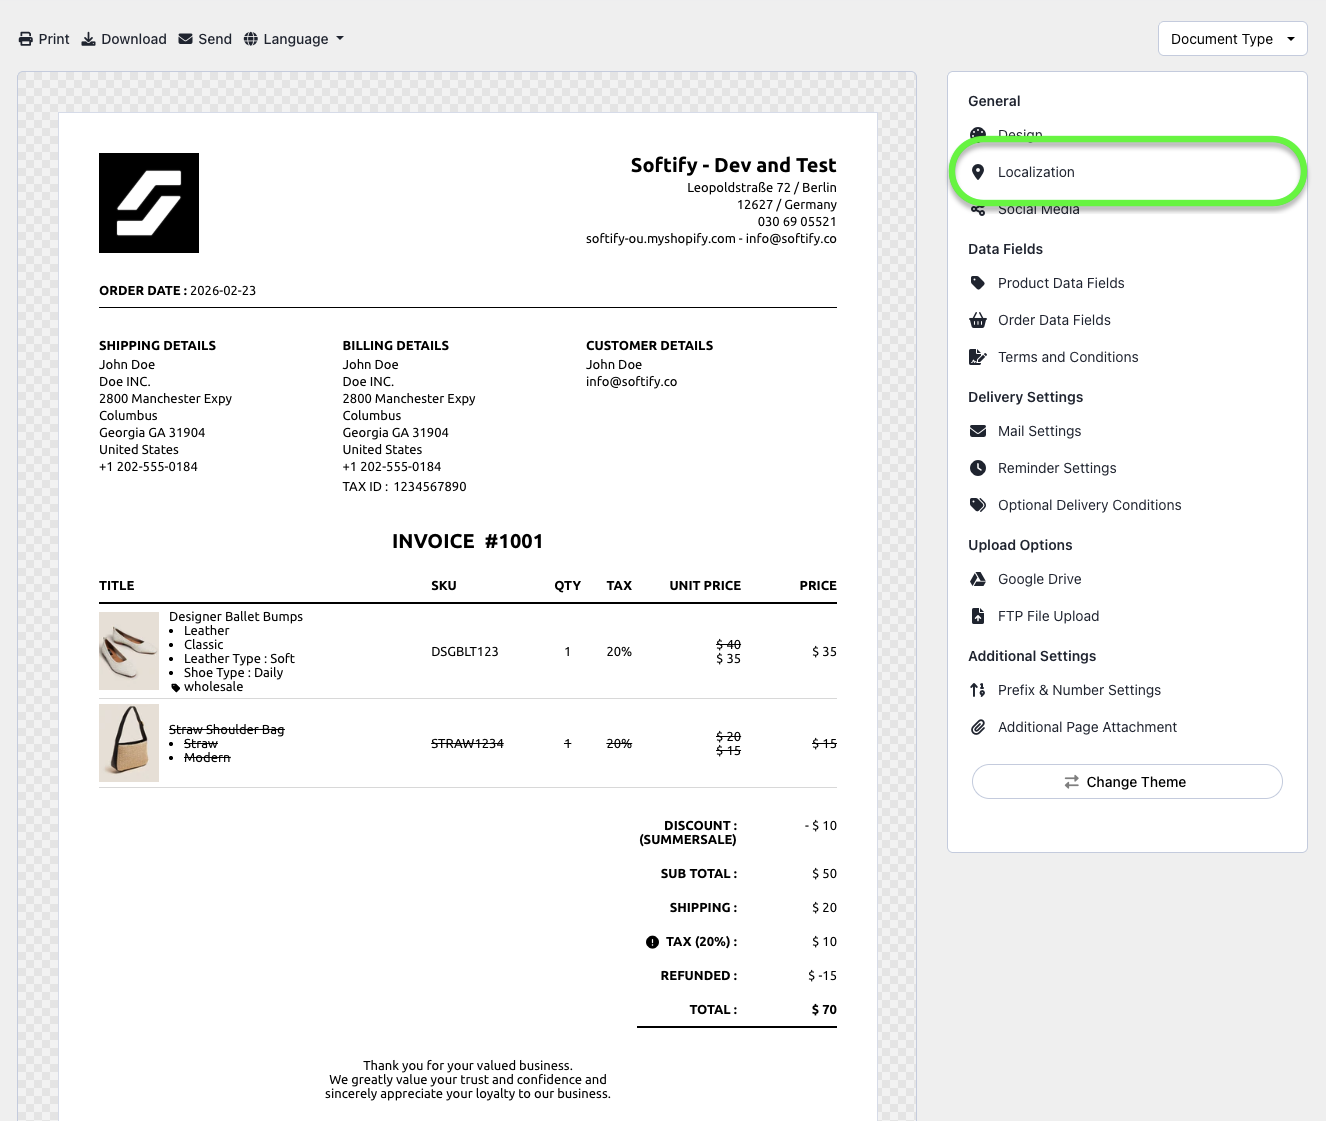
Step 4: Navigate to the Localization section.
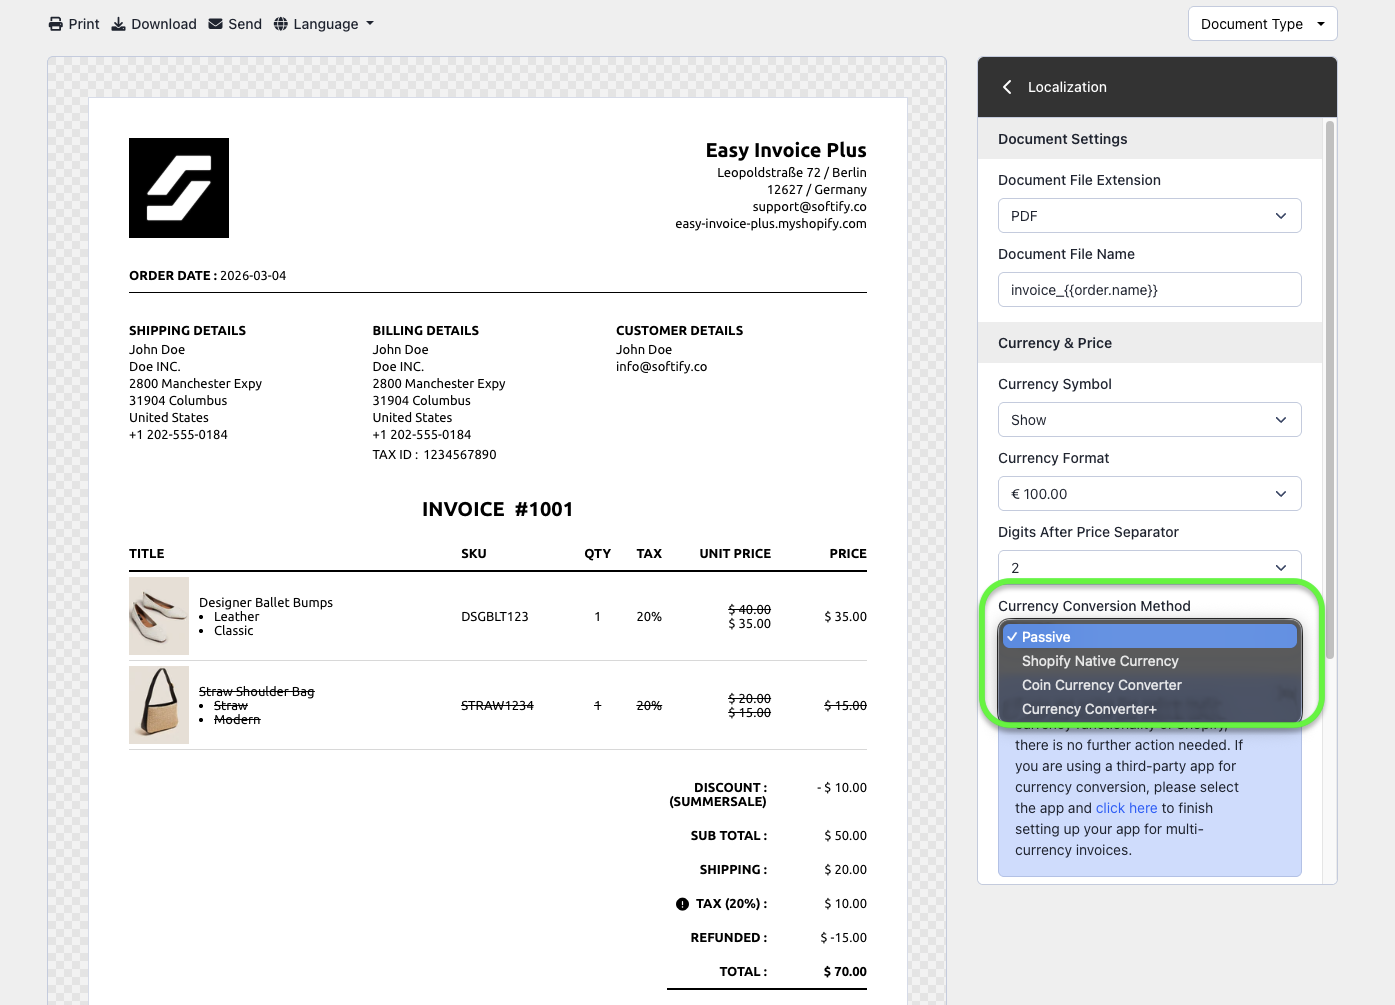
Step 5: Under Currency & Price, select your preferred option from the Currency Conversion Method dropdown. The available methods include:
- Passive: Invoices will use your store’s default currency.
- Shopify Native Currency: Uses the currency selected by the customer at checkout, provided Shopify’s native multi-currency feature is enabled.
- Coin Currency Converter: If you are using the Coin Currency Converter app, please contact our support team through the Help Center to complete the integration.
- Currency Converter+: If you are using the Currency Converter+ app, support team assistance is required to finalize the configuration.
Step 6: Once you have selected your preferred option, click the Save button at the top center of the screen to apply your changes.
![]()
Need Additional Help?
If you are still experiencing issues, feel free to contact our support team:
- Visit the Help Center section within your Easy Order Manager+ dashboard to create a ticket.
- Or click here to email us directly.
We’re always happy to help!