This guide provides all the essential information on customizing templates.
Step 1: Log in to your Shopify account.
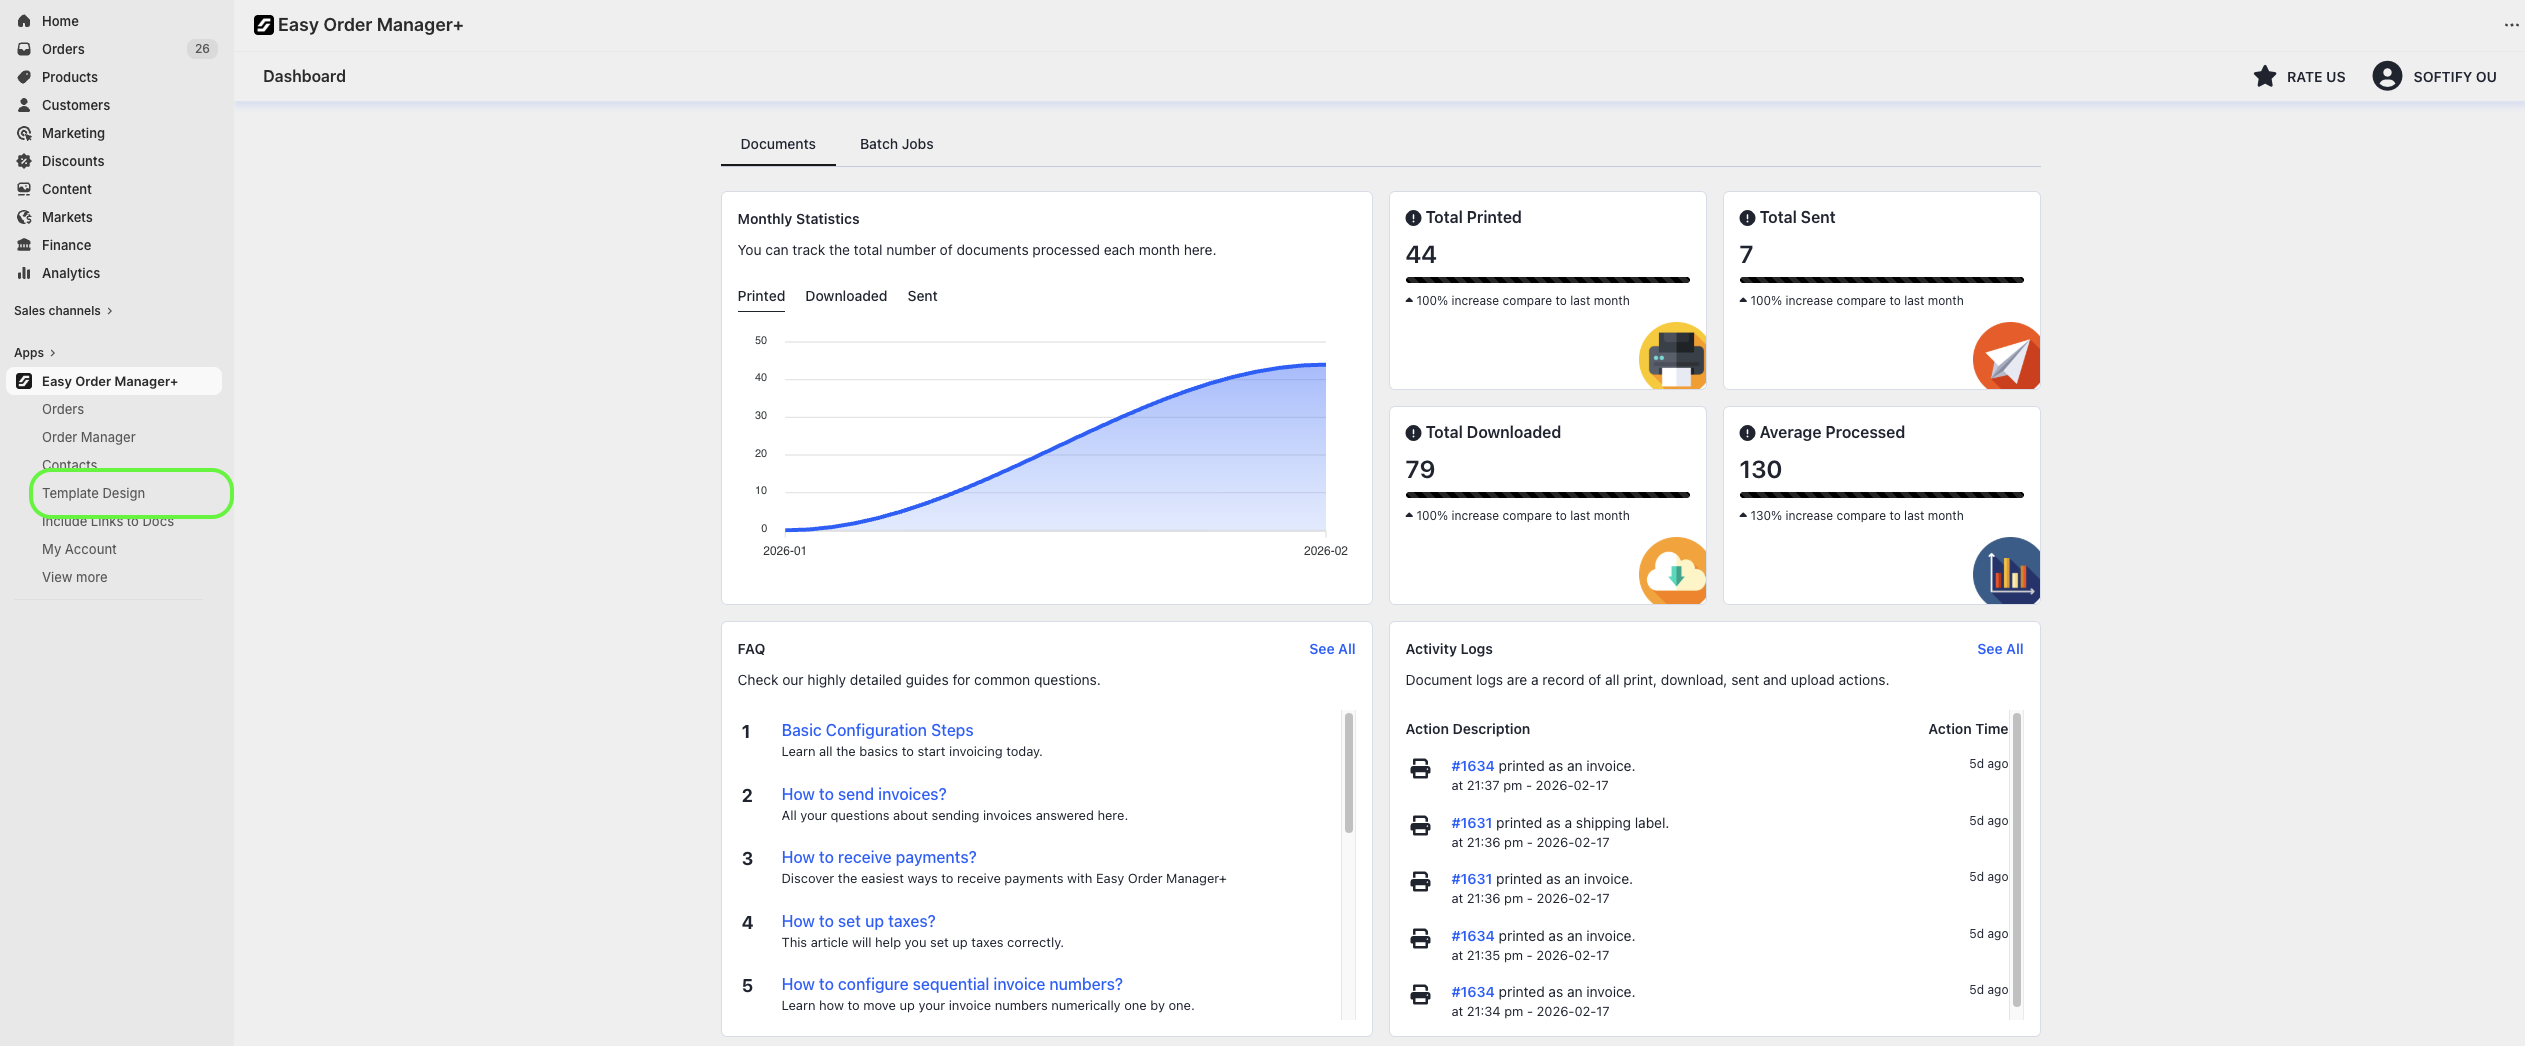
Step 2: Navigate to the Apps section of your Shopify store and select Easy Order Manager+. You will be automatically redirected to the app dashboard.

Step 3: From the dashboard, click on Template Design.
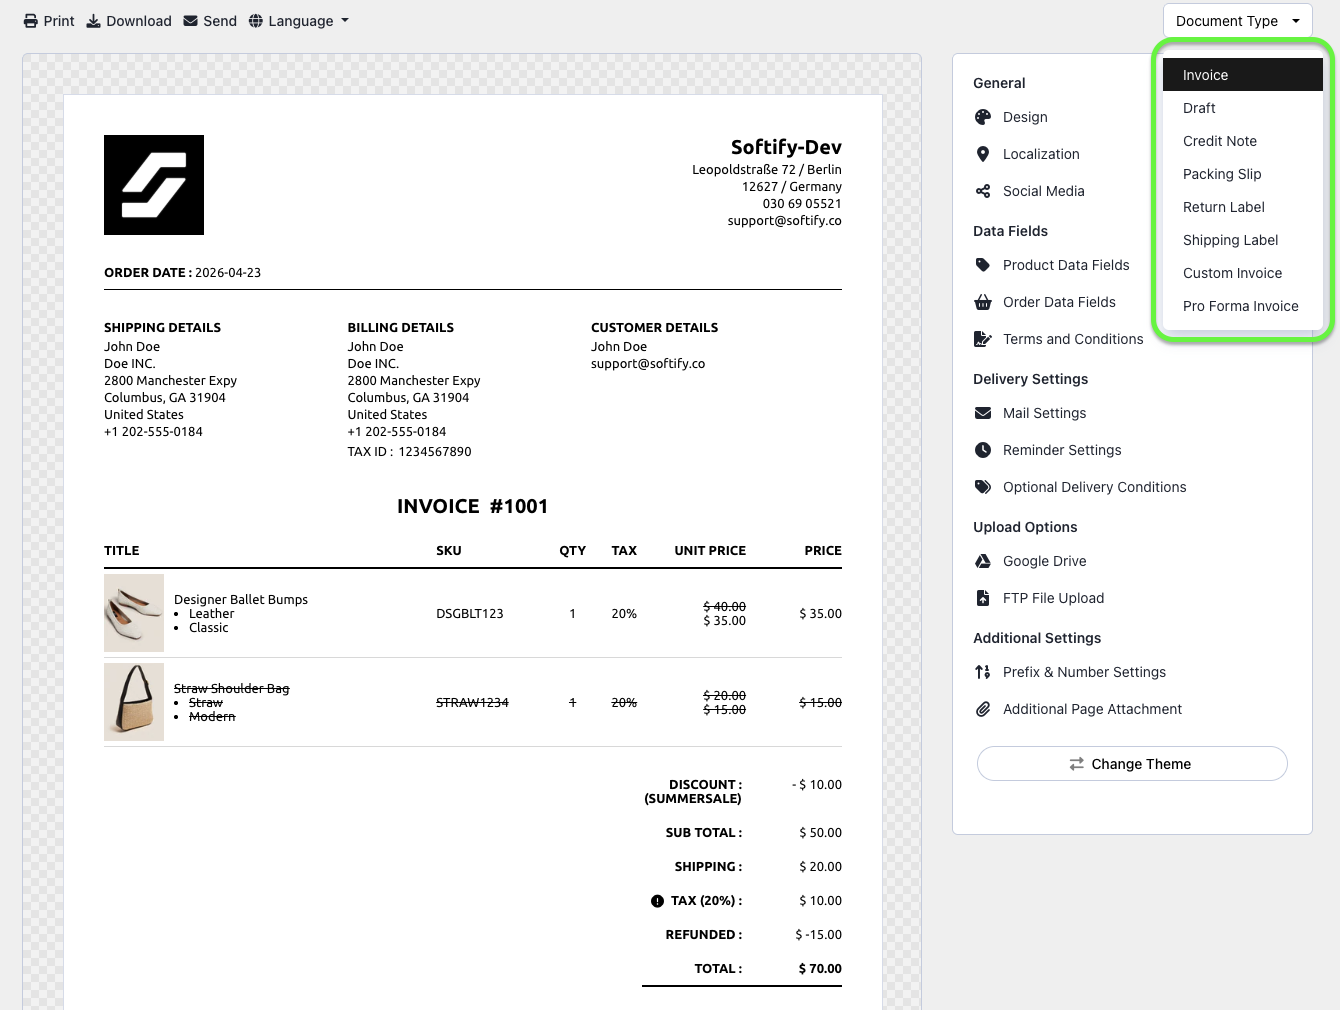
Step 4: By default, the Invoice template will be ready to customize. If you wish to customize another template, click the Document Type dropdown menu and choose the document you want to customize.
There are eight document types you can customize:
- Invoice
- Draft
- Credit Note
- Packing Slip
- Return Label
- Shipping Label
- Custom Invoice
- Pro Forma Invoice
Note: Options may vary depending on the document or template type.
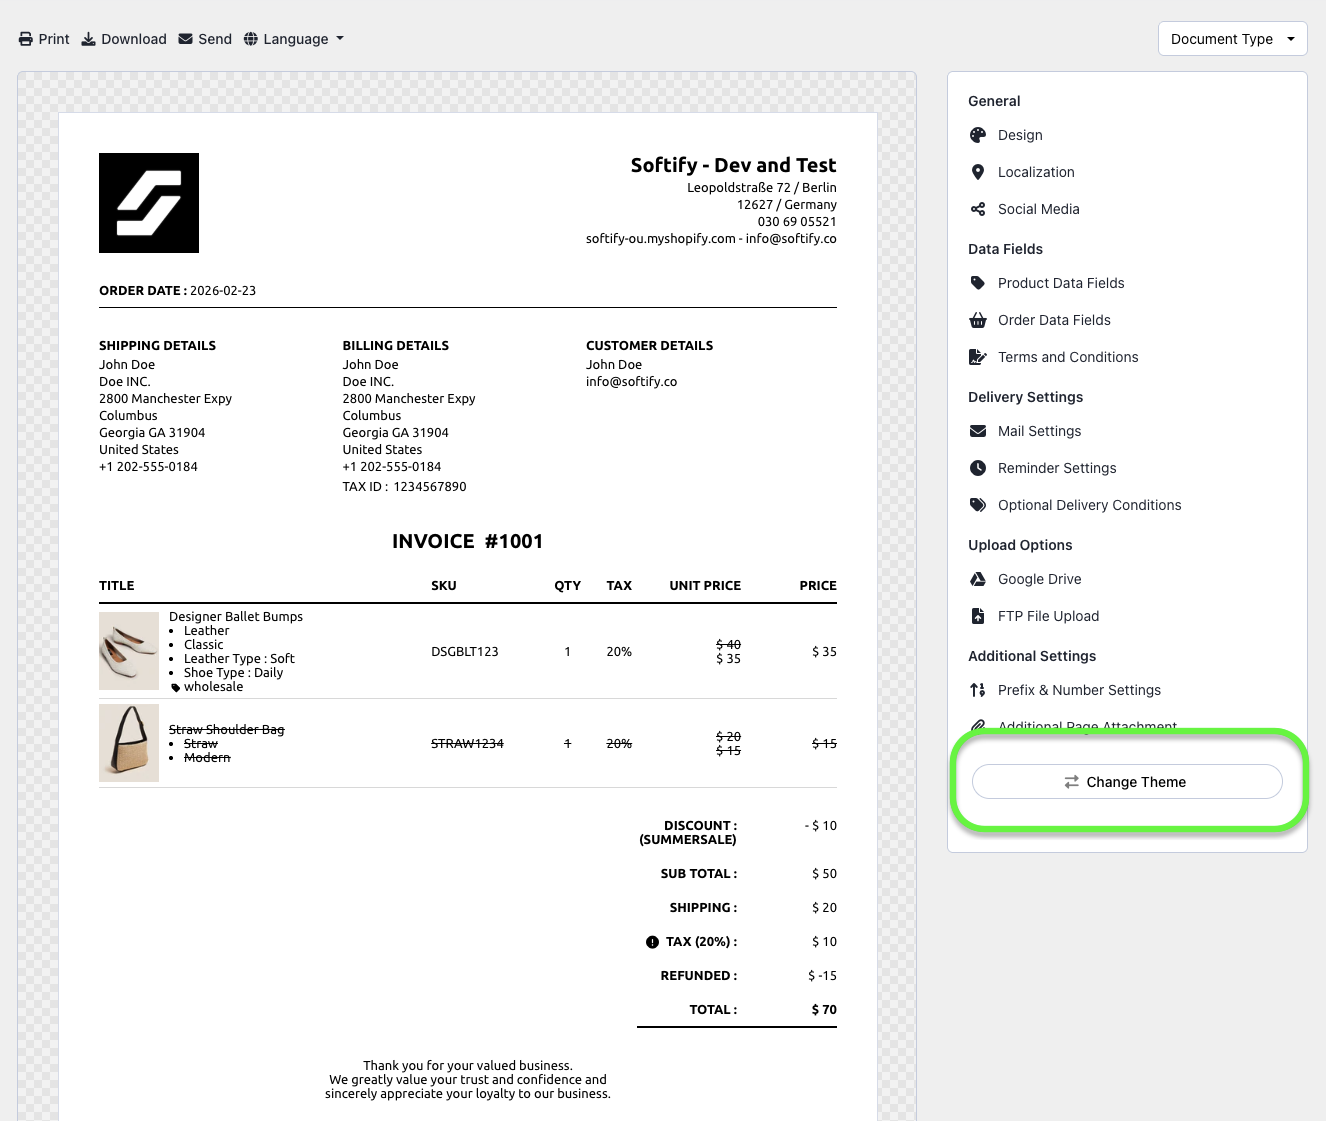
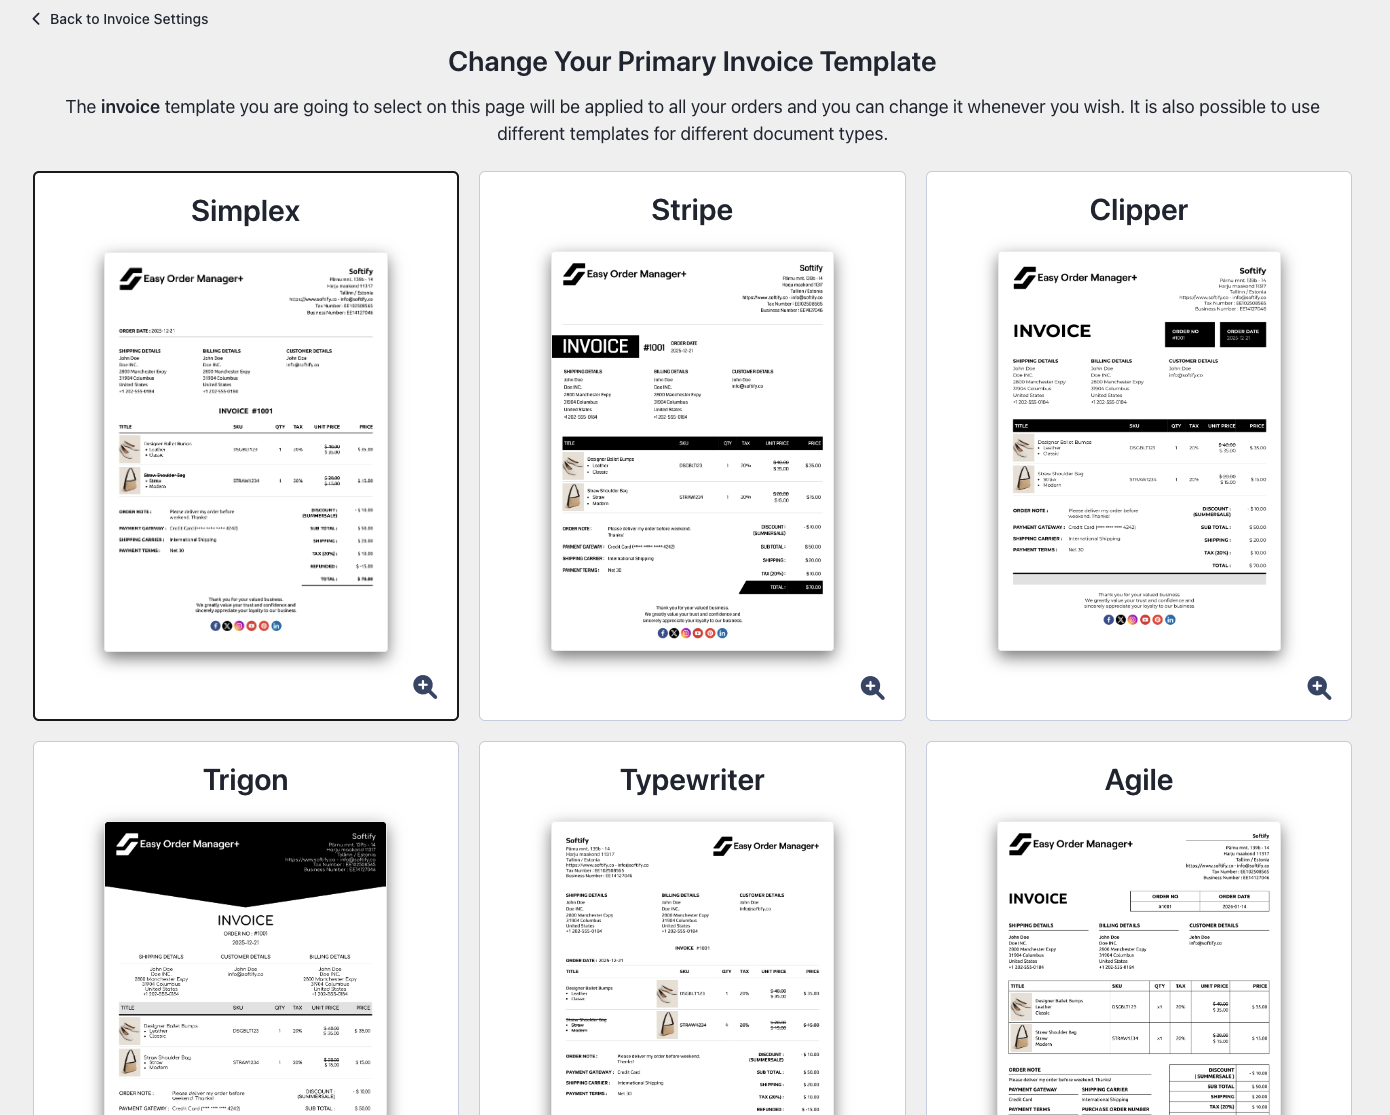
Step 5: On the Template Design screen, a preview of the selected template will be displayed. Click Change Theme to switch the default template.
There are six themes available:
- Simplex
- Stripe
- Clipper
- Trigon
- Typewriter
- Drag & Drop
Step 6: Once you select a theme, its preview will appear on the screen. On the right-hand panel, you’ll see five main sections for configuration. Focus on the General and Data Fields sections for customization.
All text fields are inline-editable. Click on any text to modify it.
General Section
Design
- Logo: Add or change your store logo.
- Logo Size: Adjust the size of your logo.
- Font Name: Choose a font from Google Fonts.
- Primary Template Color: Select or enter a HEX code for the main color.
- Text Color: Customize text color using predefined options or HEX code.
- Text Font Size / Caption Font Size: Adjust text and caption sizes in pixels.
- Line Item Background Colors: Set colors for dark and light product rows.
- Variant Display: Choose from Single Line, Multiple Line, or Don’t Display.
- Product Image Display: Choose from Small, Medium, Large, or Don’t Display.
- Line Item Sort Type: Sort products by Original, Product Name, SKU, Quantity, or Vendor.
- Product Name Translation: Choose the language for displaying Product Name.
Localization
- Document File Extension: Choose between PDF (default) and HTML.
- Document File Name: Set a custom file name.
- Currency Symbol & Format: Enable/disable symbol and format layout.
- Digits After Separator: Choose decimal precision.
- Currency Conversion Method: Select how conversions are handled.
- Address Format: Customize how addresses appear.
- Weight Unit: Choose between kg, g, lb, or oz.
- Date & Time Format: Set preferred formats.
Social Media
You can show/hide and add links for social media sites such as Facebook, X (Twitter), Instagram, YouTube, Pinterest, LinkedIn, and TikTok.
Data Fields
Product Data Fields
Under the “Product Data Fields” section, you can show or hide the following product data:
- SKU
- Vendor
- Barcode
- HS Code
- Country of Origin
- Weight
- Fulfillment Status
- Quantity
- TAX
- TAX Amount
- Unit Price
- TAX Excluded Unit Price
- Total Price
- Discounted Price
- Compare at Price
- Meta Fields
- When enabled, all meta fields will be printed by default. If you prefer to display only specific meta fields, enter the relevant keys under Include Meta Fields.
- Use the Exclude Meta Fields field to prevent specific meta fields from appearing on your documents.
- Properties
- Tags
Order Data Fields
- Order Date
- Order Note
- Order Tip
- Cancellation Message
- Total Item Count
- Shipping Information
- Billing Information
- Customer Information
- Order Number
- Custom Invoice Number
- Purchase Order (PO) Number
- QR Code
- Barcode
- Shipping Carrier
- Tracking Number
- Shipping Line
- TAX Line
- TAX Excluded Total Paid Line
- Combined Tax View
- Discount Line
- Sub Total Line
- Gift Card Amount
- Duties
- Refunds
- Total Paid Line
- Paid & Amount Due Line
Terms and Conditions
- Issue Date
- Due Date
- Payment Gateway
- Credit Card Number
- Payment Terms
Step 7: Once you’ve made your selection, click the Save button at the top center of the screen to apply your changes.
Step 8: After saving, click Print, Download, or Send to view the final result.
Need Additional Help?
- Visit the Help Center section within your Easy Order Manager+ dashboard to create a ticket
- Or click here to email us directly.
We’re always happy to help!