This guide provides all the essential information you need to configure and send invoices in different languages through Easy Order Manager+.
Step 1: Log in to your Shopify account.
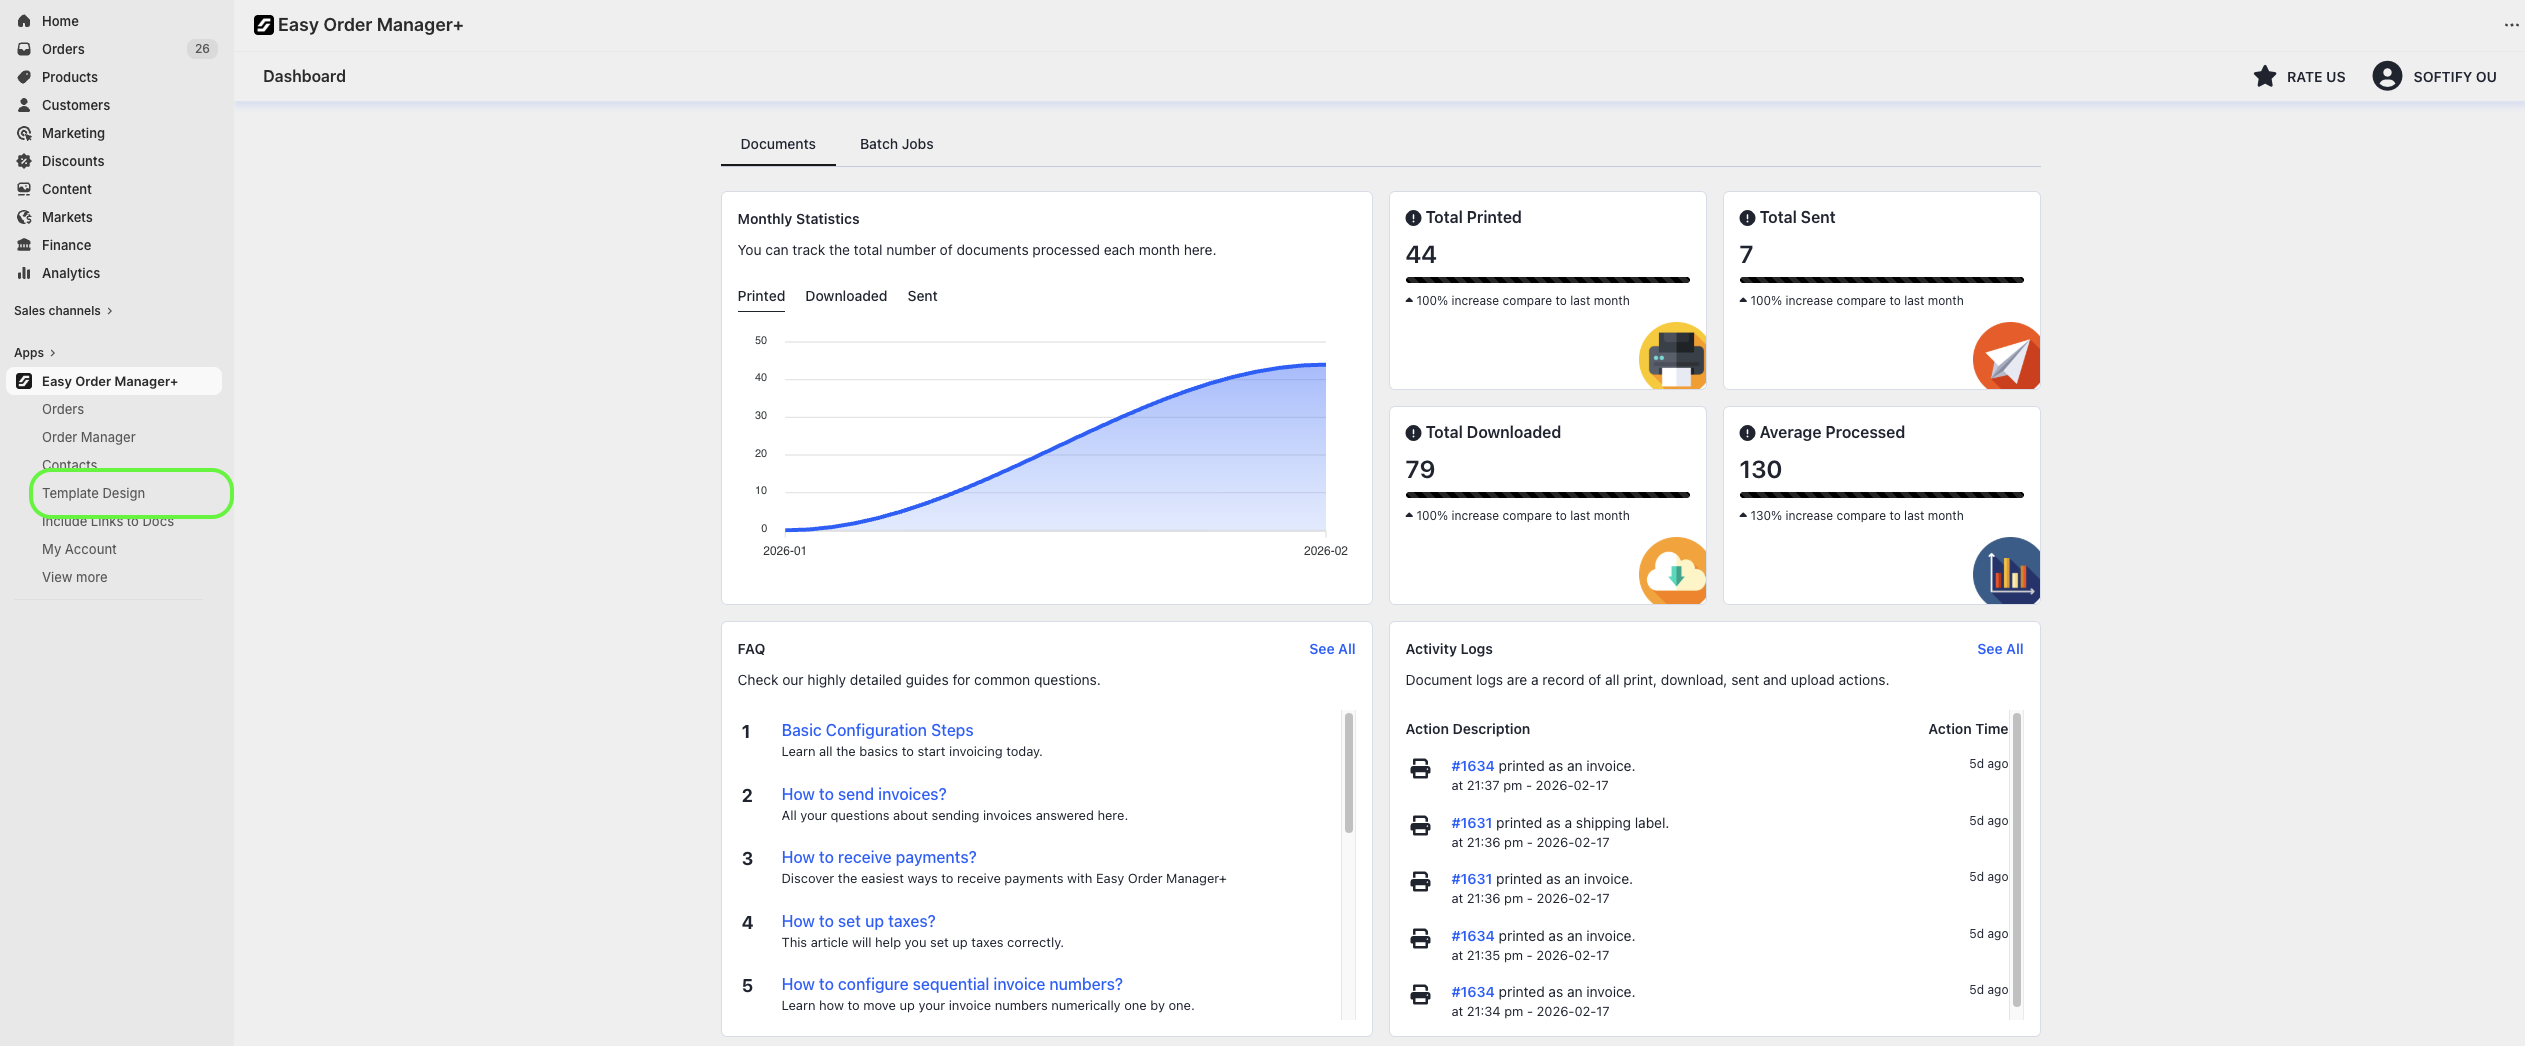
Step 2: Navigate to the Apps section of your Shopify store and select Easy Order Manager+. You will be automatically redirected to the app dashboard.

Step 3: From the dashboard, click on Template Design.
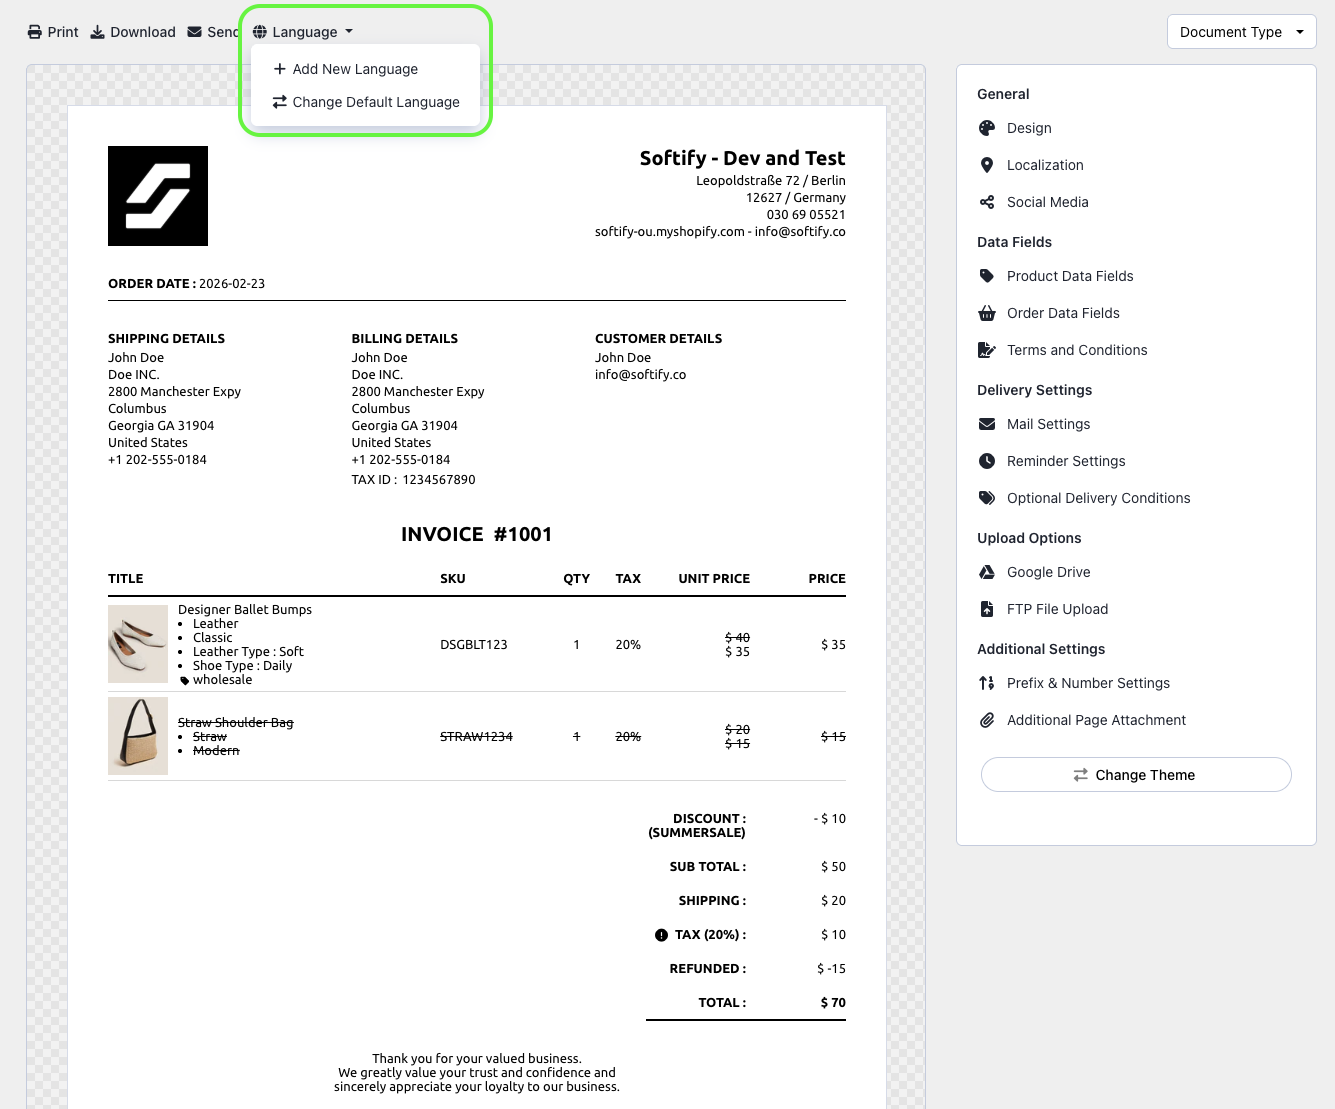
Step 4: Click the Language dropdown menu and select Add New Language.
Important: Adding new languages also implies adding support for additional countries. If you do not plan to sell globally, you can simply change your default template’s language by clicking Change Default Language.
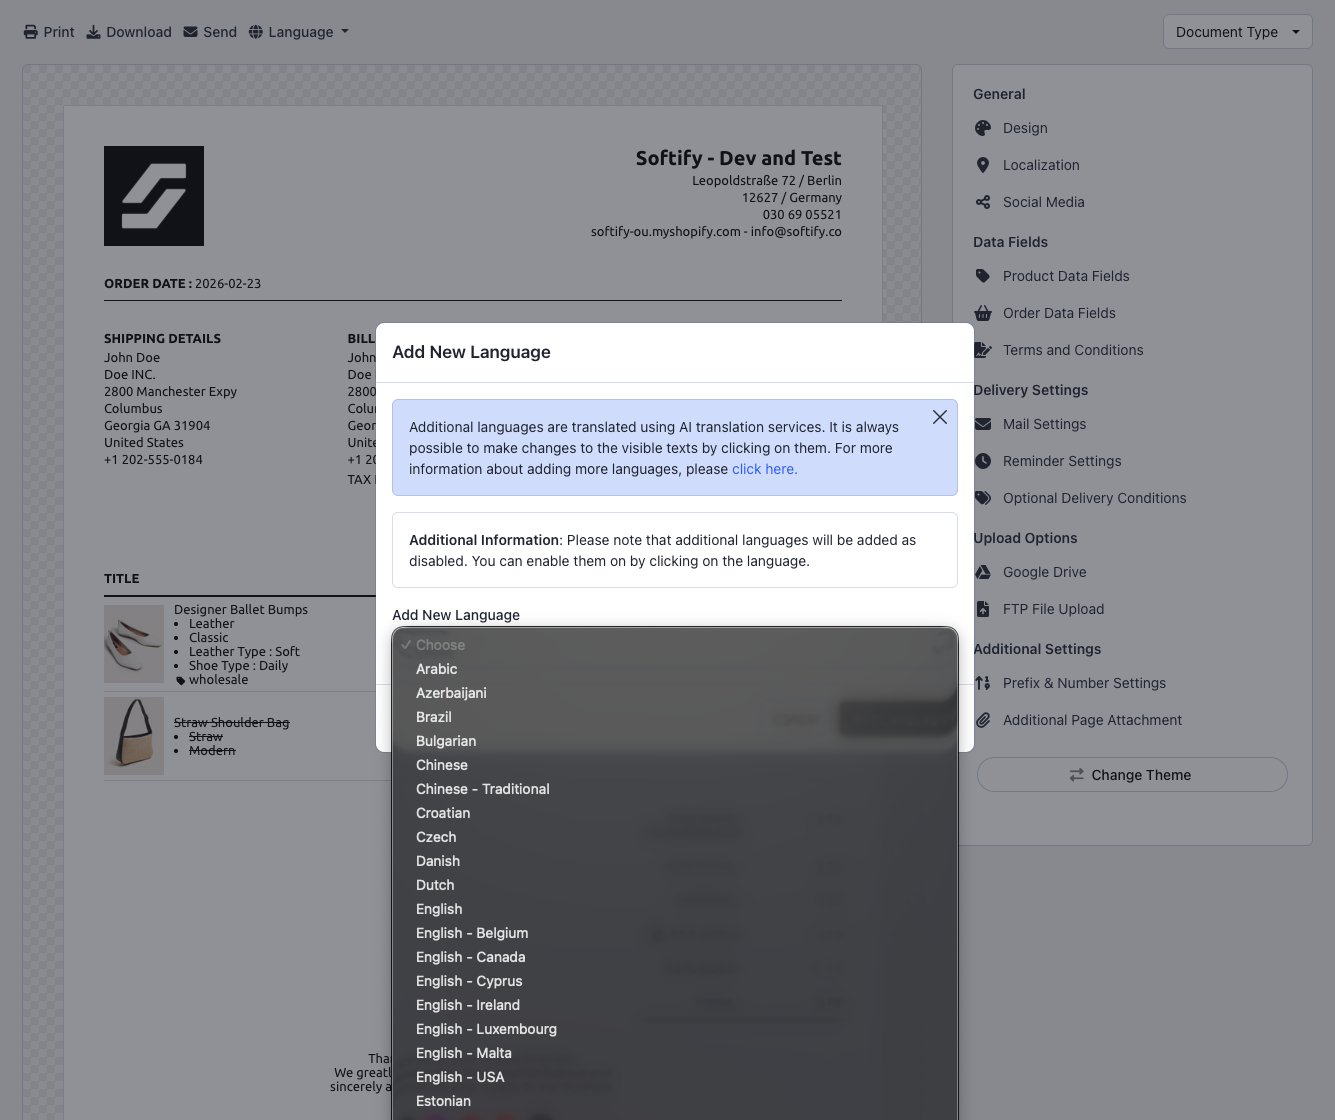
Step 5: Open the Add New Language dropdown menu and select the language you want to add.
Step 6: Click the Add Language button to confirm.
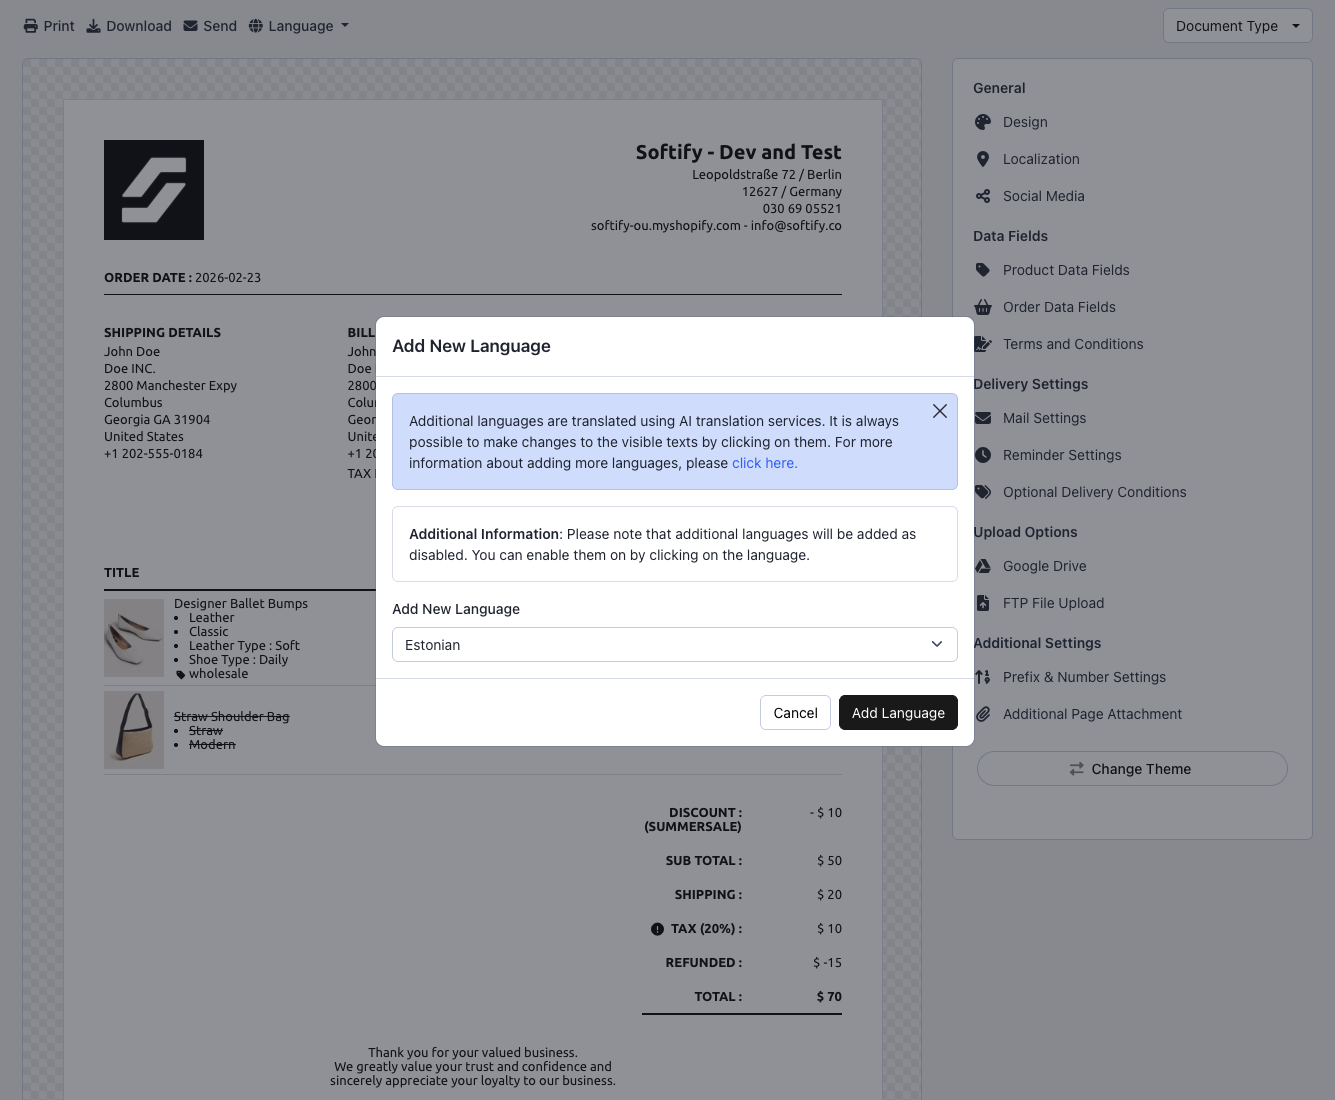
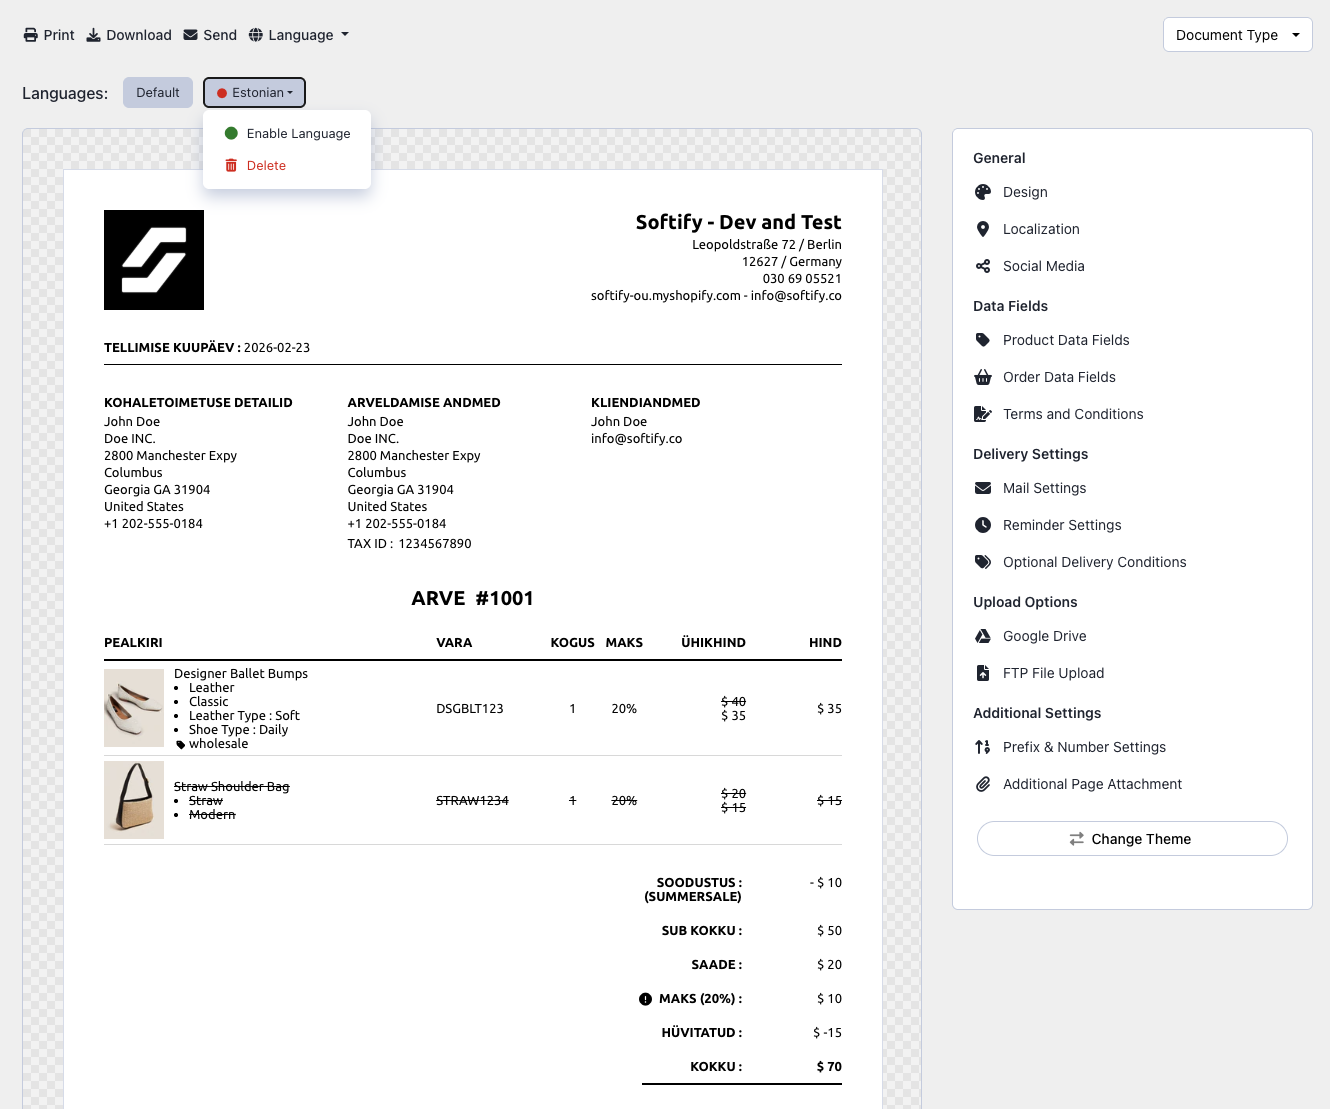
Step 7: Newly added languages are disabled by default. You can enable them by clicking on the language and selecting Enable Language after making any necessary customizations.
Note: When using multiple languages, Easy Order Manager+ will automatically send the invoice in the appropriate language based on the customer’s shipping address.
Step 8: Once you’ve made your selection, click the Save button at the top center of the screen to apply your changes.
![]()
Additional Note:
Your custom/sequential invoice numbers will remain consistent across all languages.You can find a detailed tutorial here: How to configure sequential invoice numbers?
Need Additional Help?
If you’re still experiencing issues, feel free to reach out to our support team:
- Visit the Help Center section within your Easy Order Manager+ dashboard to create a ticket
- Or click here to email us directly.
We’re always happy to help!