This guide provides all the essential steps to customize your invoice email settings in Easy Order Manager+.
Step 1: Log in to your Shopify account.
Step 2: Navigate to the Apps section of your Shopify store and select Easy Order Manager+. You will be automatically redirected to the app dashboard.

Step 3: From the dashboard, click on Template Design.
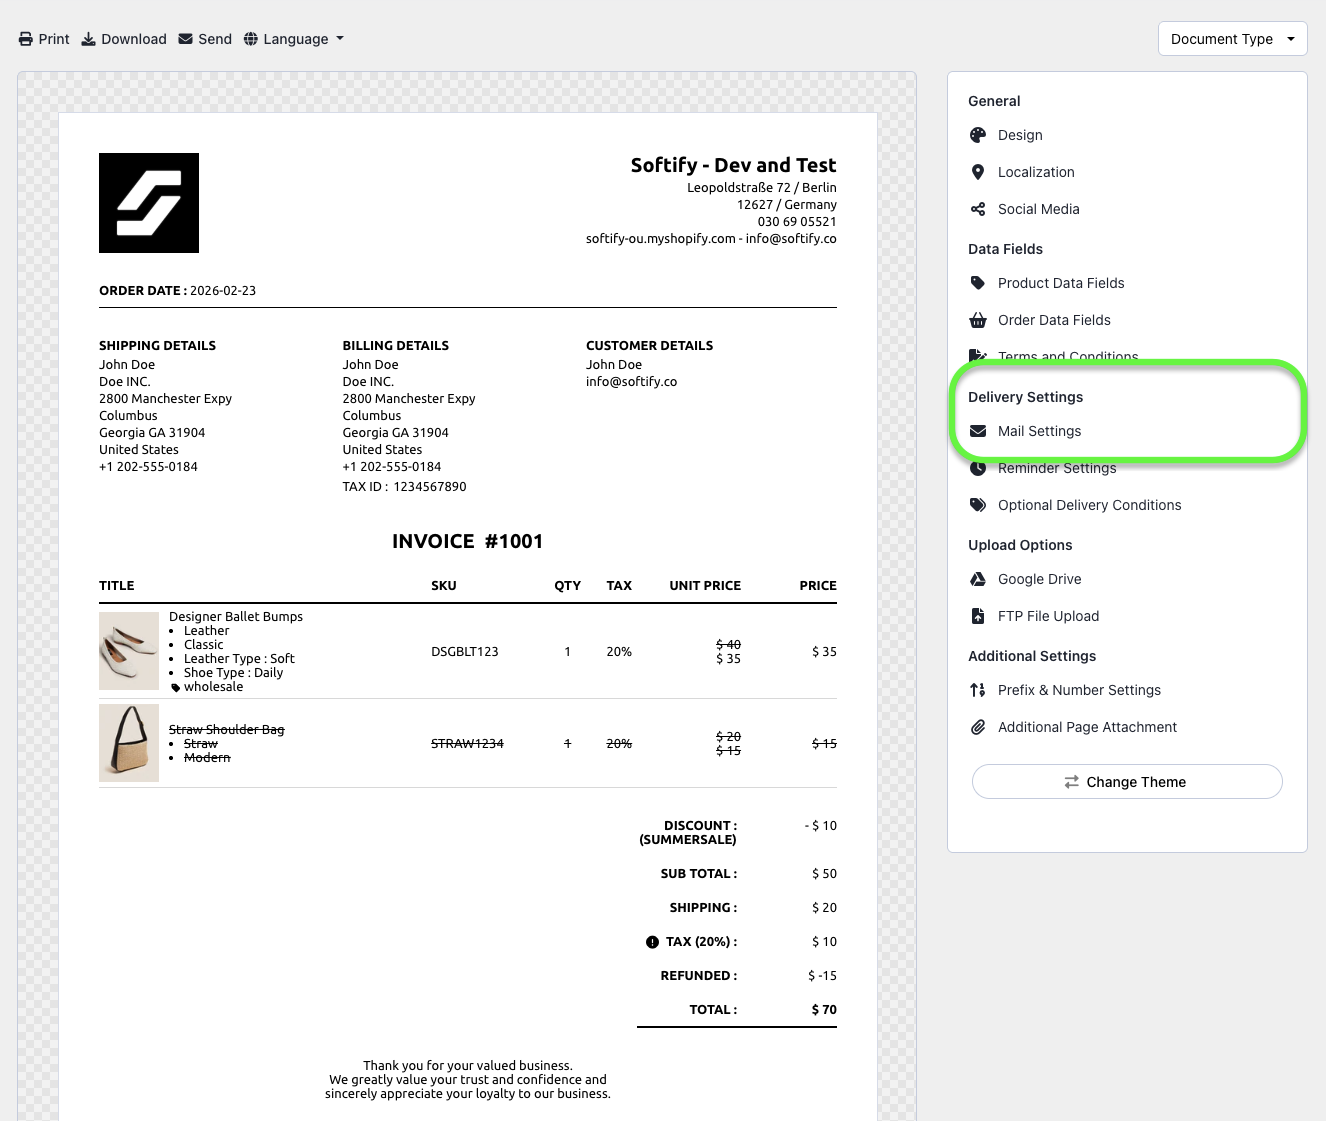
Step 4: Navigate to the Mail Settings section.
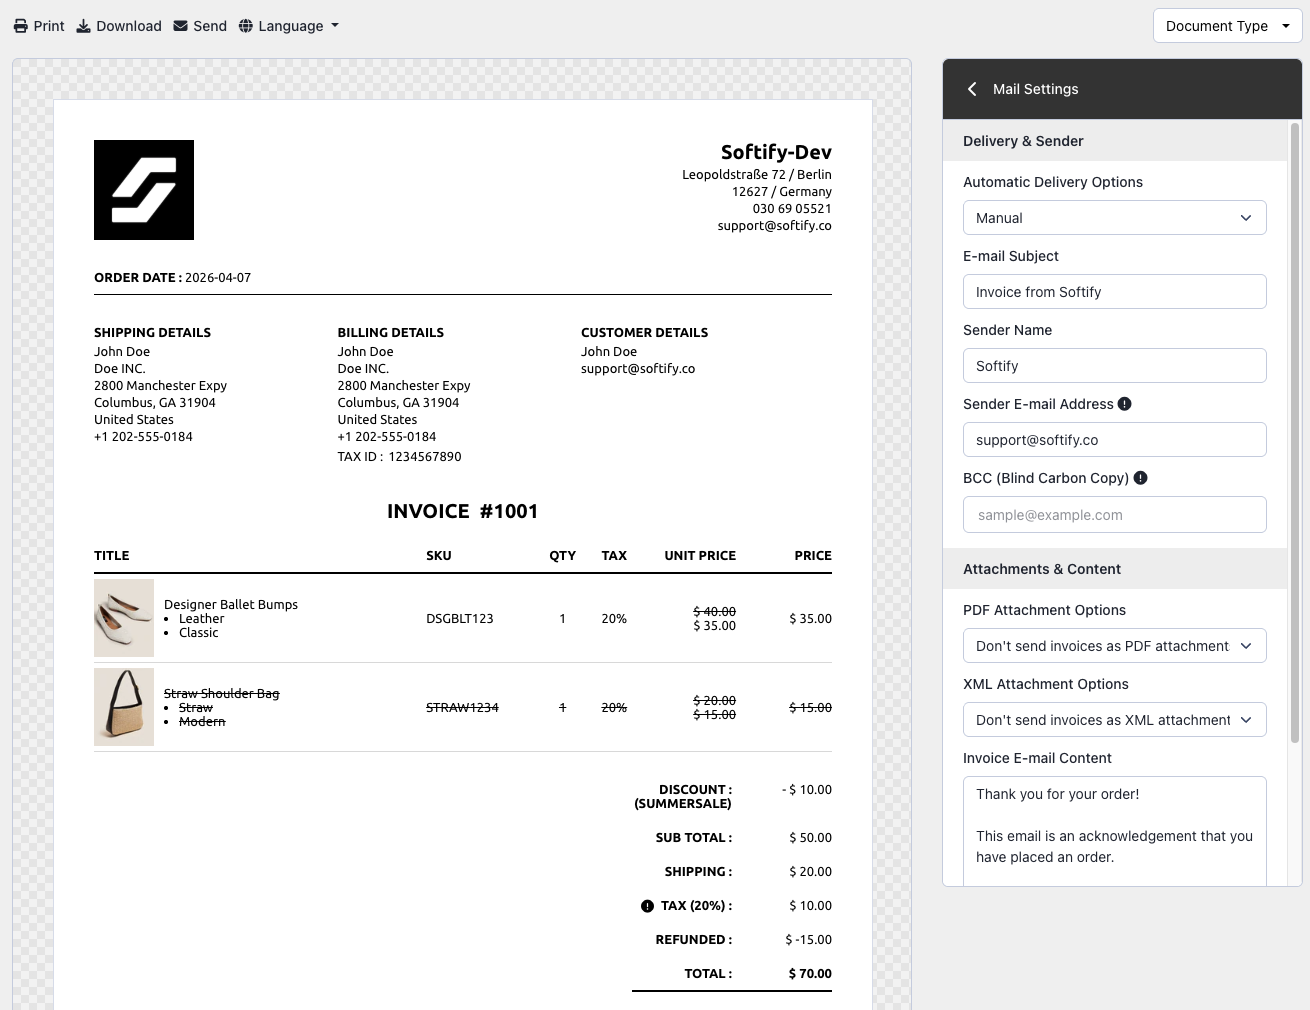
Step 5: Customize the Invoice Email Settings
Under the Delivery & Sender section:
- Automatic Delivery Options: By default, this is set to Manual. If you’re on the Basic plan or higher, you can choose from:
- Auto on Order
- Auto on Payment
- Auto on Fulfillment
- Auto Only for Copy Address
- Email Subject: Customize the subject line of your invoice emails.
- Sender Name: Define the name your customers will see as the email sender.
- Sender Email Address: The email address displayed to customers as the sender.
- BCC (Blind Carbon Copy): Add additional email addresses to receive invoice copies without customer visibility.
Under the Attachments & Content section:
- Attachment Options: Choose whether to send the invoice as a PDF attachment.
- XML Attachment Options: Choose whether to include the invoice as an XML attachment.
- Invoice Email Content: Customize the body of the invoice email.
- Quick Edit Email Content: Adjust the email content used when sending invoices via Quick Edit.
Step 6: Once you’ve made your selections, click the Save button at the top center of the screen to apply your changes.
![]()
Need Additional Help?
If you’re still experiencing issues, feel free to reach out to our support team:
- Visit the Help Center section within your Easy Order Manager+ dashboard to create a ticket
- Or email us directly
We’re always happy to help!