This guide provides all the key details for setting up Easy Order Manager+ and customizing your invoice documents.
Step 1: Log in to your Shopify account.
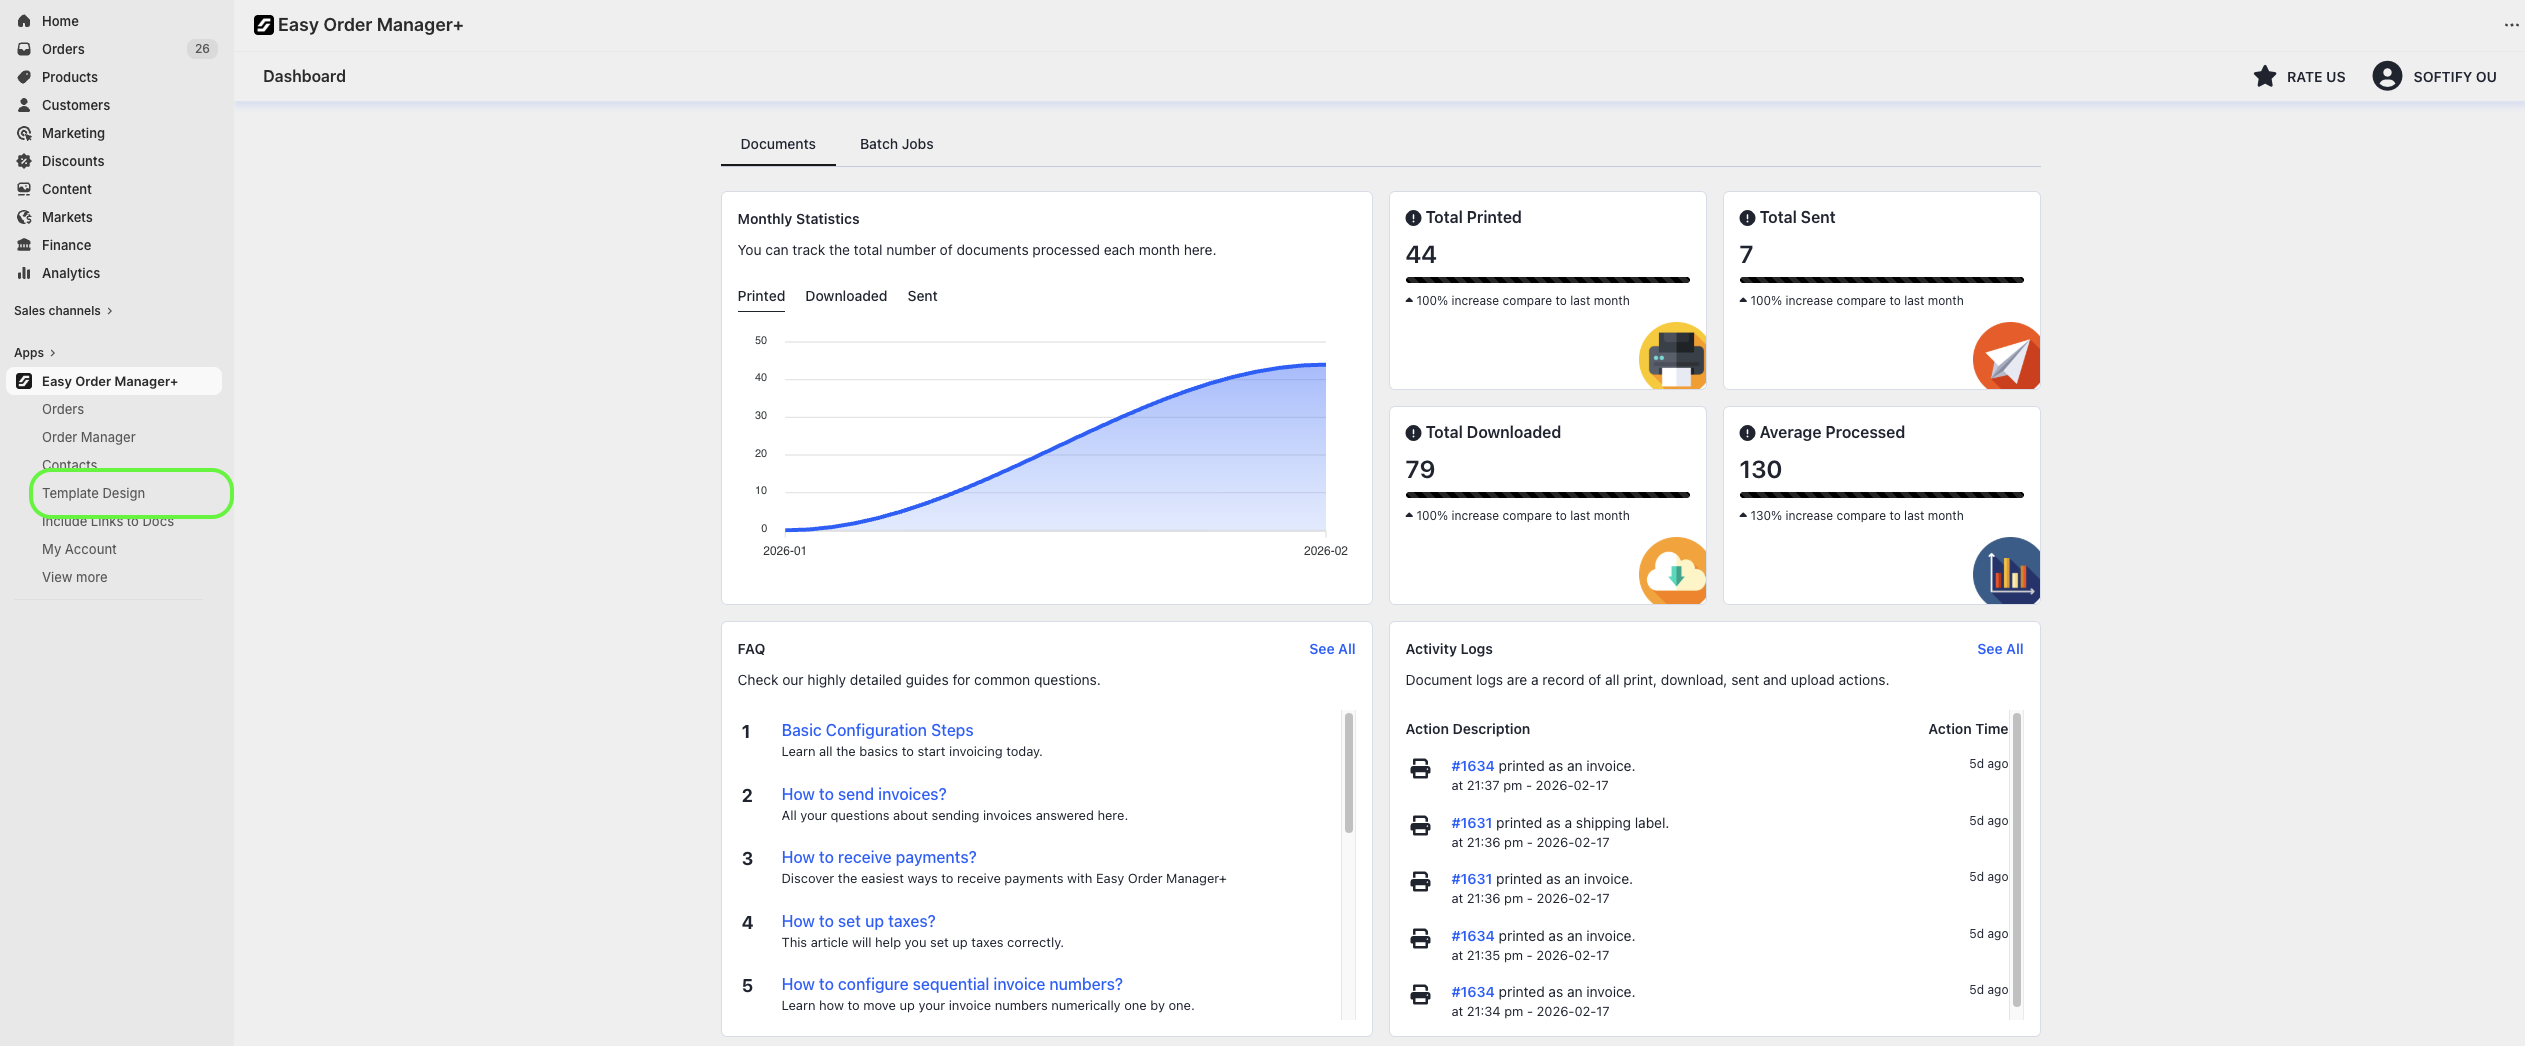
Step 2: Navigate to the Apps section of your Shopify store and select Easy Order Manager+. You will be automatically redirected to the app dashboard.

Step 3: From the dashboard, click on Template Design.
Step 4: In the Template Design section, choose the default Simplex template or click Change Theme to select a different design.
By default, you can select Simplex, Stripe, Clipper, Trigon, and Typewriter themes.
If you are subscribed to a plan higher than Basic, you can also access Agile, Aqua, Aurora, Epoch, Leo, Ocean, Retro, Rhythm, and Drag&Drop themes.
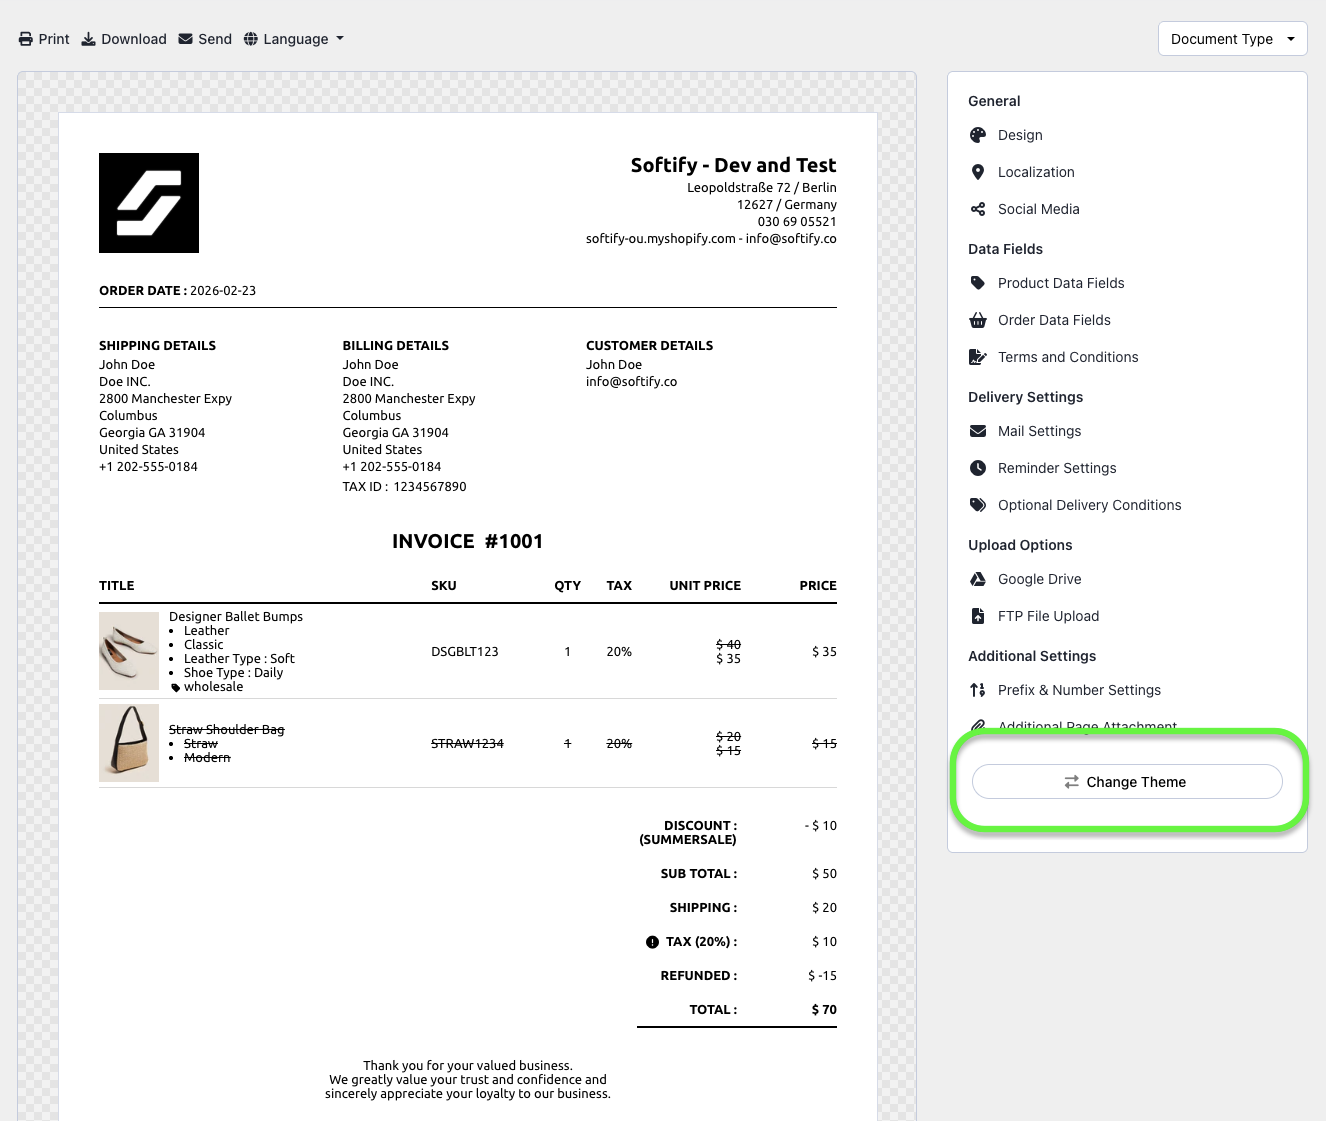
Step 5: Customize your selected template using the sections below.
General
- Design: Logo, fonts, colors, product images, variants, and product sorting
- Localization: Date, time, currency, file format, file naming, and conversion methods
- Social Media: Show or hide icons and add social media links
Data Fields
- Product Data Fields: SKU, barcode, HS code, origin, weight, fulfillment status
- Order Data Fields: Shipping, order date, discounts, taxes, and totals
- Terms & Conditions: Payment terms, issue dates, and gateway details
Delivery Settings
- Mail Settings: Automated delivery rules and email customization
- Reminder Settings: Invoice reminder timing and content
- Optional Conditions: Additional delivery conditions such as tags or gateways
Upload Options
- Google Drive: Automatically store documents in Google Drive
- FTP Upload: Upload documents to your FTP server
Additional Settings
- Prefix & Number Settings: Configure invoice numbering
- Additional Page Attachment: Add static HTML pages to documents
You can edit any text directly within the template preview. All text fields support inline editing.
Each language template must be customized and saved separately. Changes made to one language template do not apply to other languages.
Step 6: Click Save at the top of the screen to apply your changes.
![]()
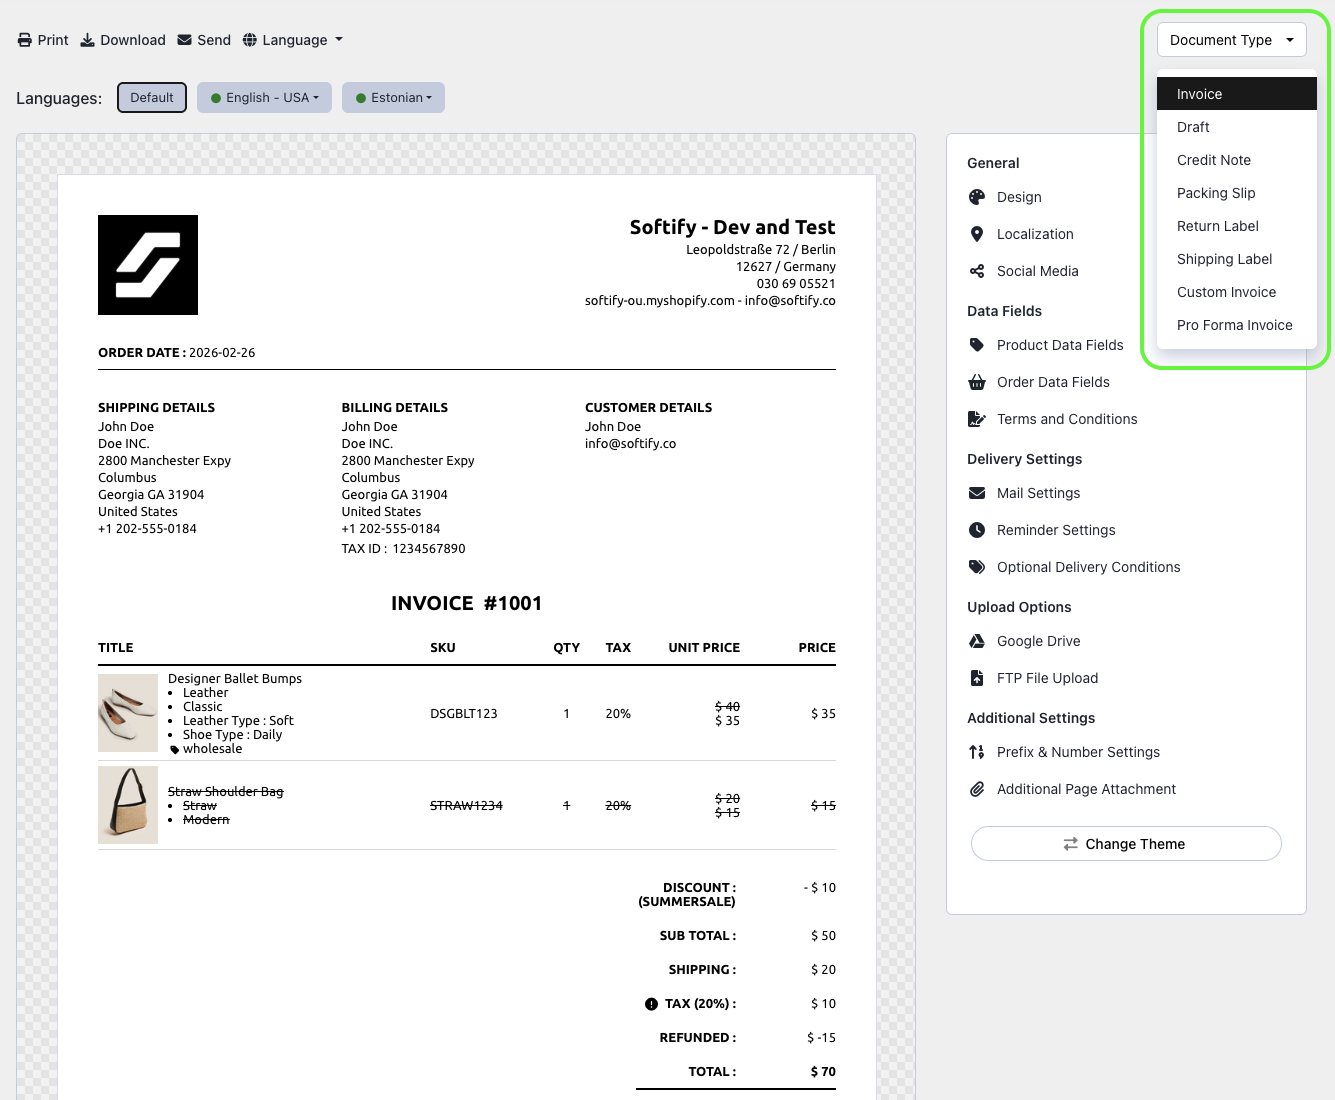
Note: To customize other document types, click Document Type in the upper-right corner.
For a full walkthrough, see How to send invoices.
Processing Invoices
From Shopify Admin
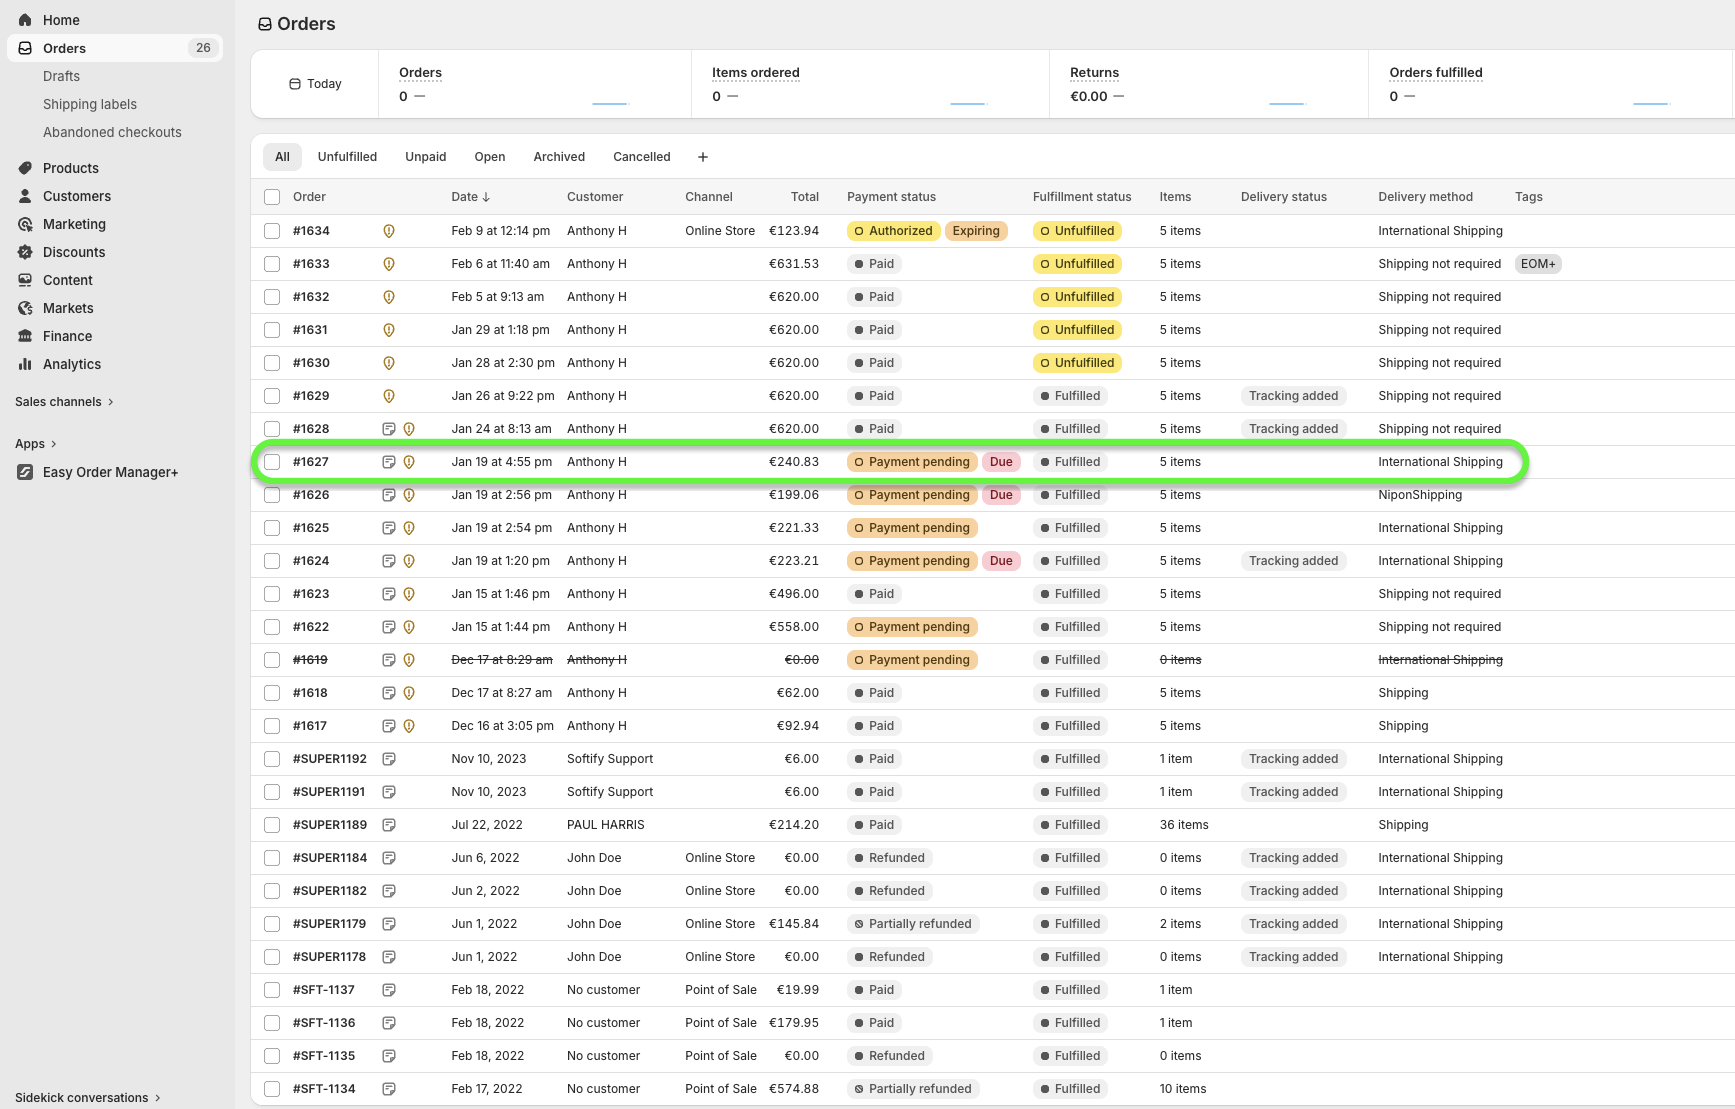
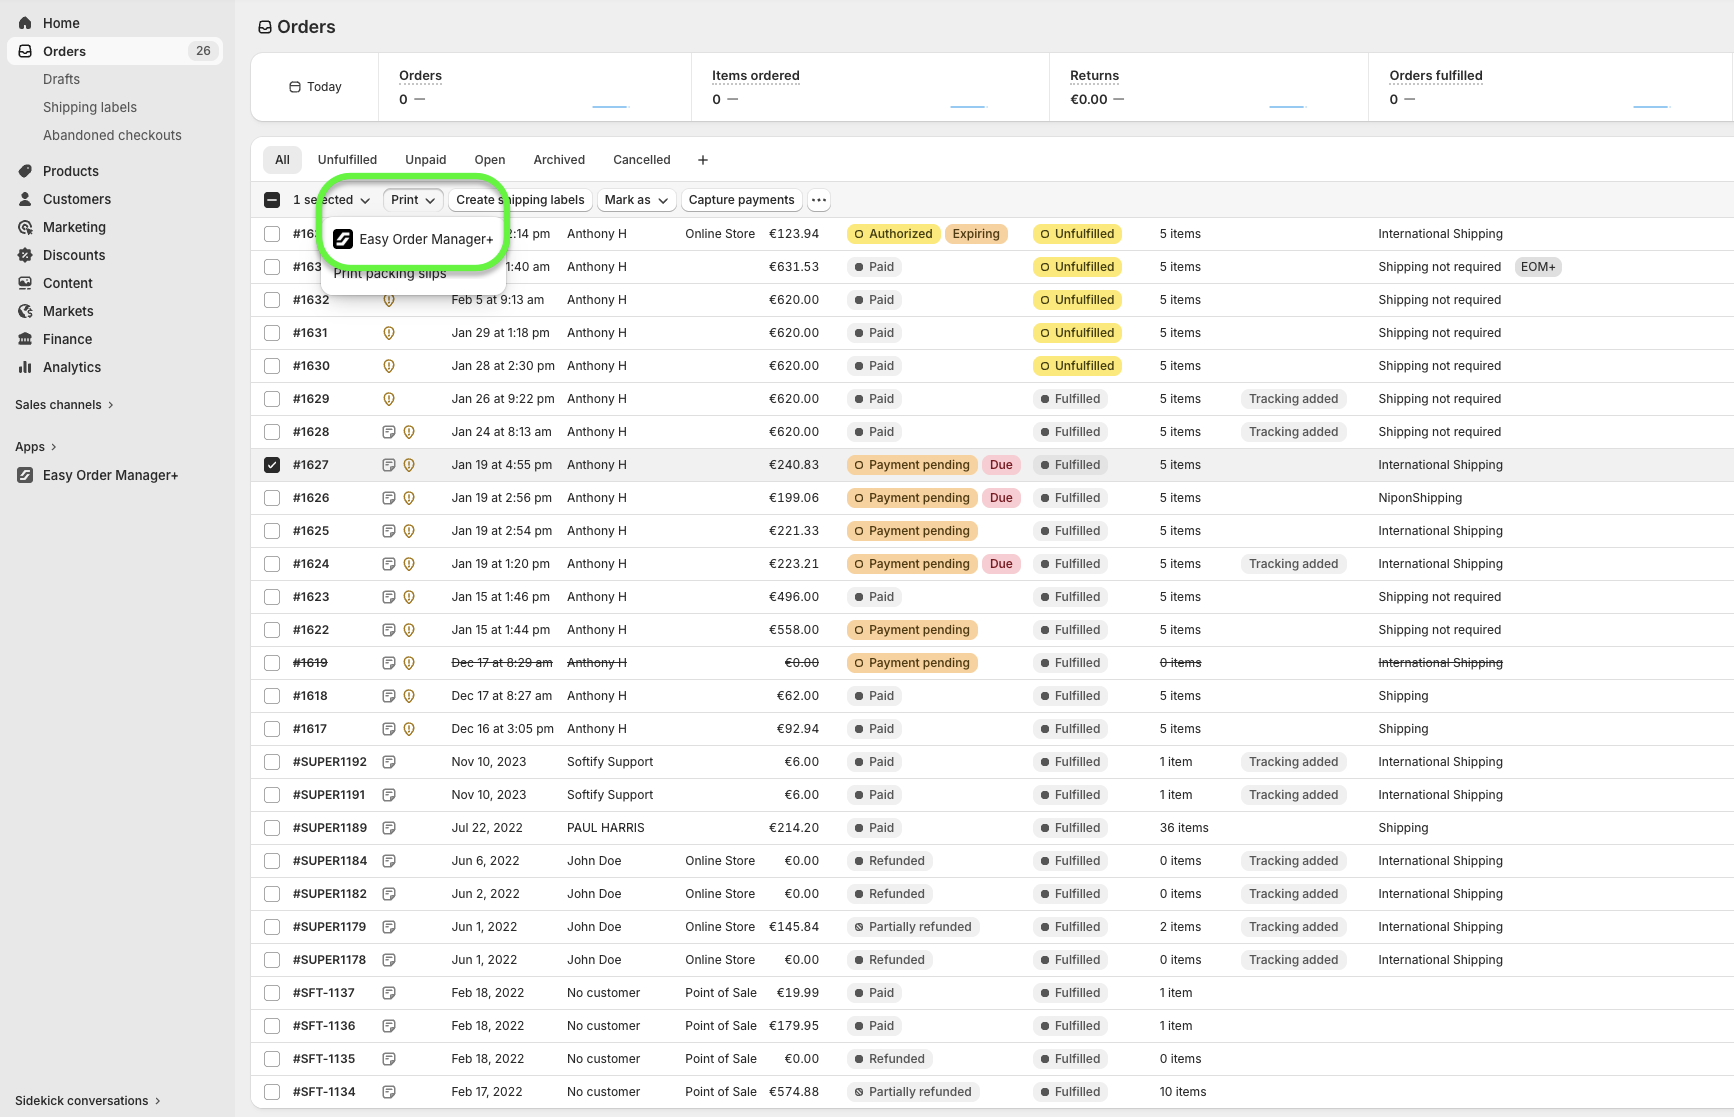
Step 1: Open Orders.

Step 2: Select the order.
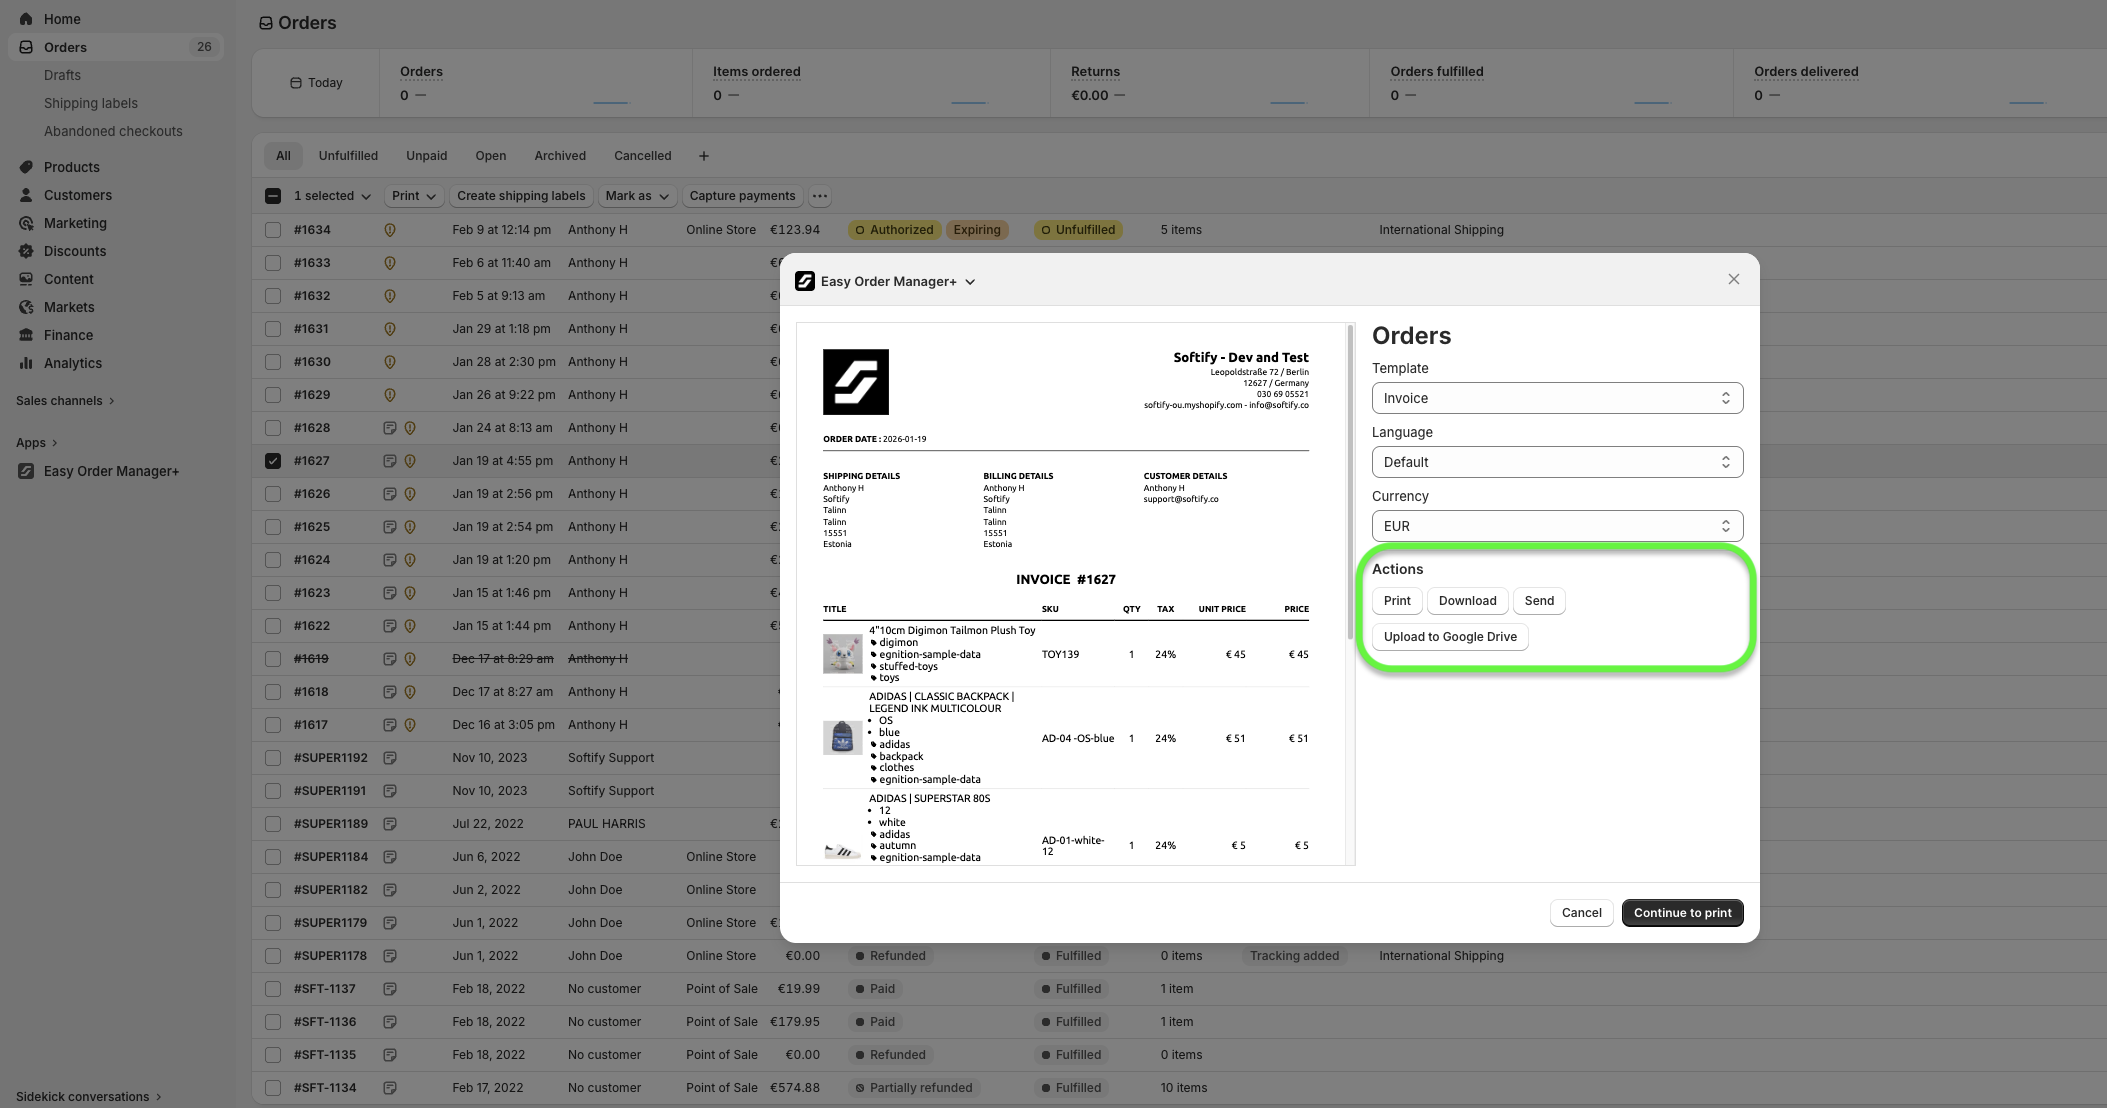
Step 3: Click Print and select Easy Order Manager+.
Step 4: Click Process under Actions.
If you see a content block warning when using a Chrome or Chromium-based browser, follow these steps:
- Go to chrome://flags/
- Search for OOPIF
- Set it to Disabled
- Restart your browser
From Easy Order Manager+
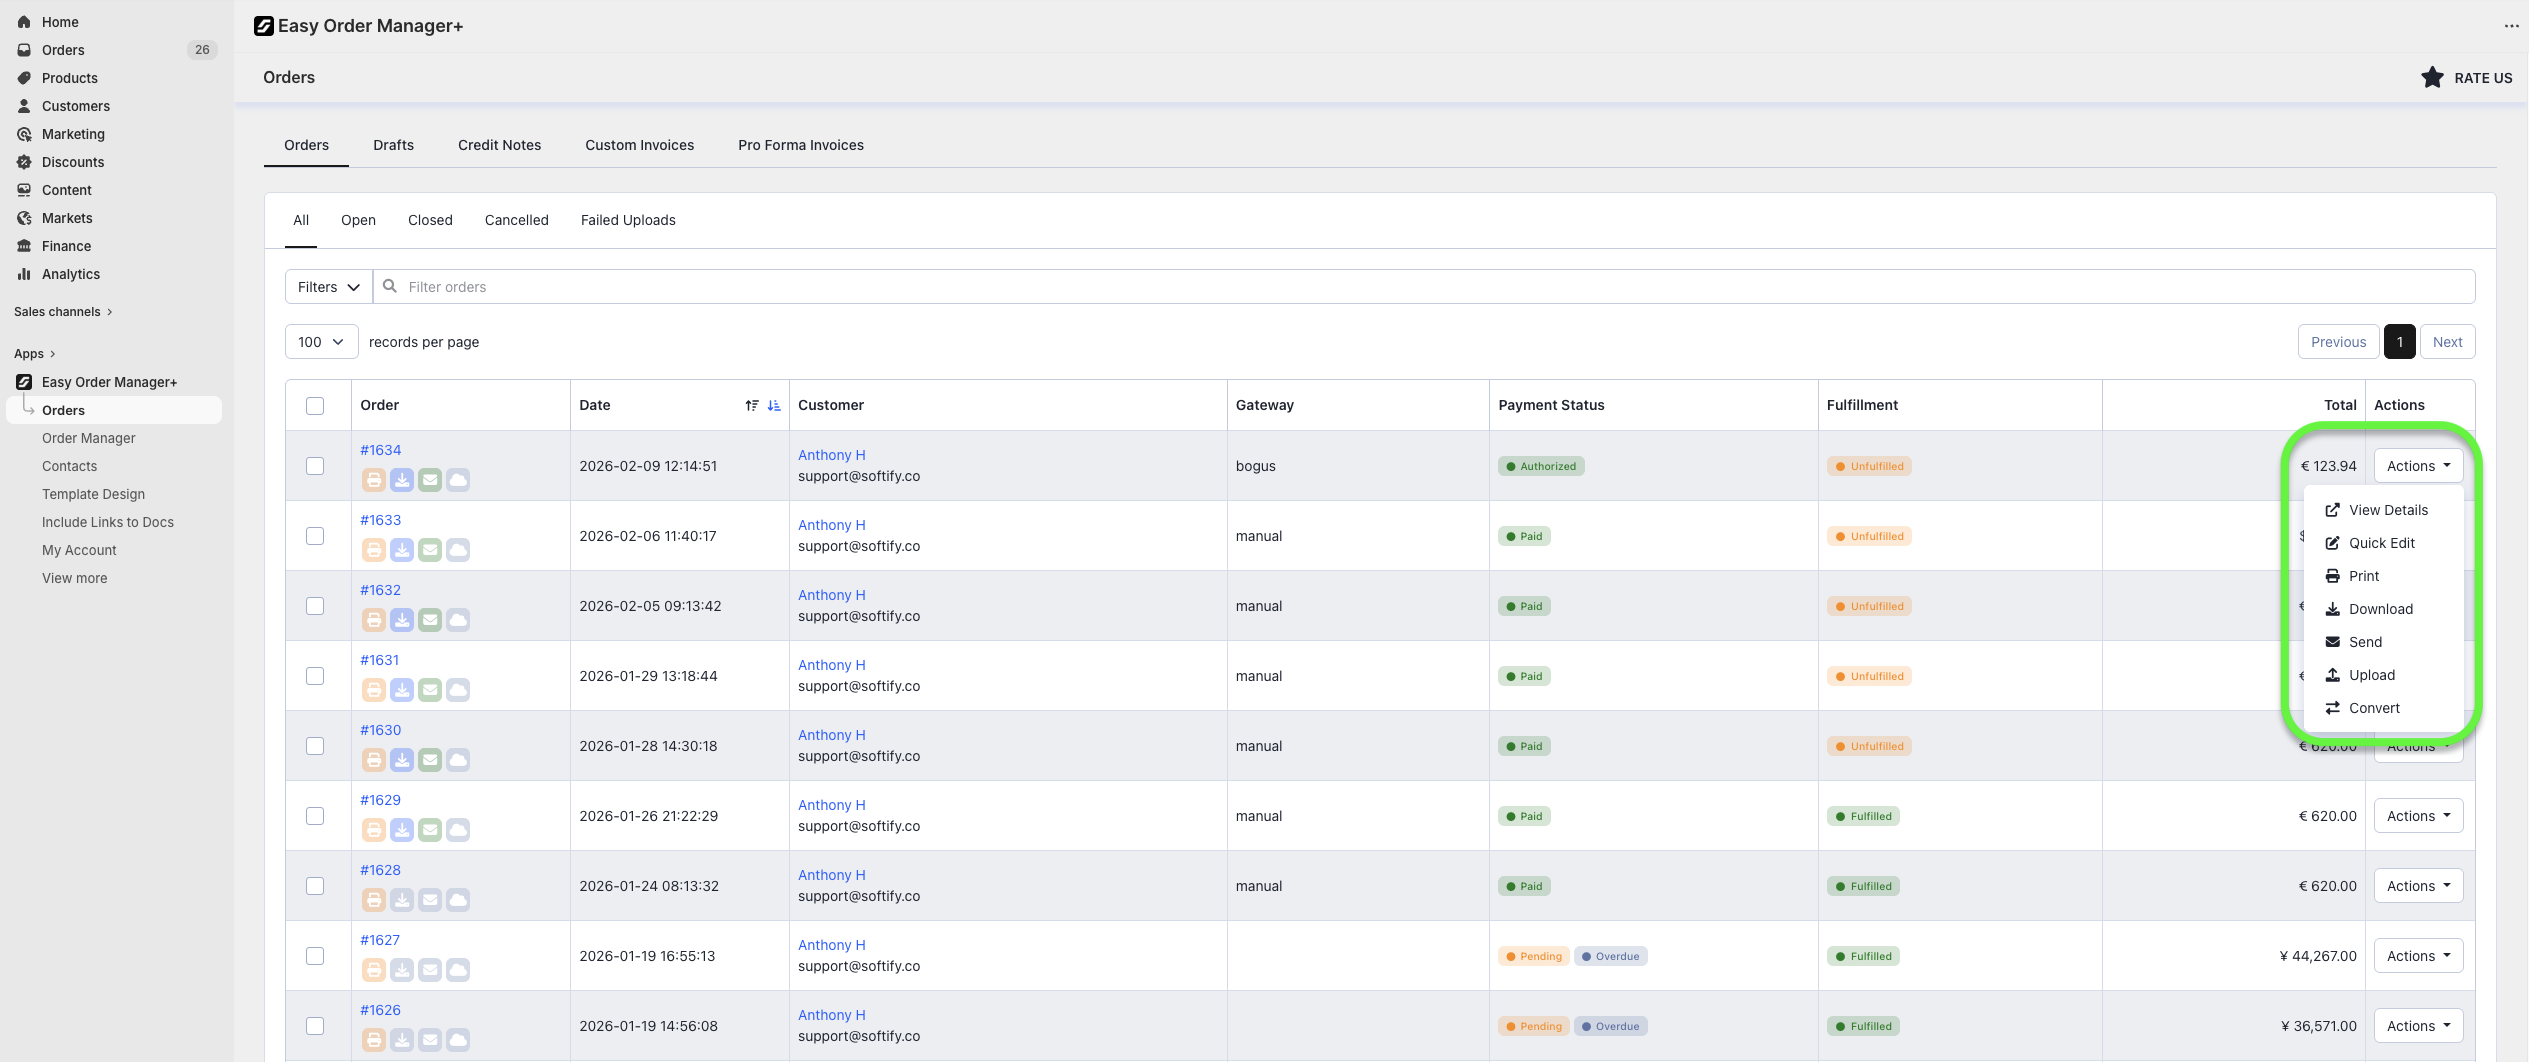
Step 1: Open the Orders tab.
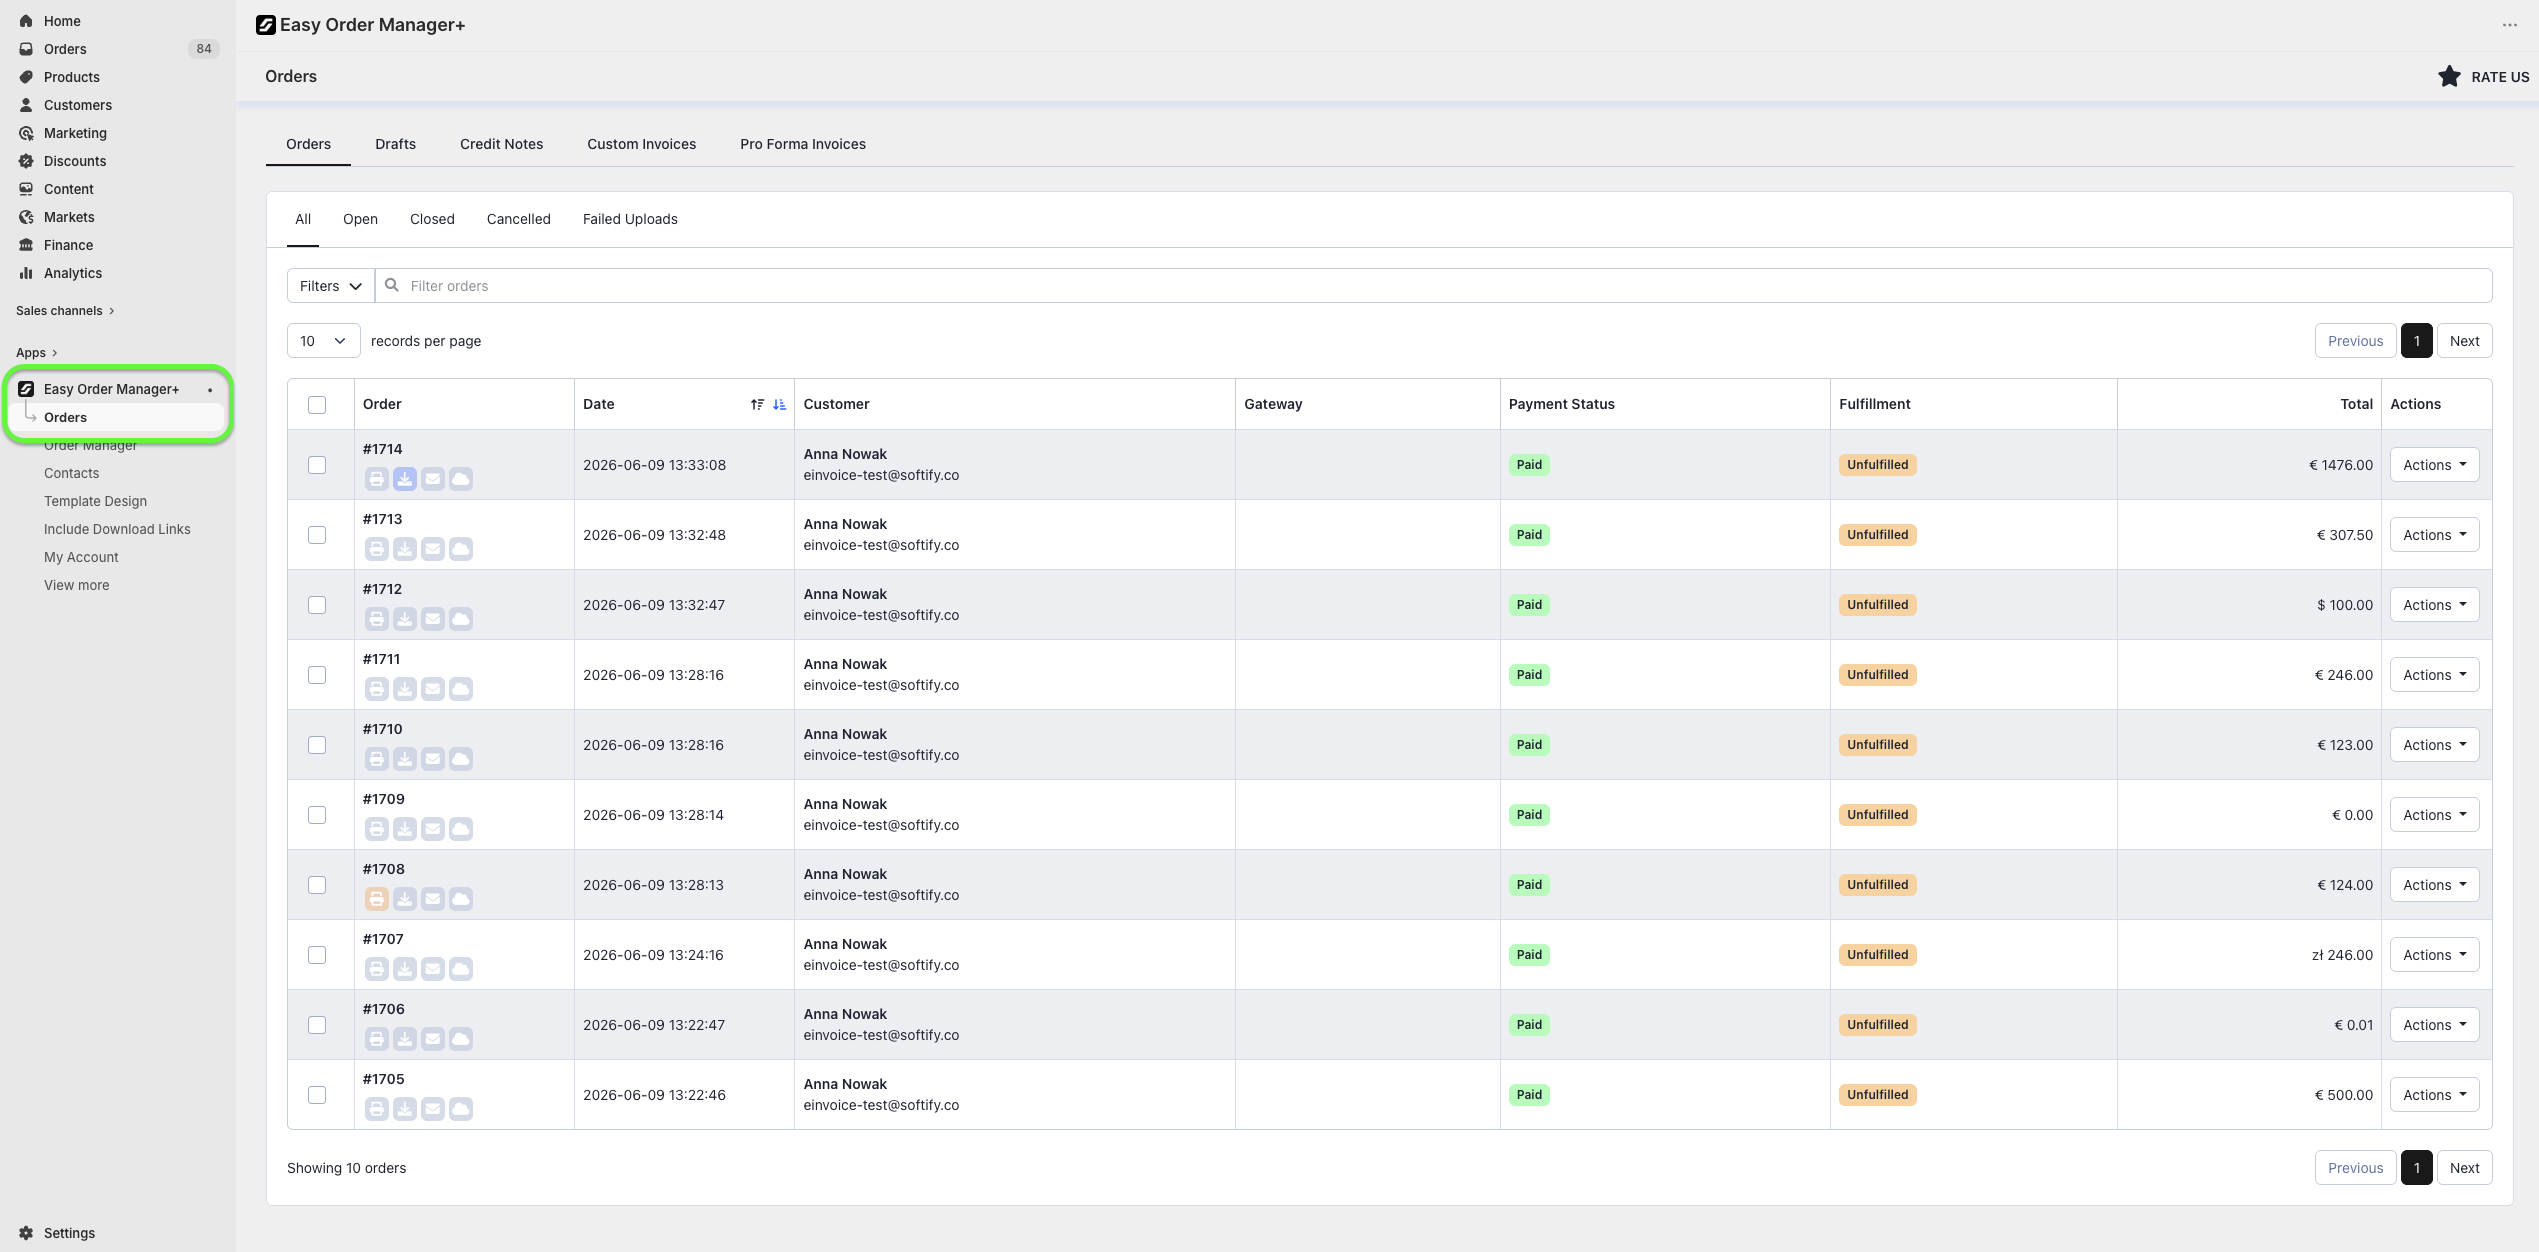
Step 2: Click Actions and choose Process.
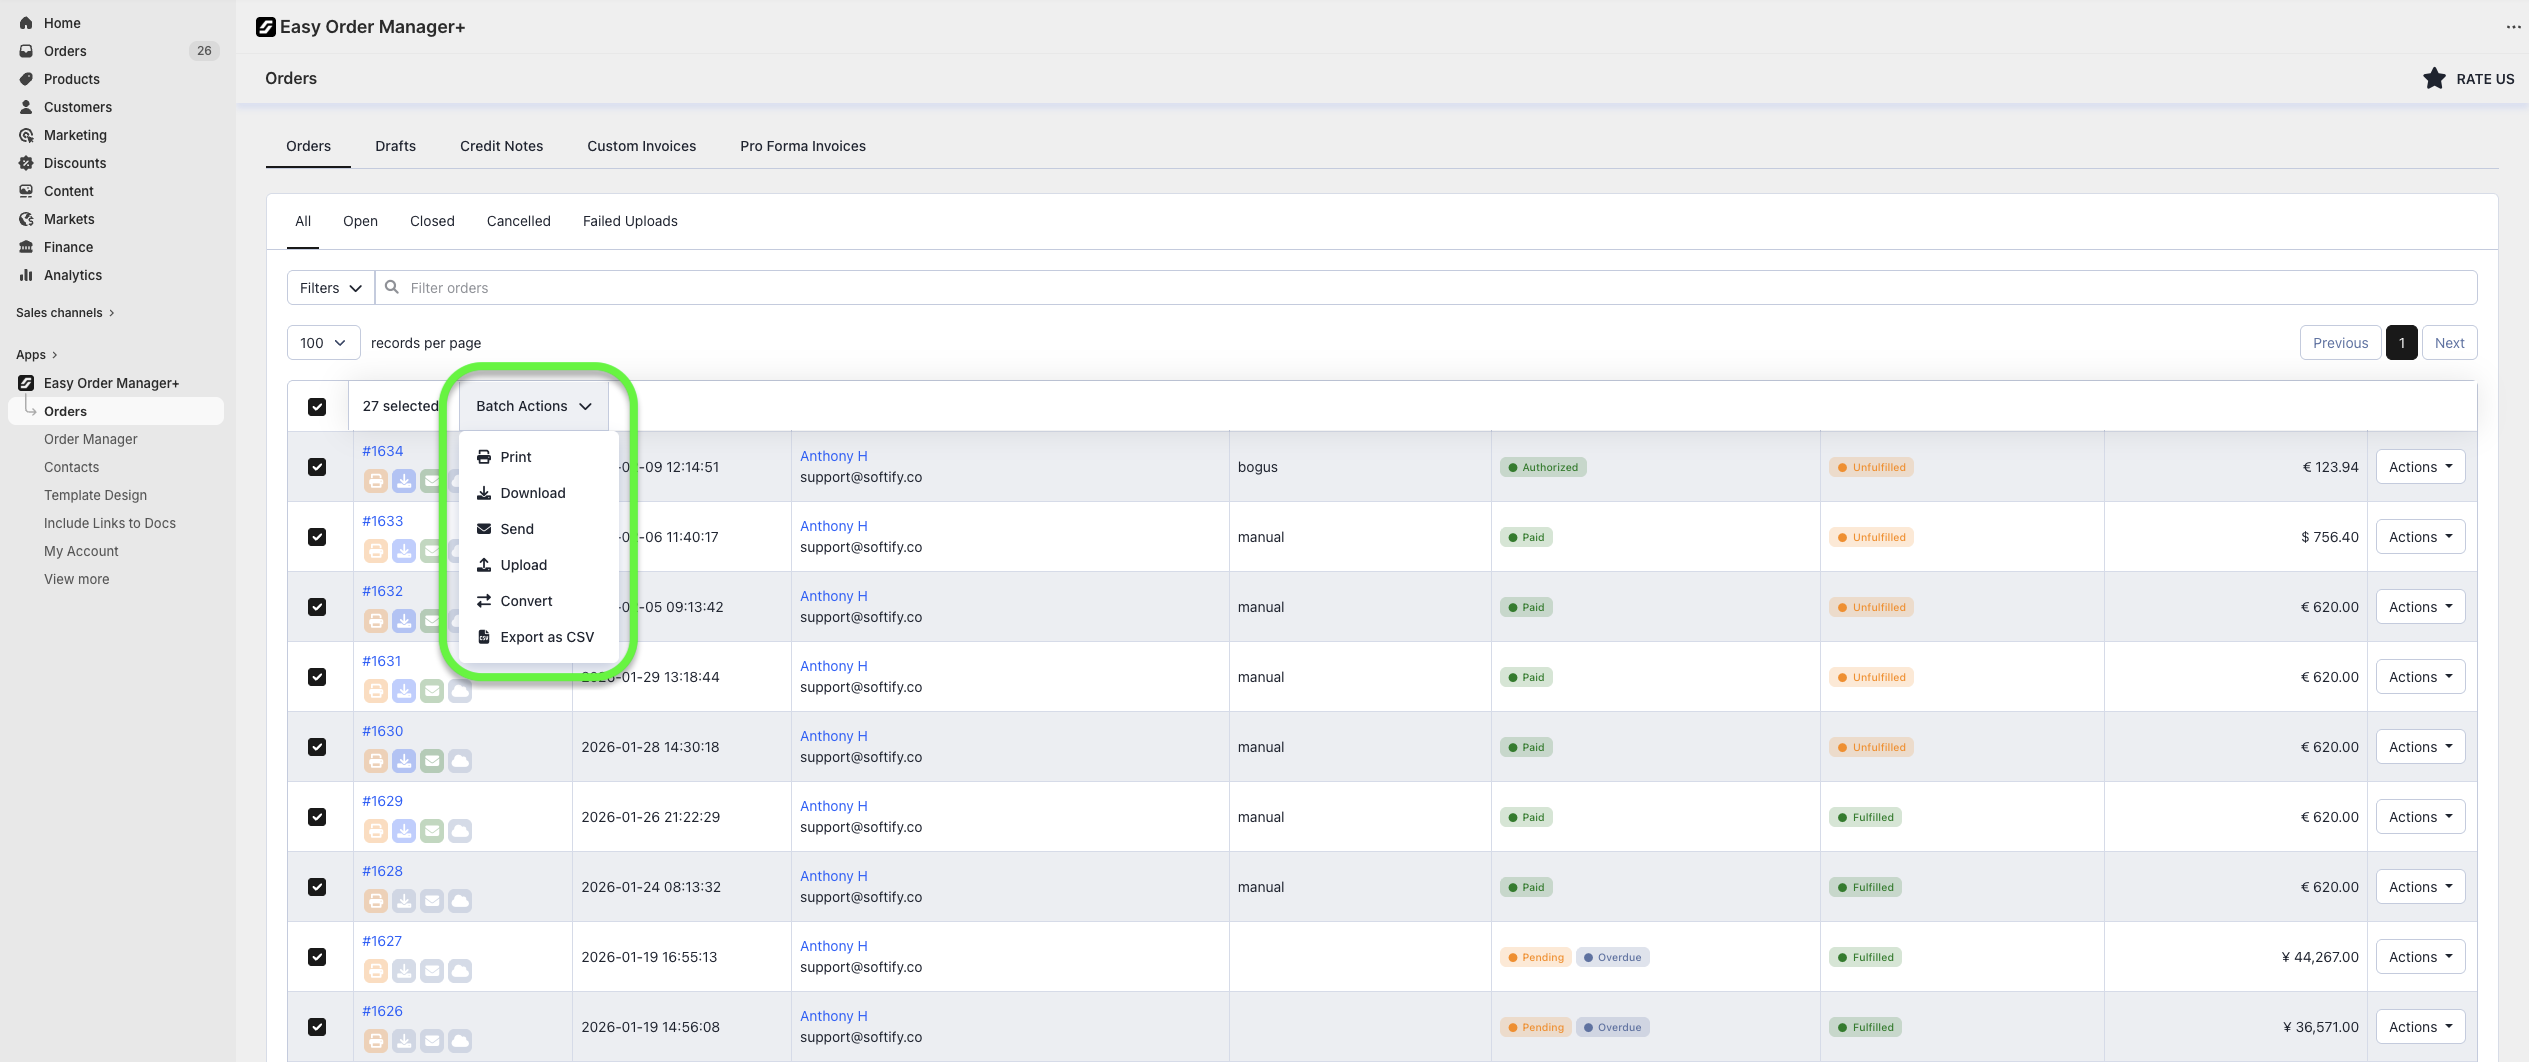
Bulk Processing
- Select multiple orders.
- Click Batch Actions and choose a process option.
Bulk processing is available on Advanced and Enterprise plans only.
Need Additional Help?
- Visit the Help Center in your Easy Order Manager+ dashboard.
- Or email us directly.