This guide will walk you through the steps to upload and customize your logo on your invoice template using Easy Order Manager+.
Step 1: Log in to your Shopify account.
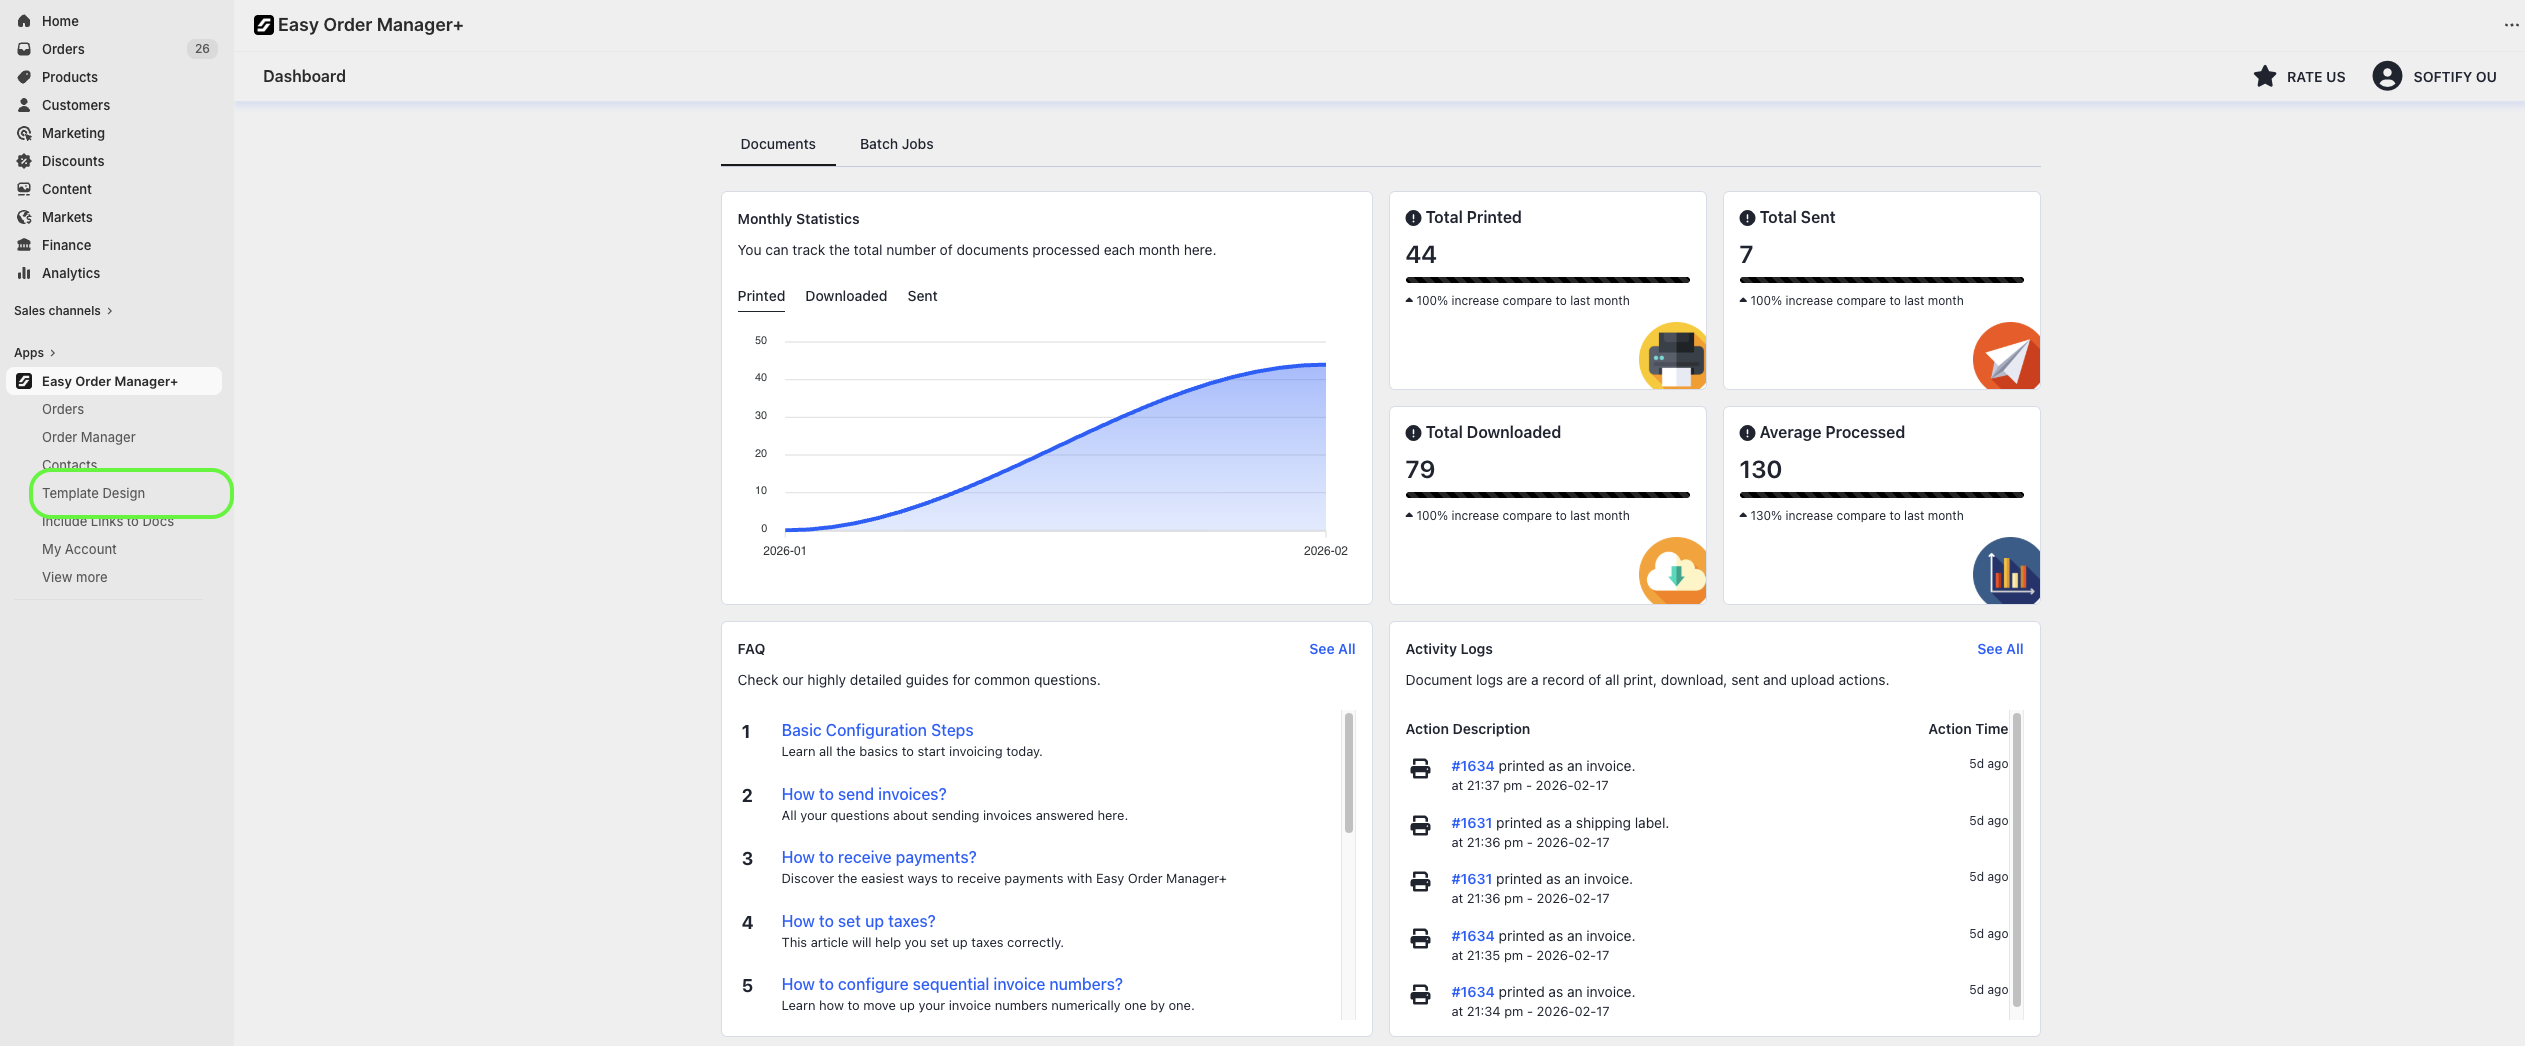
Step 2: Navigate to the Apps section of your Shopify store and select Easy Order Manager+. You will be automatically redirected to the app dashboard.

Step 3: From the dashboard, click on Template Design.
Step 4: In the Template Design page, select the Design section.

Step 5: Under the Branding & Layout section, click the Choose File button.
![]()
Step 6: Select the logo image file from your computer and click Open to upload it. Once uploaded, you can adjust the logo’s dimensions using the Logo Size setting.
![]()
Step 7:Once you’ve made your selection, click the Save button at the top center of the screen to apply your changes.
![]()
Need Additional Help?
- Visit the Help Center section within your Easy Order Manager+ dashboard to create a ticket
- Or contact us by email
We’re always happy to help!