This guide provides all the essential information for uploading your invoices to your Google Drive account using Easy Order Manager+.
Manual uploads to Google Drive are also supported for Drafts, Packing Slips, Return Labels, and Shipping Labels.
Step 1: Log in to your Shopify account.
Step 2: Navigate to the Apps section of your Shopify store and select Easy Order Manager+. You will be automatically redirected to the app dashboard.

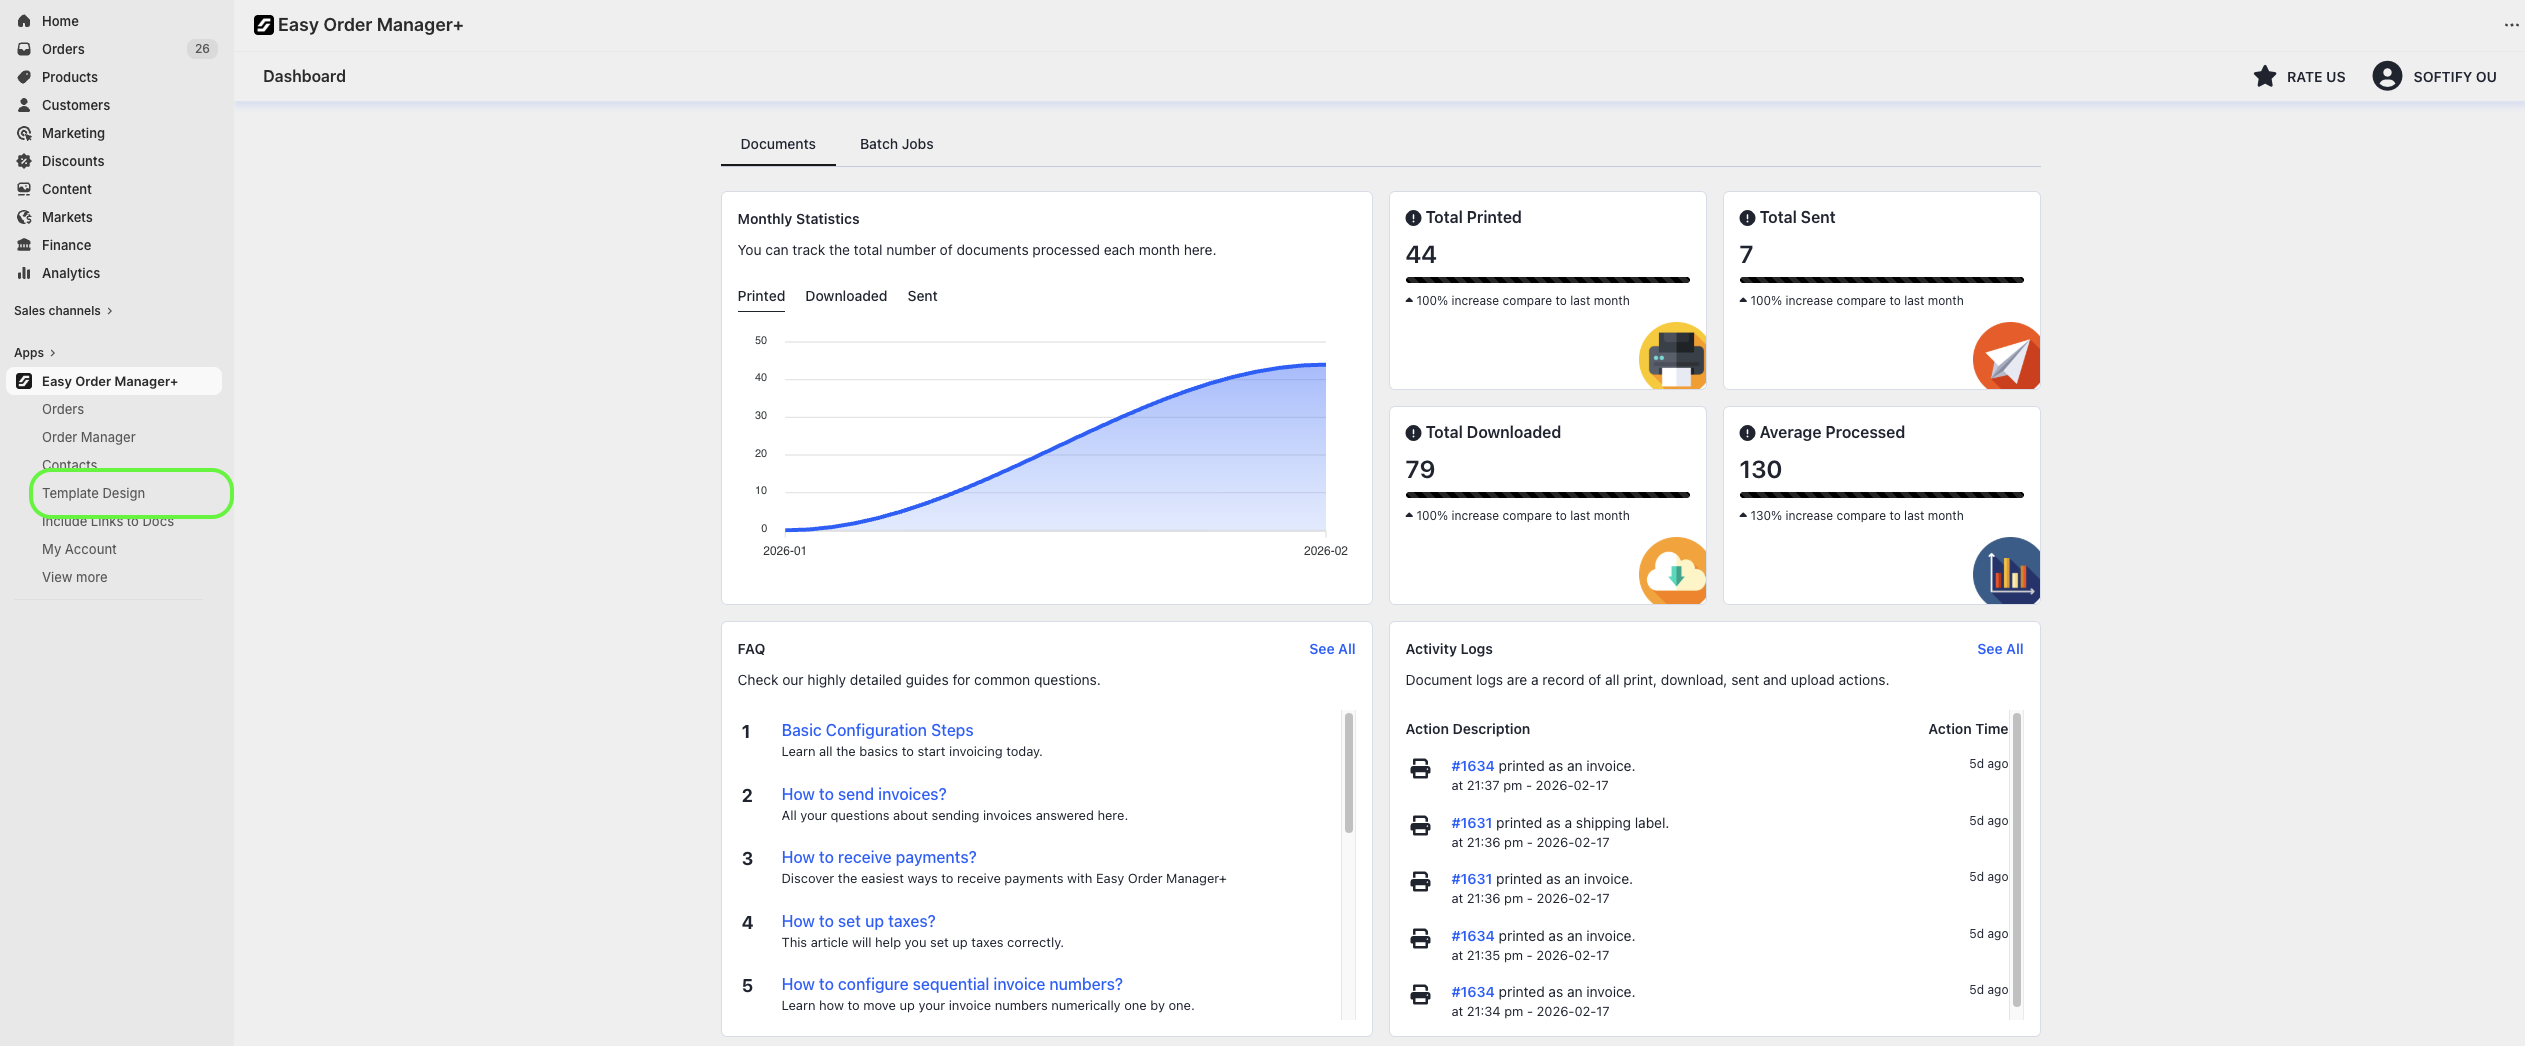
Step 3: From the dashboard, click on Template Design.
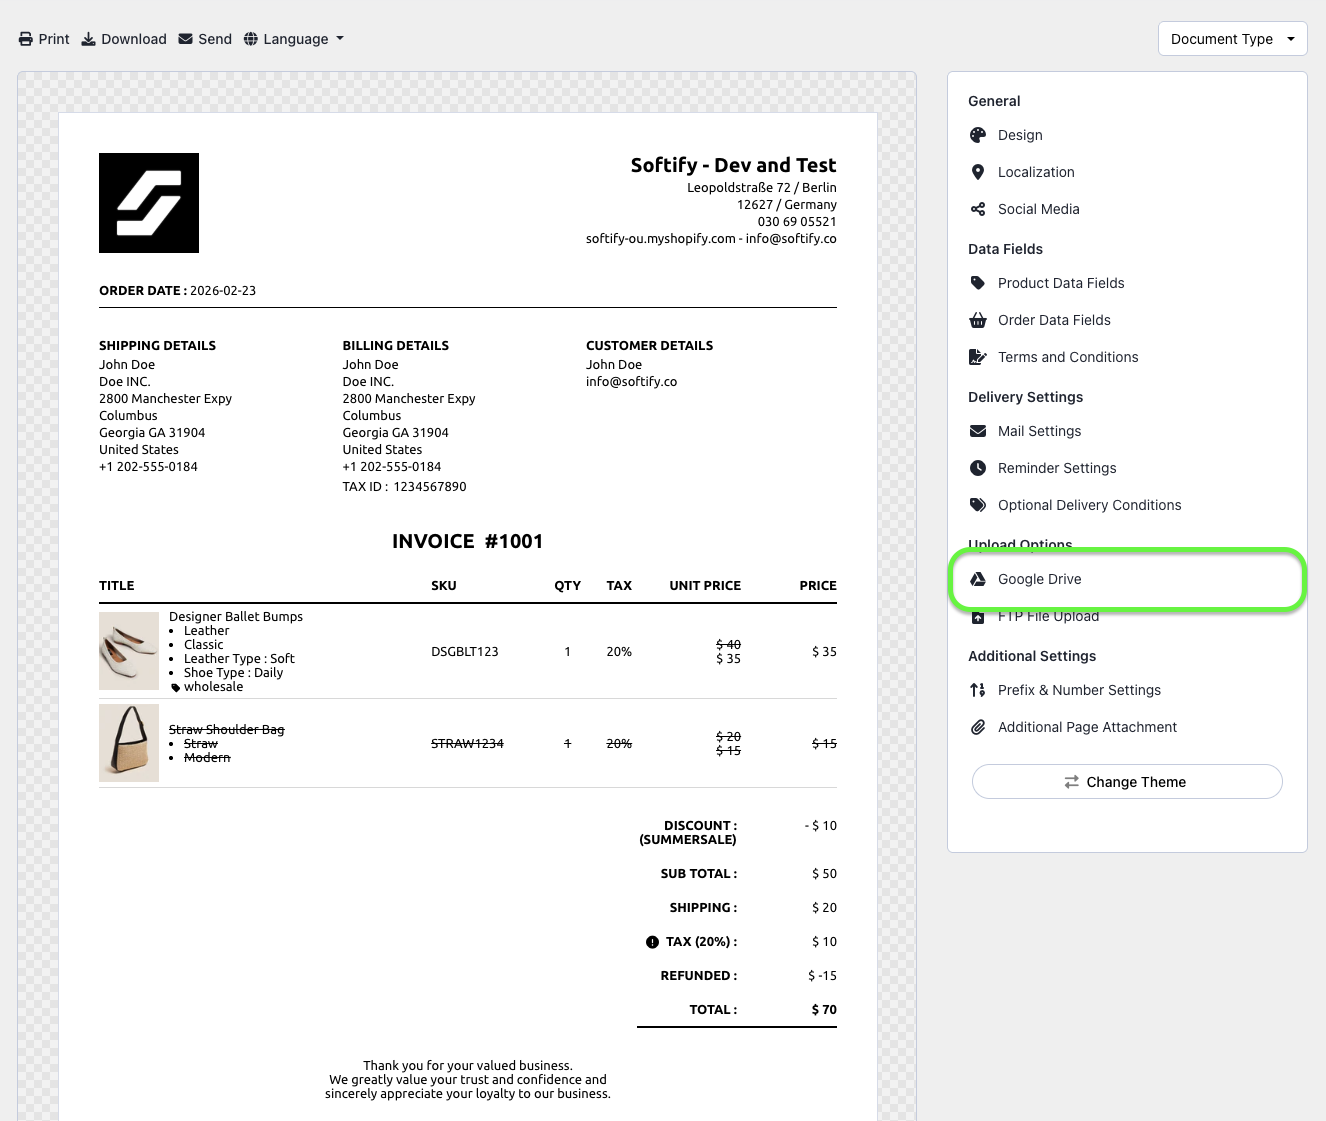
Step 4: Click on Google Drive.
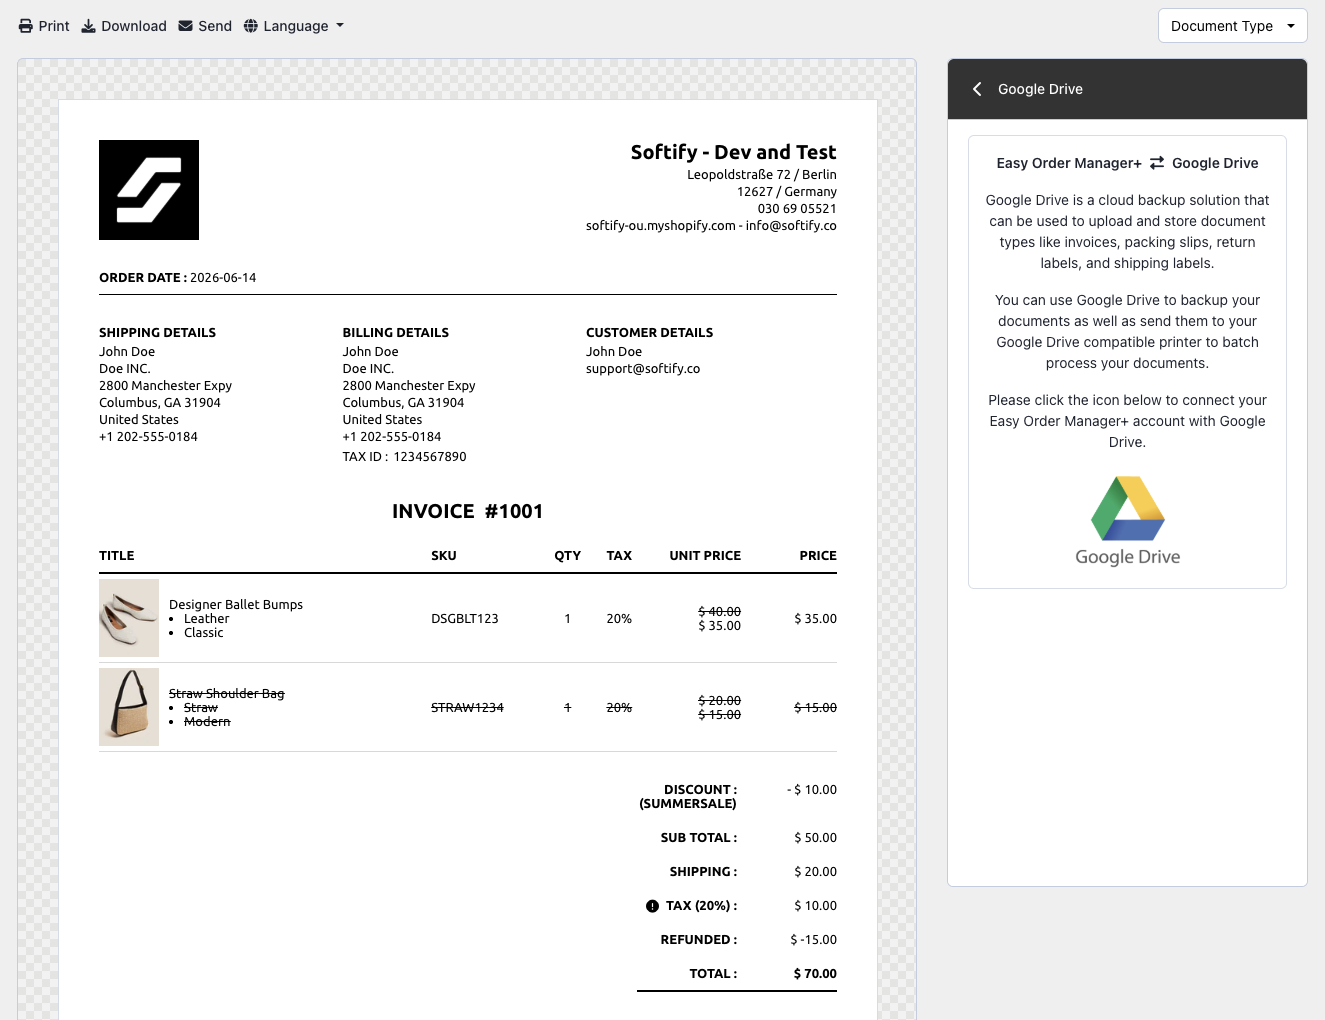
Step 5: Click the Google Drive logo and complete the authentication process with your Google account.
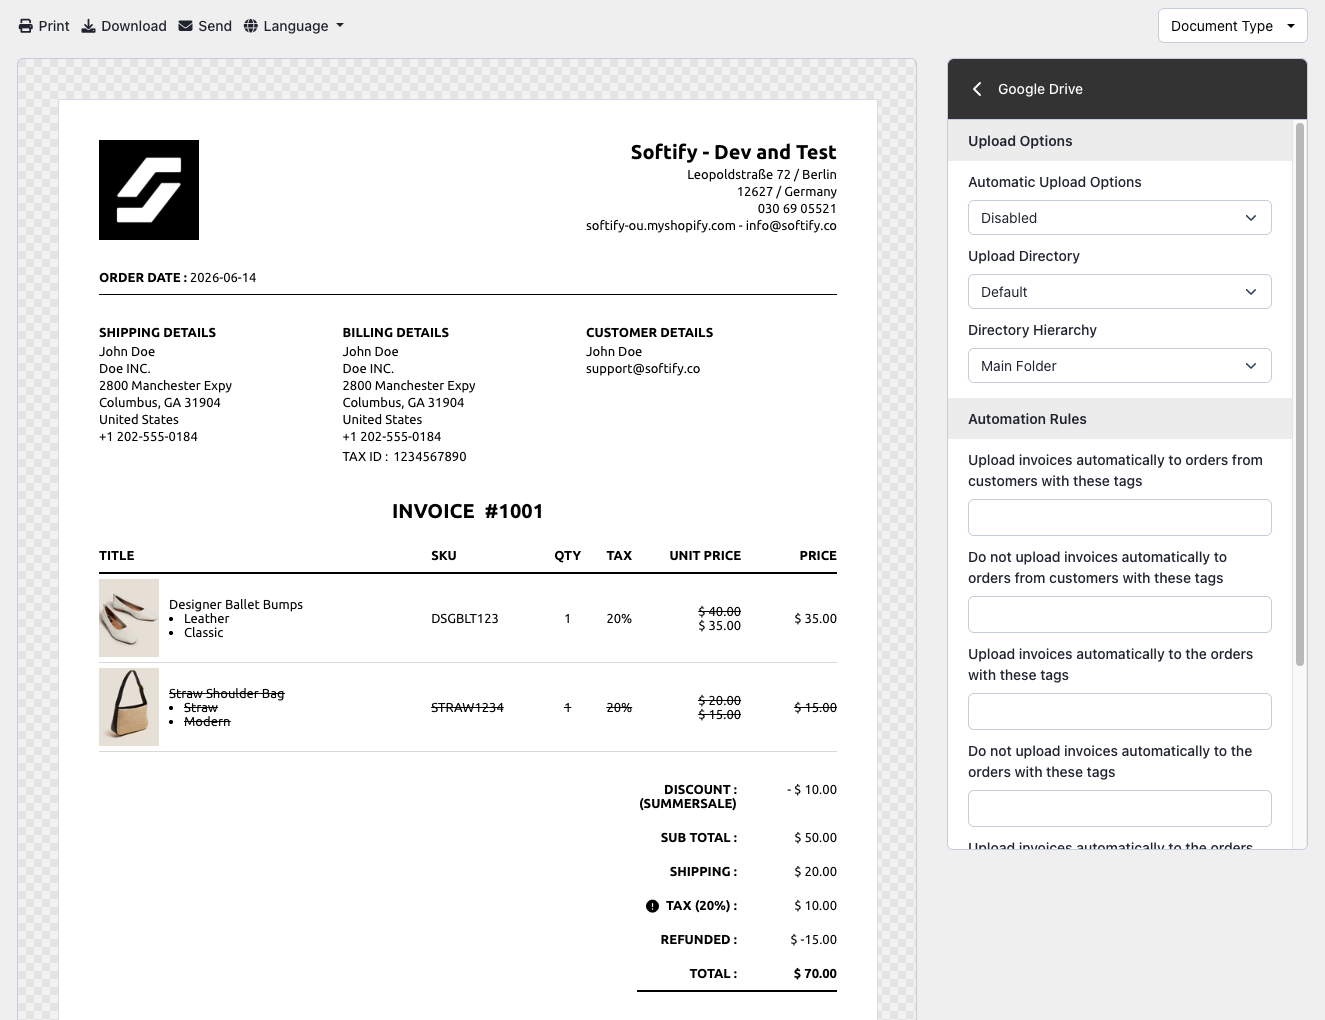
Step 6: After authentication, return to the Google Drive settings and configure your upload preferences:
Upload Options
Automatic Upload Options: Choose when invoices should be uploaded:
- Disabled (default): No automatic upload.
- Auto On Order: Upload immediately after an order is placed.
- Auto On Payment: Upload when a payment is received.
- Auto On Fulfillment: Upload when the order is fulfilled.
Upload Directory: Select your preferred directory in Google Drive. If left blank, a folder named Easy Order Manager+ will be created automatically.
Directory Hierarchy: Choose how your upload folders are organized:
- Main Folder (default): All files in one folder.
- Year > Month > Day: Directories created as year > month > day. Example: 2024/11/09.
- Year – Month – Day: Directories created as year-month-day. Example: 2024-11-09.
- Year > Month-Day: Directories created as year > month-day. Example: 2024/11-09.
Automation Rules
Control which invoices are uploaded based on specific conditions:
- Upload invoices automatically to orders from customers with these tags: Only if customer has specified tags.
- Do not upload invoices automatically to orders from customers with these tags: Exclude orders with specified customer tags.
- Upload invoices automatically to the orders with these tags: Only if order has specified tags.
- Do not upload invoices automatically to the orders with these tags: Exclude orders with specified tags.
- Upload invoices automatically to the orders with these payment gateways: Only for orders paid through specified gateways.
- Do not upload invoices automatically to the orders with these payment gateways: Exclude orders paid through specified gateways.
- Upload invoices automatically for Shopify POS orders: Activate/deactivate uploads for POS orders.
To disconnect Easy Order Manager+ from your Google Drive account, simply click the Disconnect Google Drive button.
Step 7: Once you’ve made your selection, click the Save button at the top center of the screen to apply your changes.
![]()
Need Additional Help?
If you’re still experiencing issues, feel free to reach out to our support team:
- Visit the Help Center section within your Easy Order Manager+ dashboard to create a ticket
- Or click here to email us directly.
We’re always happy to help!