This guide provides all the essential information on how to receive payments through Easy Order Manager+. There are three available methods:
- Sending Drafts
- Custom Invoicing
- Pro Forma Invoices
Sending Drafts
If you’re using Shopify Payments, sending draft invoices through Easy Order Manager+ is one of the supported options to receive payments directly via Shopify Checkout.
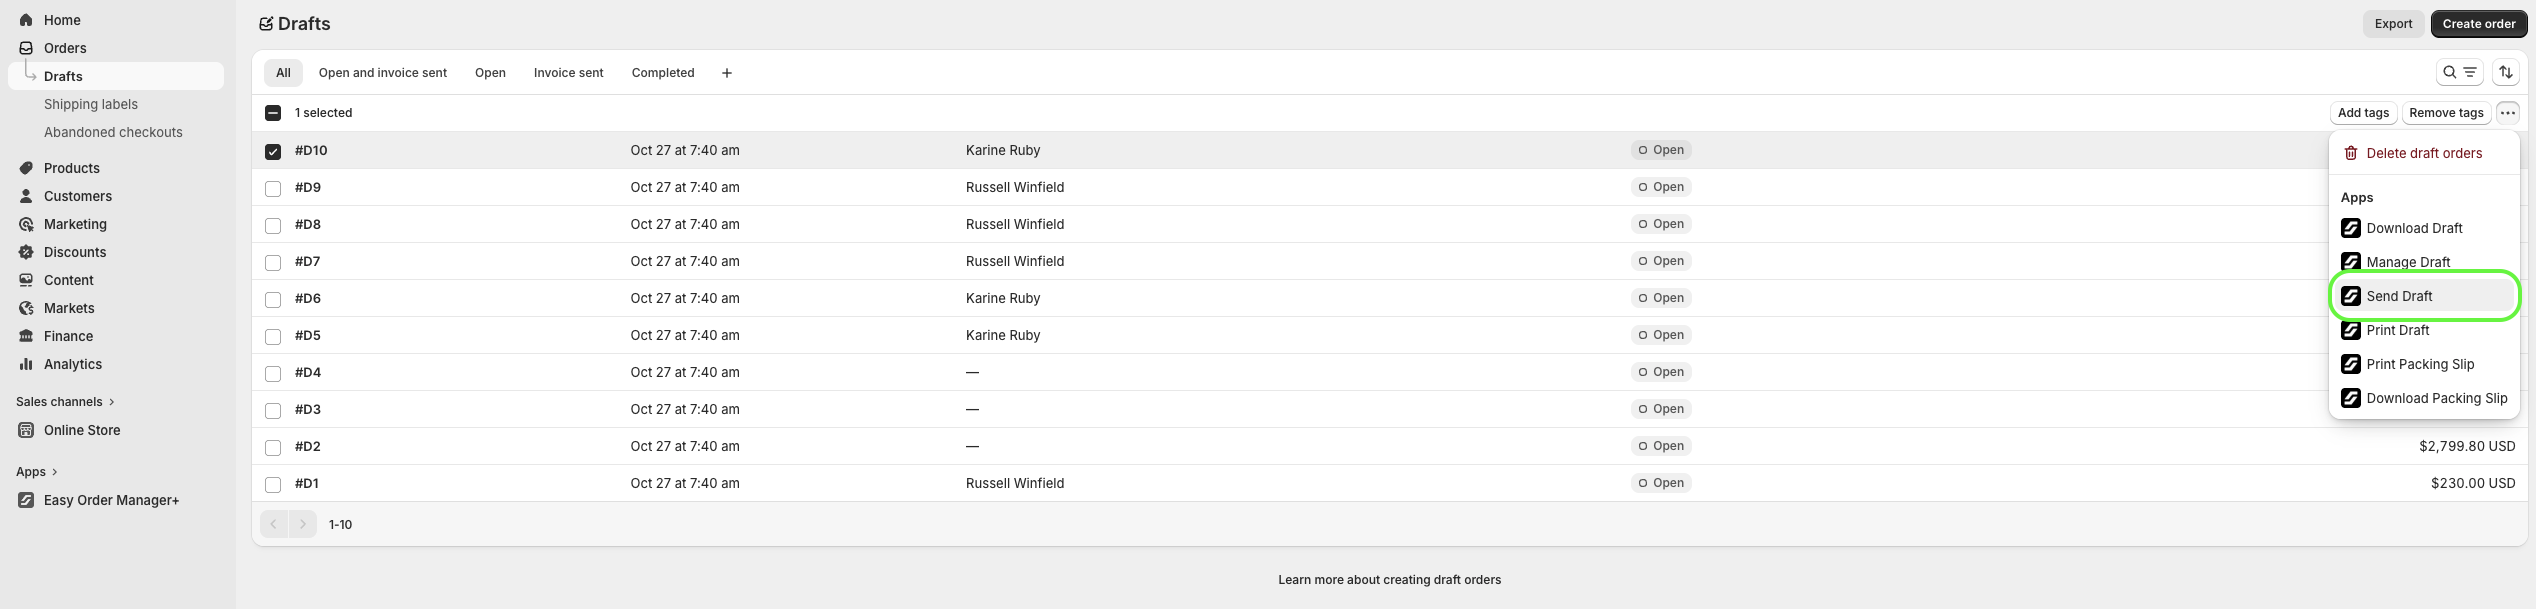
How to send a draft:
- From your Shopify Admin, go to the Draft Orders section.
- Select the draft order you want to send.
- Click the More Actions (represented as
...) dropdown. - Click Send Draft.
Your customer will receive the draft invoice with a secure payment link that redirects them to your store’s checkout page.
Customize the Draft Invoice Email: You can update the email content of draft invoices in the Template Design section of Easy Order Manager+.
Learn more about customizing templates.
Important: Make sure you’ve completed the Shopify Payments setup before sending draft invoices.
For help, see: https://help.shopify.com/en/manual/payments/shopify-payments
Custom Invoicing
With Custom Invoicing, you can generate invoices and receive payments through third-party gateways added via Easy Order Manager+.
Please note: Custom Invoices are created using your store data, but inventory changes are not managed by Easy Order Manager+. Inventory management and order processing must be handled manually.
Steps to receive payments with Custom Invoicing:
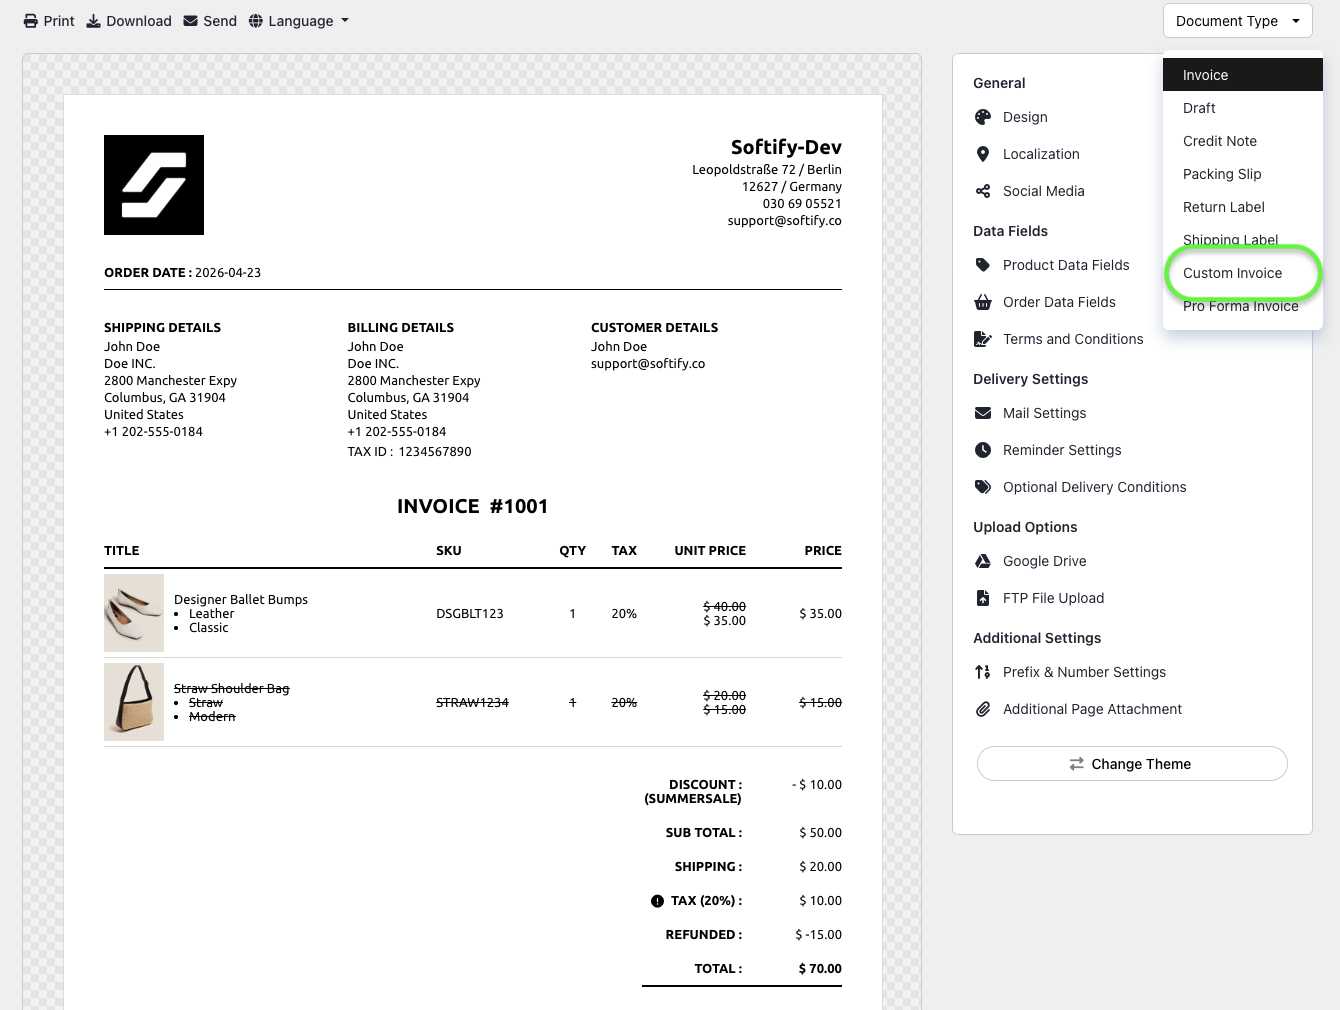
Step 1: Customize your Custom Invoice template.
Go to Template Design and select Custom Invoice from the Document Type dropdown.
Learn more about customizing templates.
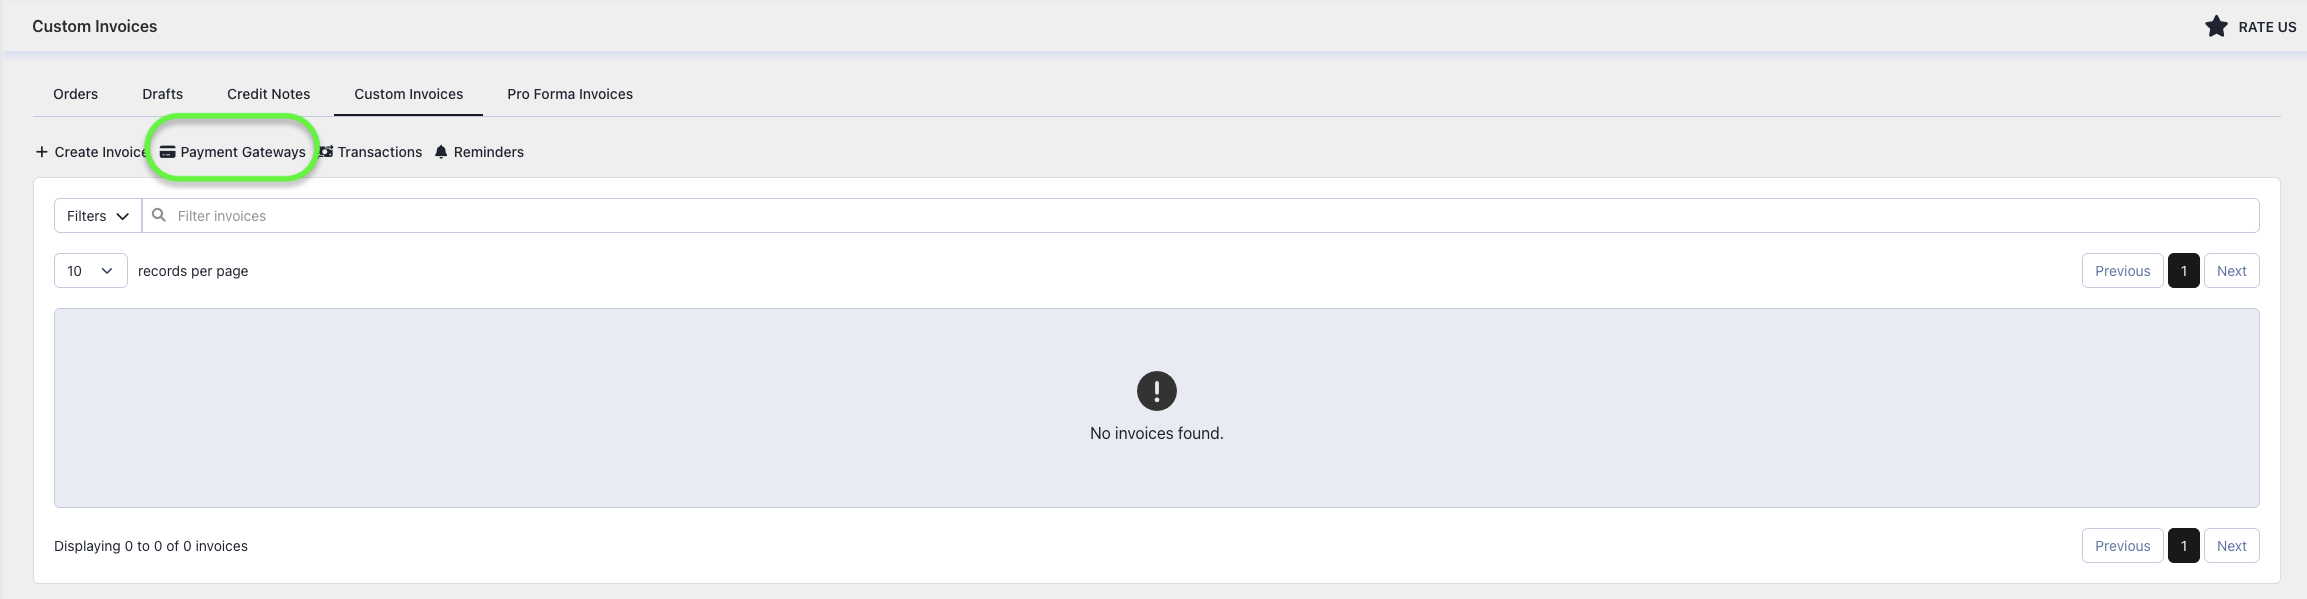
Step 2: Add your preferred payment gateways.
Go to the Custom Invoicing tab under Orders, then select Payment Gateways.
Step 3: Create your Custom Invoice.
Click the Create Invoice button from the Easy Order Manager+ dashboard.
Learn more about creating custom invoices.

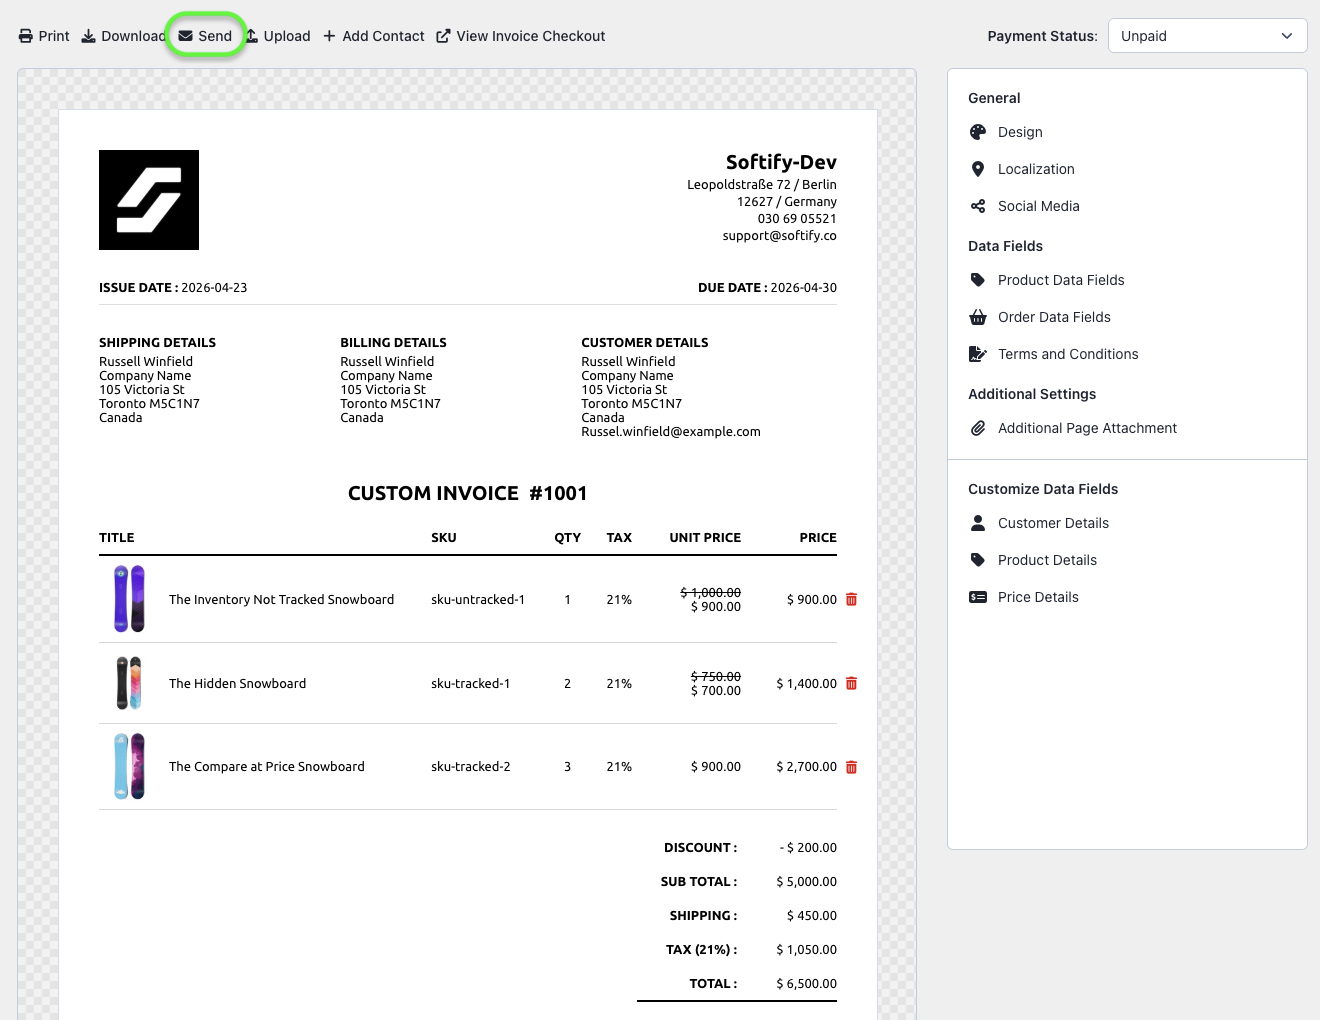
Step 4: Send the invoice to your customer.
You can send it from the invoice detail page by clicking Send, or from the Actions button under the Custom Invoice tab.
You can view payments from the Transactions section under the Custom Invoicing tab.
Optional: Set reminders for unpaid custom invoices.
Learn how to configure reminders.
![]()
Pro Forma Invoices
With Pro Forma Invoices, you can send a preliminary invoice with a payment link that redirects your customer to the checkout page of your store.
Pro Forma Invoices use Shopify Payments. Please ensure that your payment setup is complete before sending.
For setup instructions, visit: https://help.shopify.com/en/manual/payments/shopify-payments
Steps to send a Pro Forma Invoice:
Step 1: Customize your Pro Forma template.
Learn more about customizing templates.
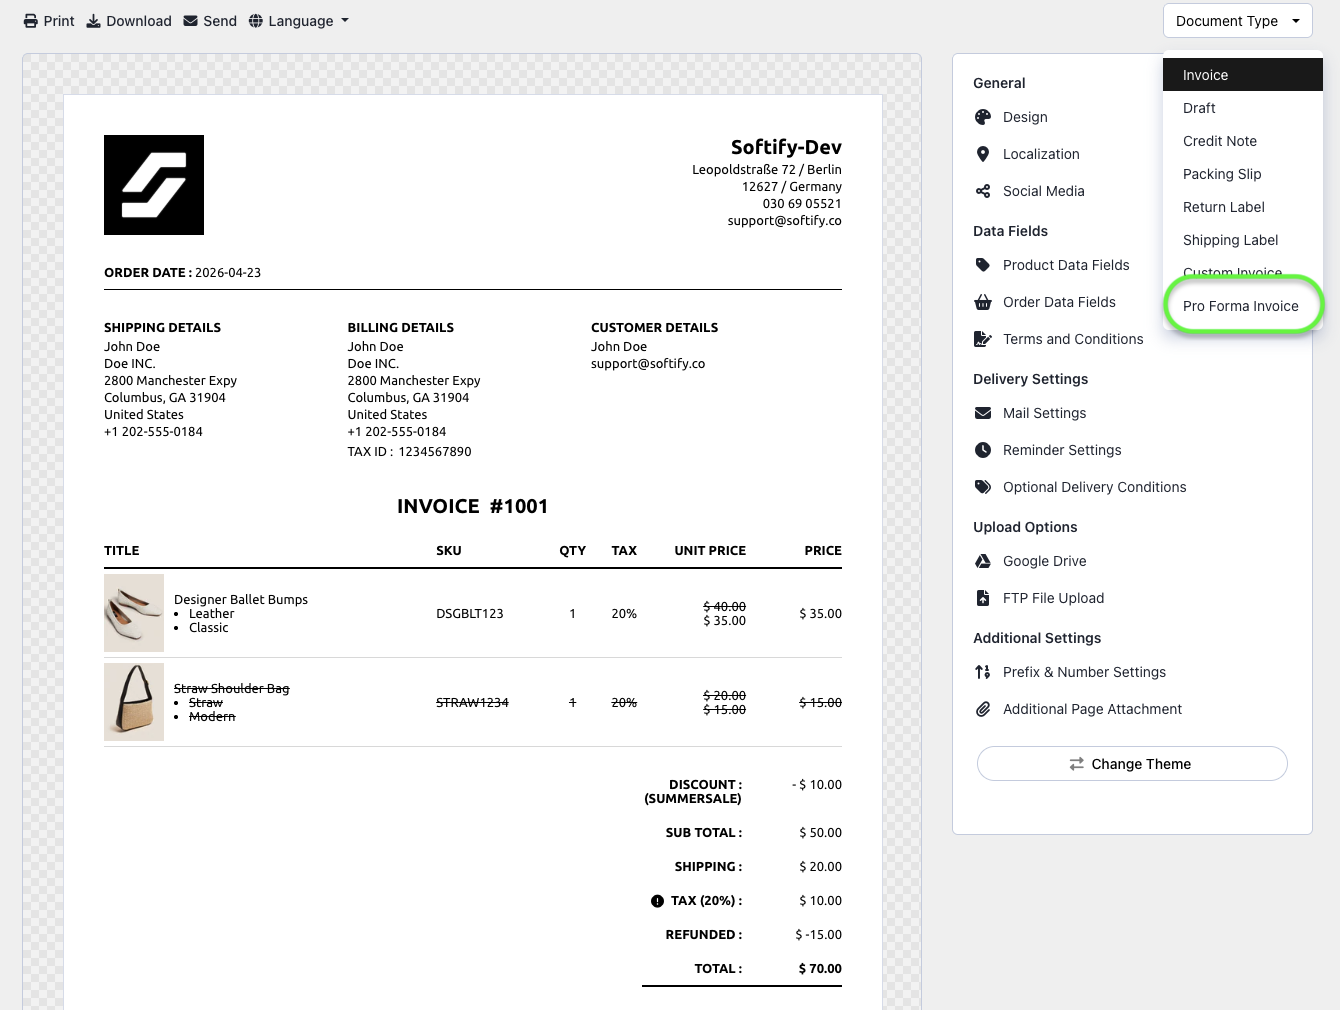
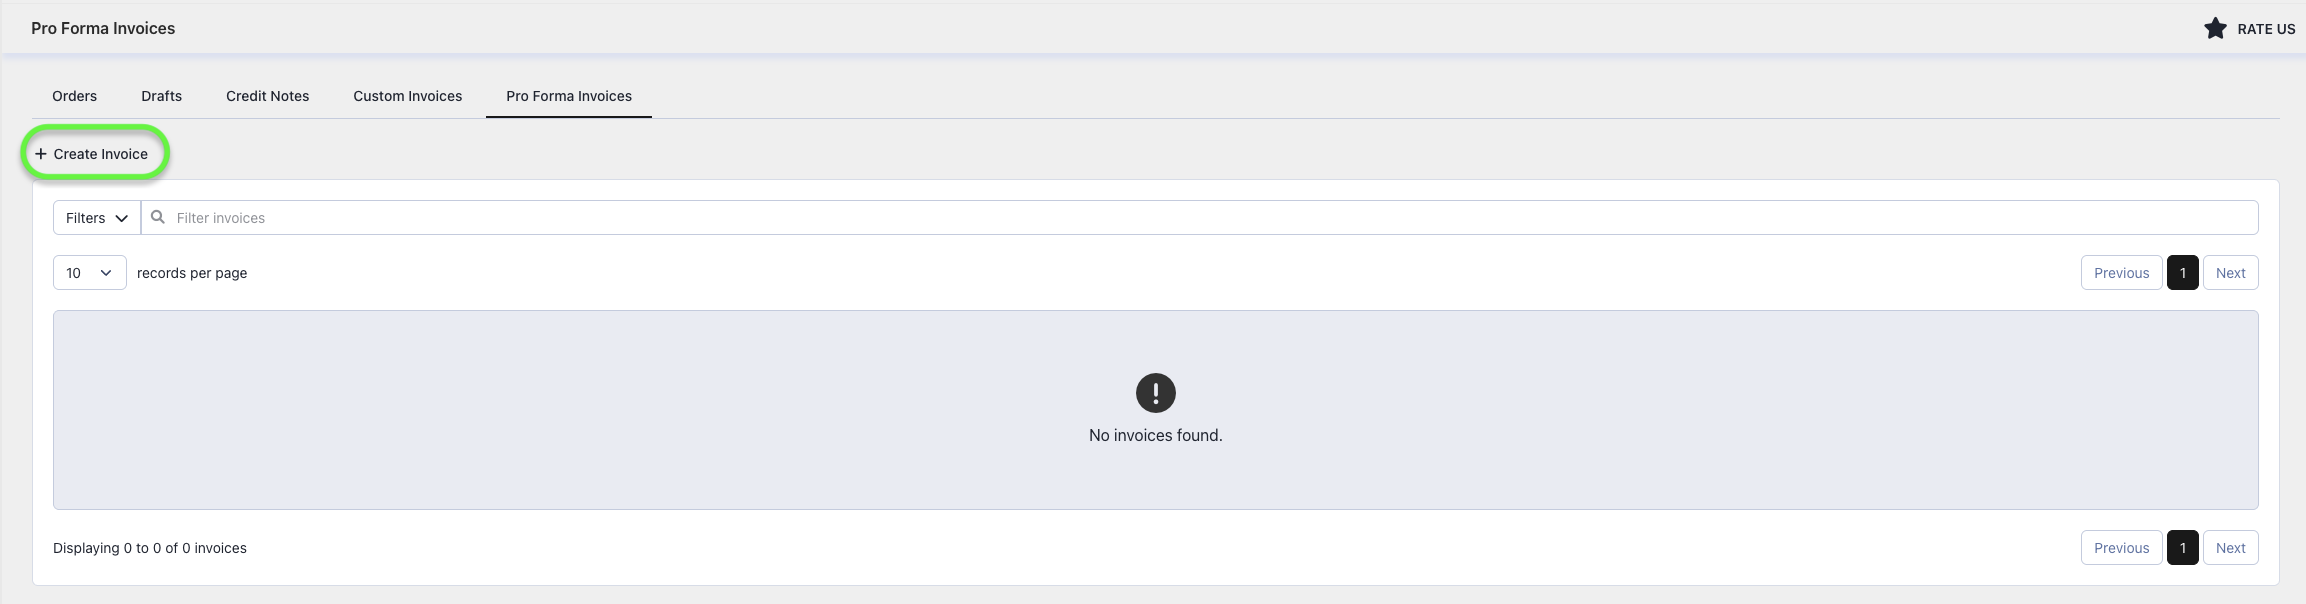
Step 2: Create the Pro Forma Invoice from the Easy Order Manager+ dashboard.
Learn more about creating Pro Forma Invoices.
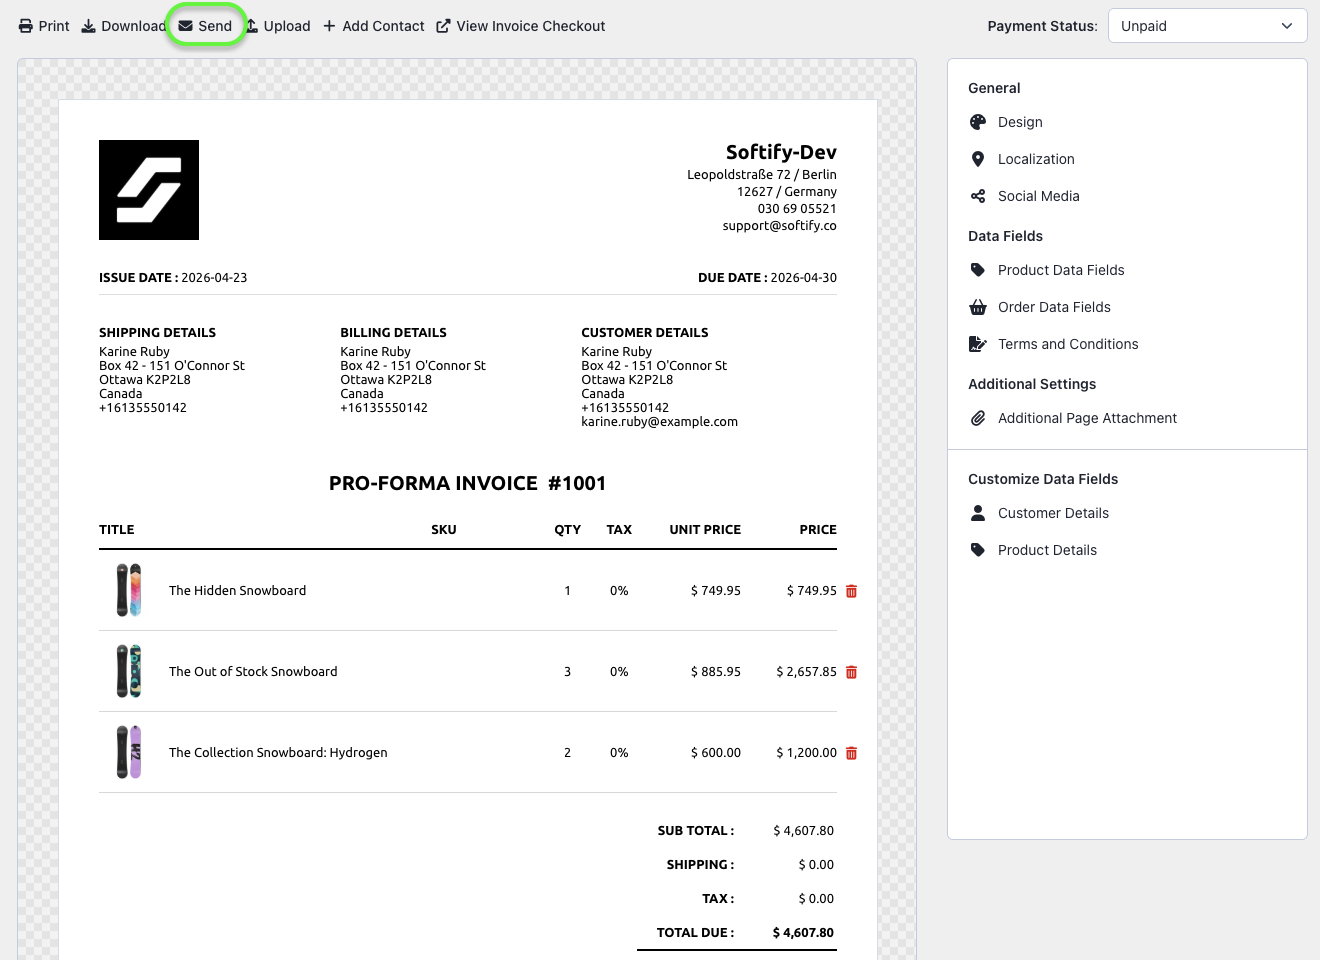
Step 3: Send the invoice to your customer.
Use the Send button on the invoice detail page or the Actions button in the Custom Invoice tab under Orders.
When the customer clicks the payment link in the Pro Forma Invoice, they will be redirected to the checkout page where shipping fees are calculated.
Need Additional Help?
If you’re still experiencing issues, feel free to reach out to our support team:
- Visit the Help Center section within your Easy Order Manager+ dashboard to create a ticket.
- Or click here to email us directly.
We’re always happy to help!