This guide provides all the essential information on customizing order data fields on your invoices using Easy Order Manager+.
Step 1: Log in to your Shopify account.
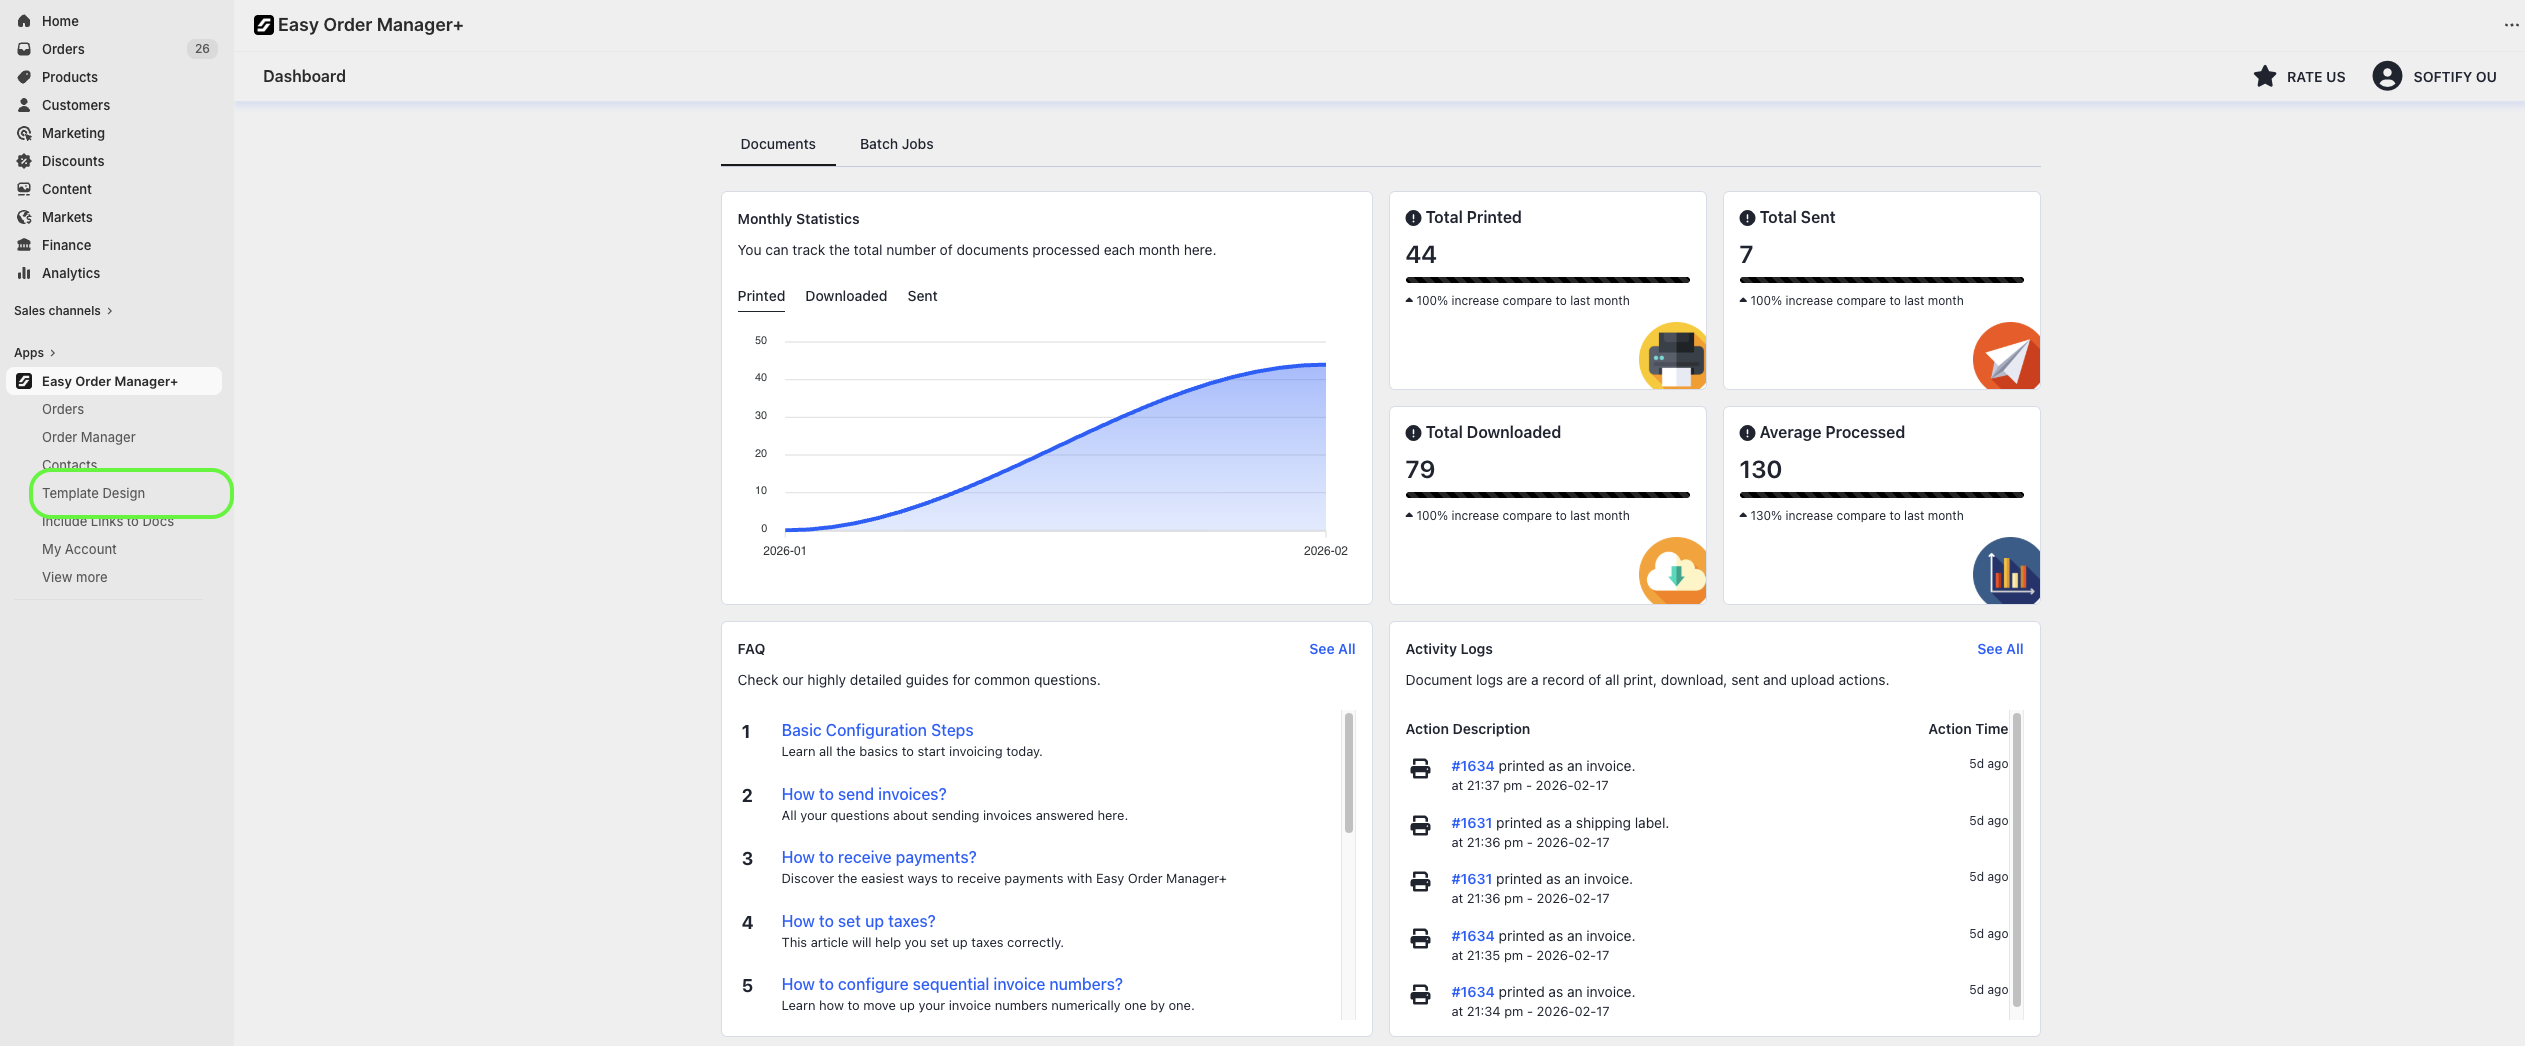
Step 2: Navigate to the Apps section of your Shopify store and select Easy Order Manager+. You will be automatically redirected to the app dashboard.

Step 3: From the dashboard, click on Template Design.
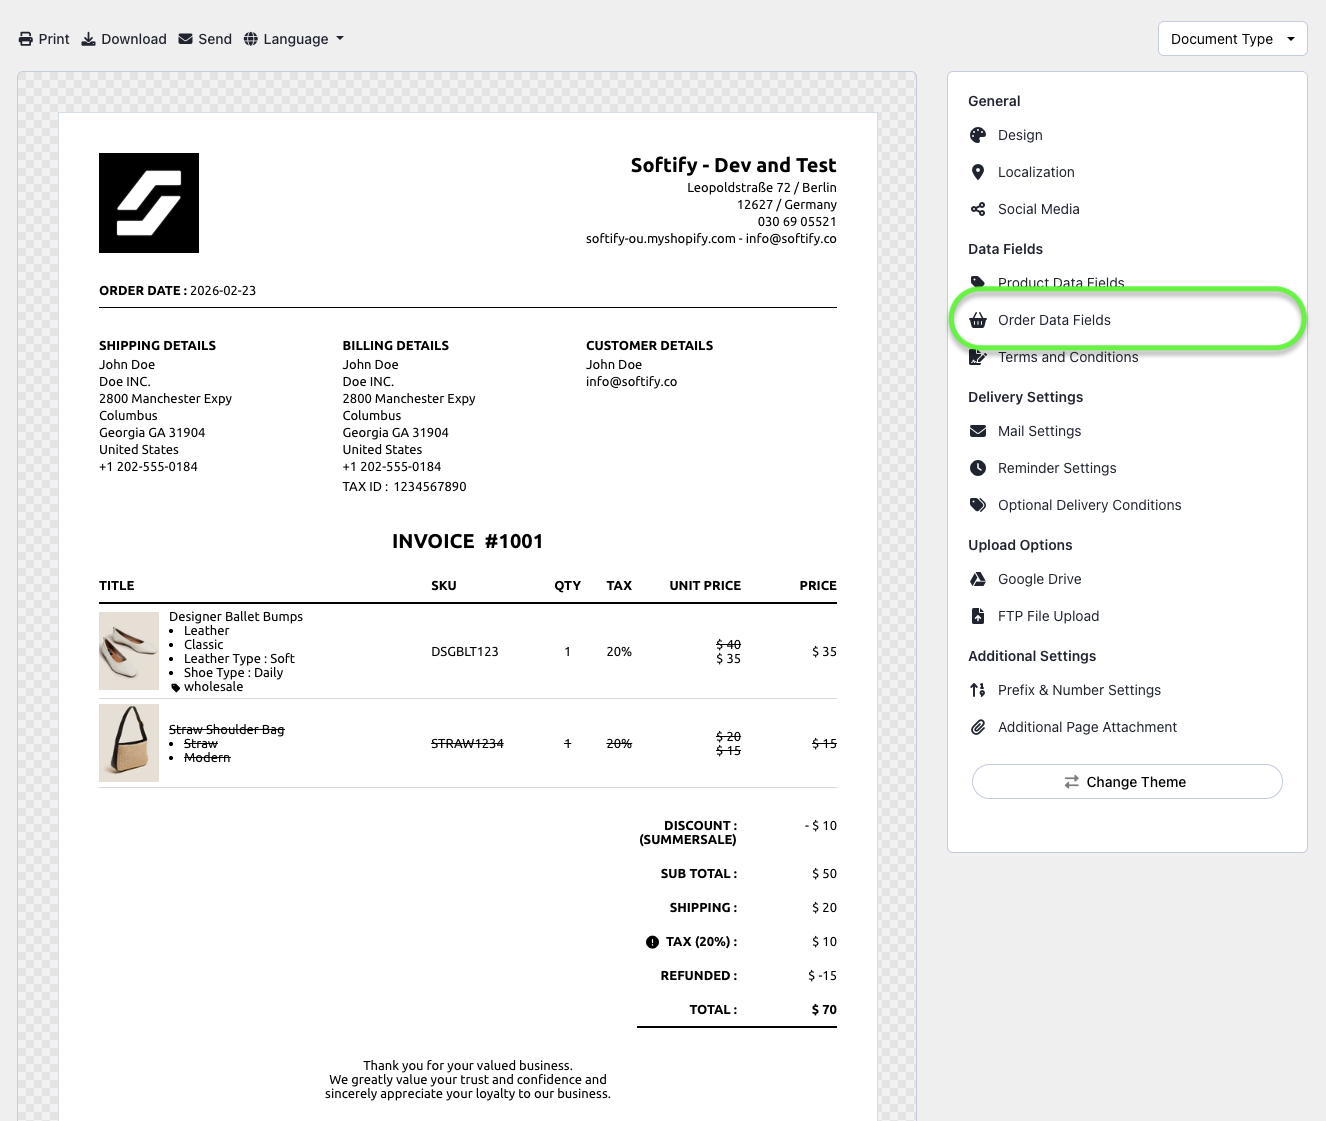
Step 4: Go to the Order Data Fields section.
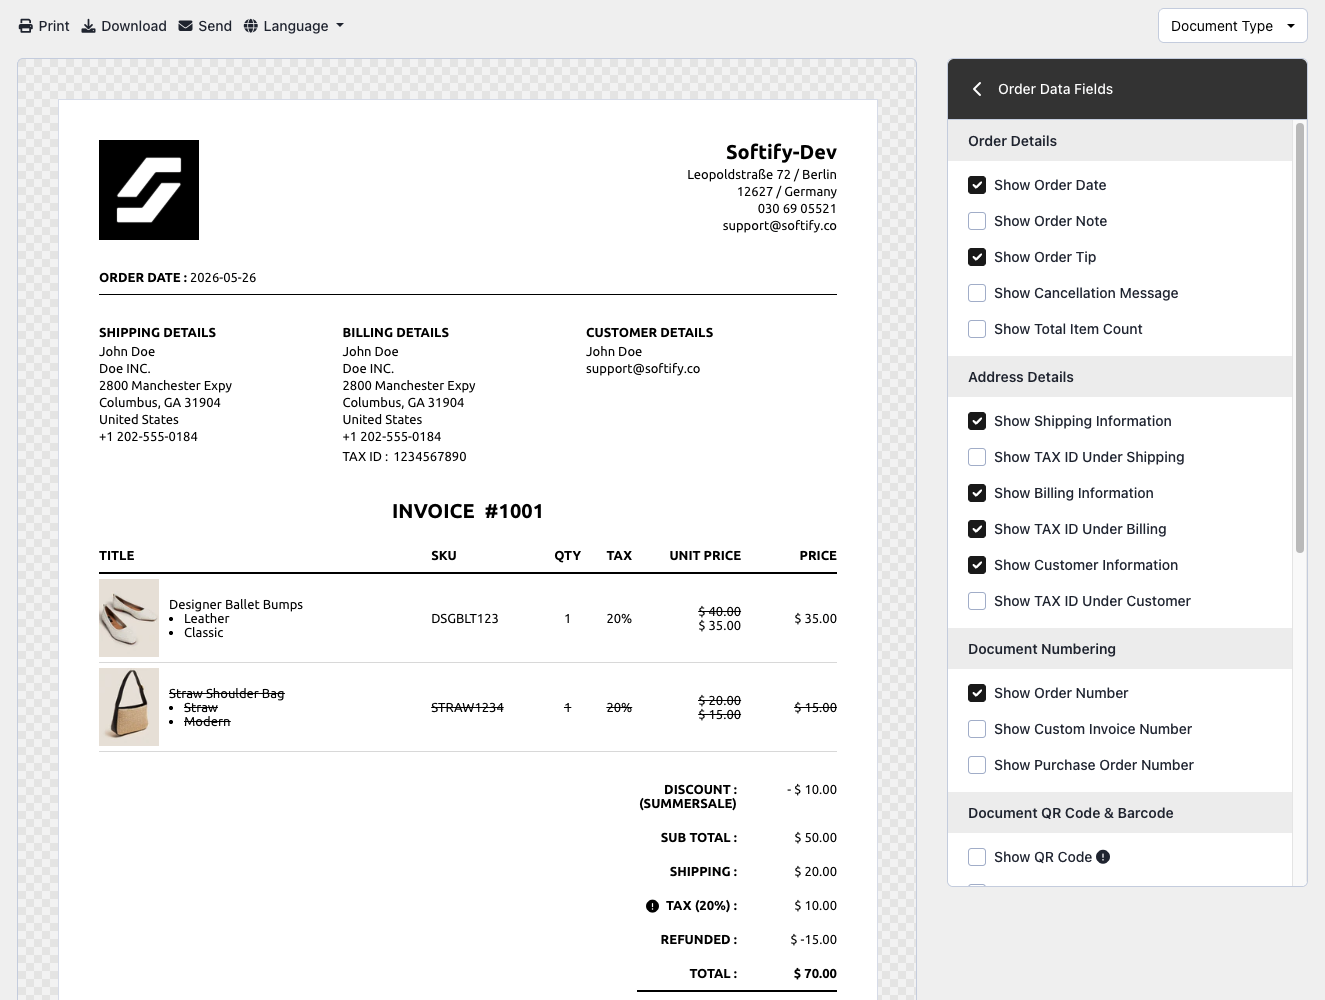
Step 5: You can turn on or off the options below:
Under the Order Details section
- Show Order Date
- Show Order Note
- Show Order Tip
- Show Cancellation Message
- Show Total Item Count
Under the Address Details section
- Show Shipping Information
- Show Billing Information
- Show Customer Information
Note: When activating these options, you can also choose where to display the collected customer Tax Number.
Under the Document Numbering section
- Show Order Number
- Show Custom Invoice Number
- Show Purchase Order (PO) Number
Under the Document QR Code & Barcode section
- Show QR Code
- Show Barcode
Under the Shipping Details section
- Show Shipping Carrier
- Show Tracking Number
- Show Shipping Line
Under the TAX Options section
- Show TAX Line
- Show TAX Excluded Total Paid Line
- Show Combined Tax View
Under the Pricing & Payment section
- Show Discount Line
- Show Sub Total Line
- Show Gift Card Amount
- Show Duties
- Show Refunds
- Show Total Paid Line
- Show Paid & Amount Due Line
Step 6: Once you’ve made your selection, click the Save button at the top center of the screen to apply your changes.
![]()
Need Additional Help?
If you’re still experiencing issues, feel free to reach out to our support team:
- Visit the Help Center section within your Easy Order Manager+ dashboard to create a ticket.
- Or click here to email us directly.
We’re always happy to help!