This guide provides all the essential steps for enabling automatic credit note generation in Easy Order Manager+.
Step 1: Log in to your Shopify account.
Step 2: Navigate to the Apps section of your Shopify store and select Easy Order Manager+. You will be automatically redirected to the app dashboard.

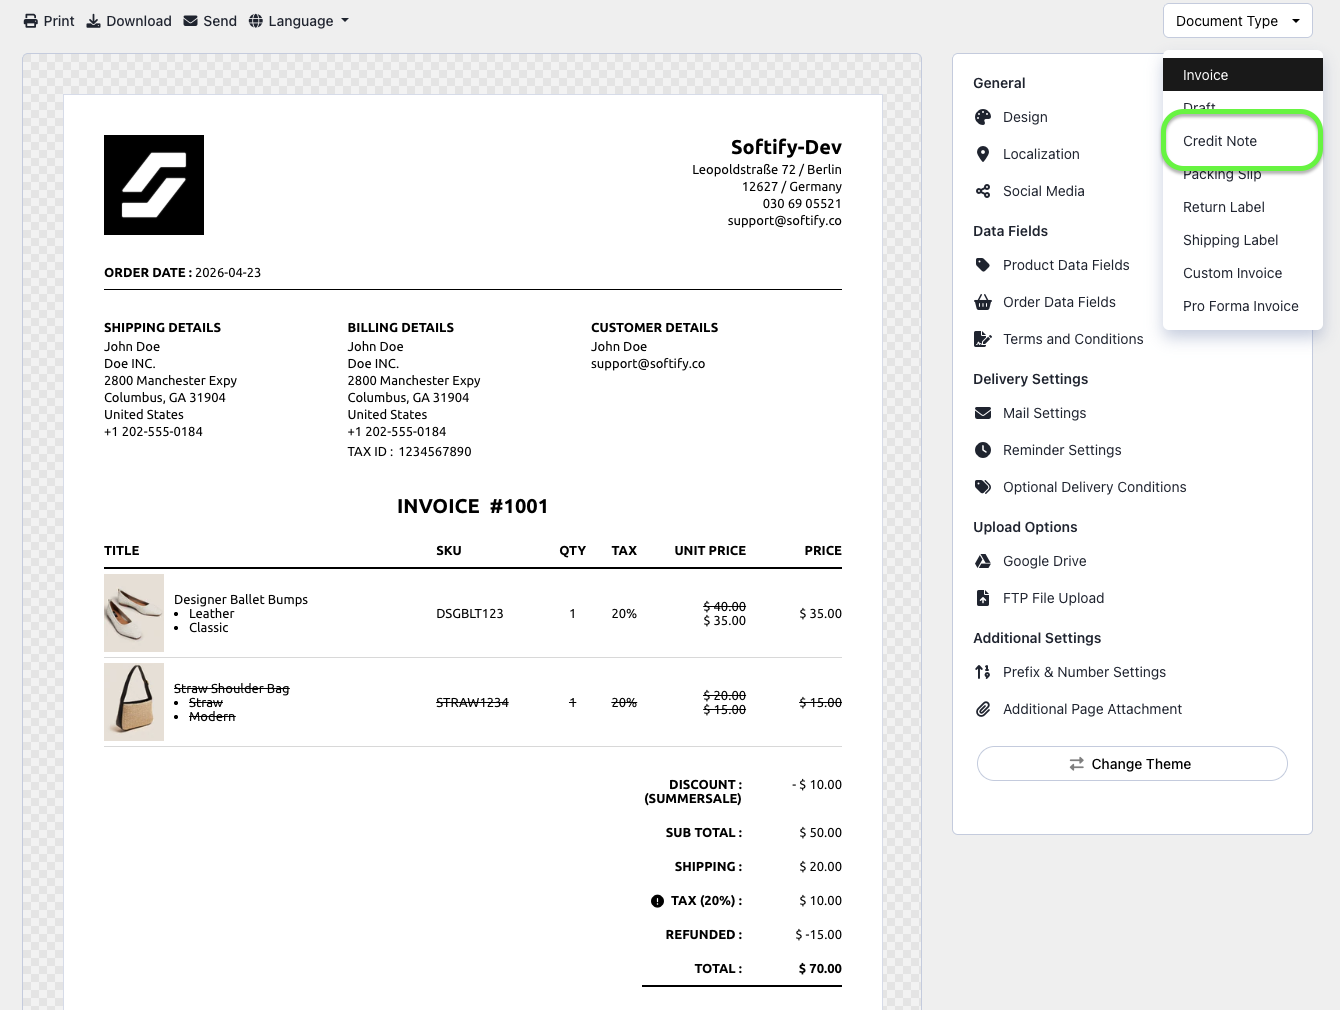
Step 3: Click Template Design and select Credit Note from the Document Type dropdown menu.
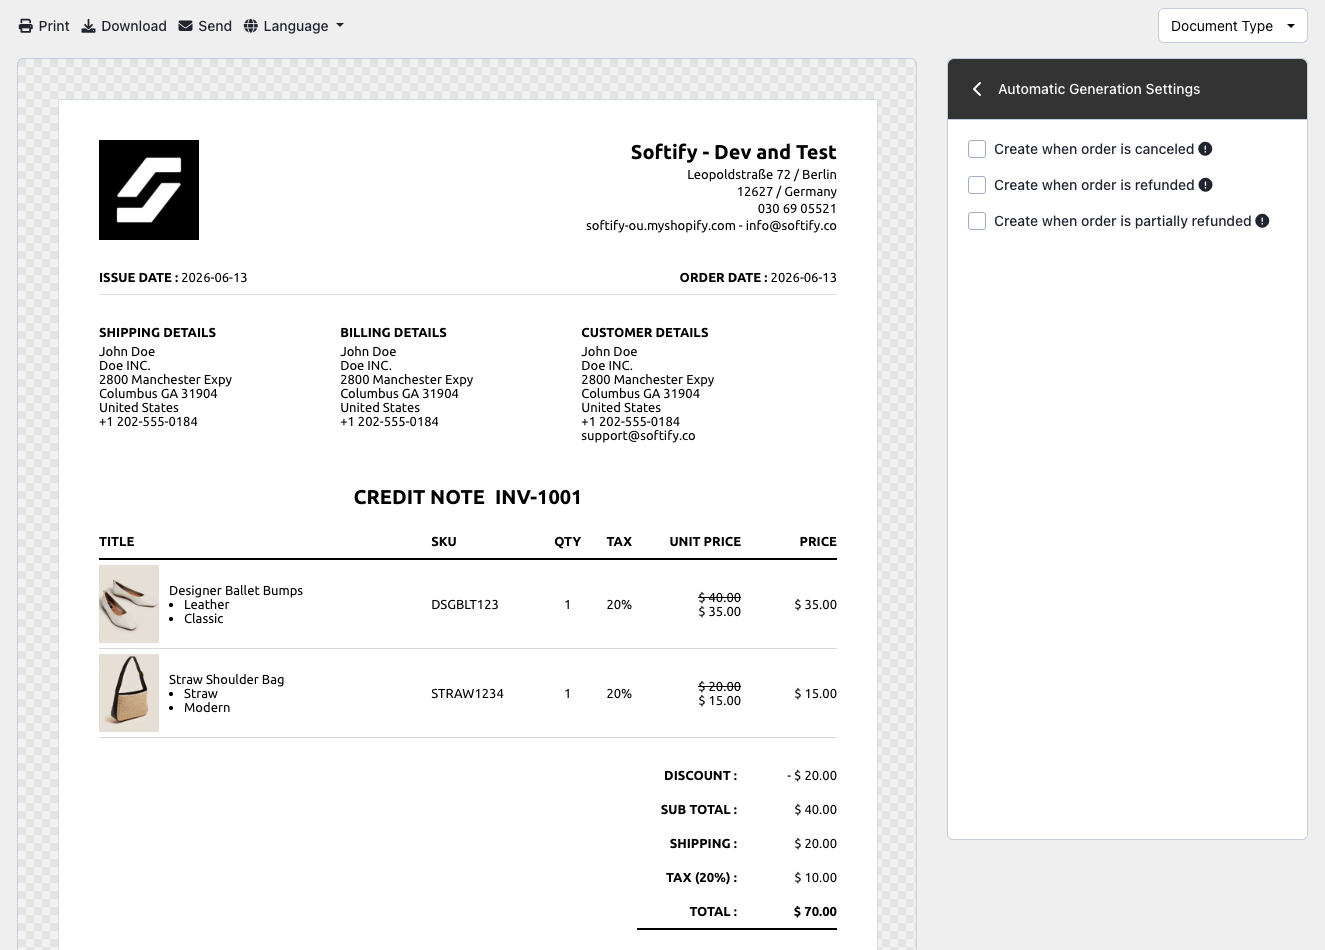
Step 4: Click on Automatic Generation Settings.

Step 5: Choose one or more of the available triggers for automatic credit note creation:
- Create when order is canceled – A credit note will be generated as soon as the order is canceled.
- Create when order is refunded – A credit note will be generated when the entire order is refunded.
- Create when order is partially refunded – A credit note will be generated when a partial refund is issued.
Step 6: Once you’ve made your selection, click the Save button at the top center of the screen to apply your changes.
![]()
Need Additional Help?
If you’re still experiencing issues, feel free to reach out to our support team:
- Visit the Help Center section within your Easy Invoice+ dashboard to create a ticket
- Or click here to email us directly.
We’re always happy to help!