This guide explains how to customize document templates in Easy Order Manager+. You can modify the design, control which information appears, and preview your final documents before using them.
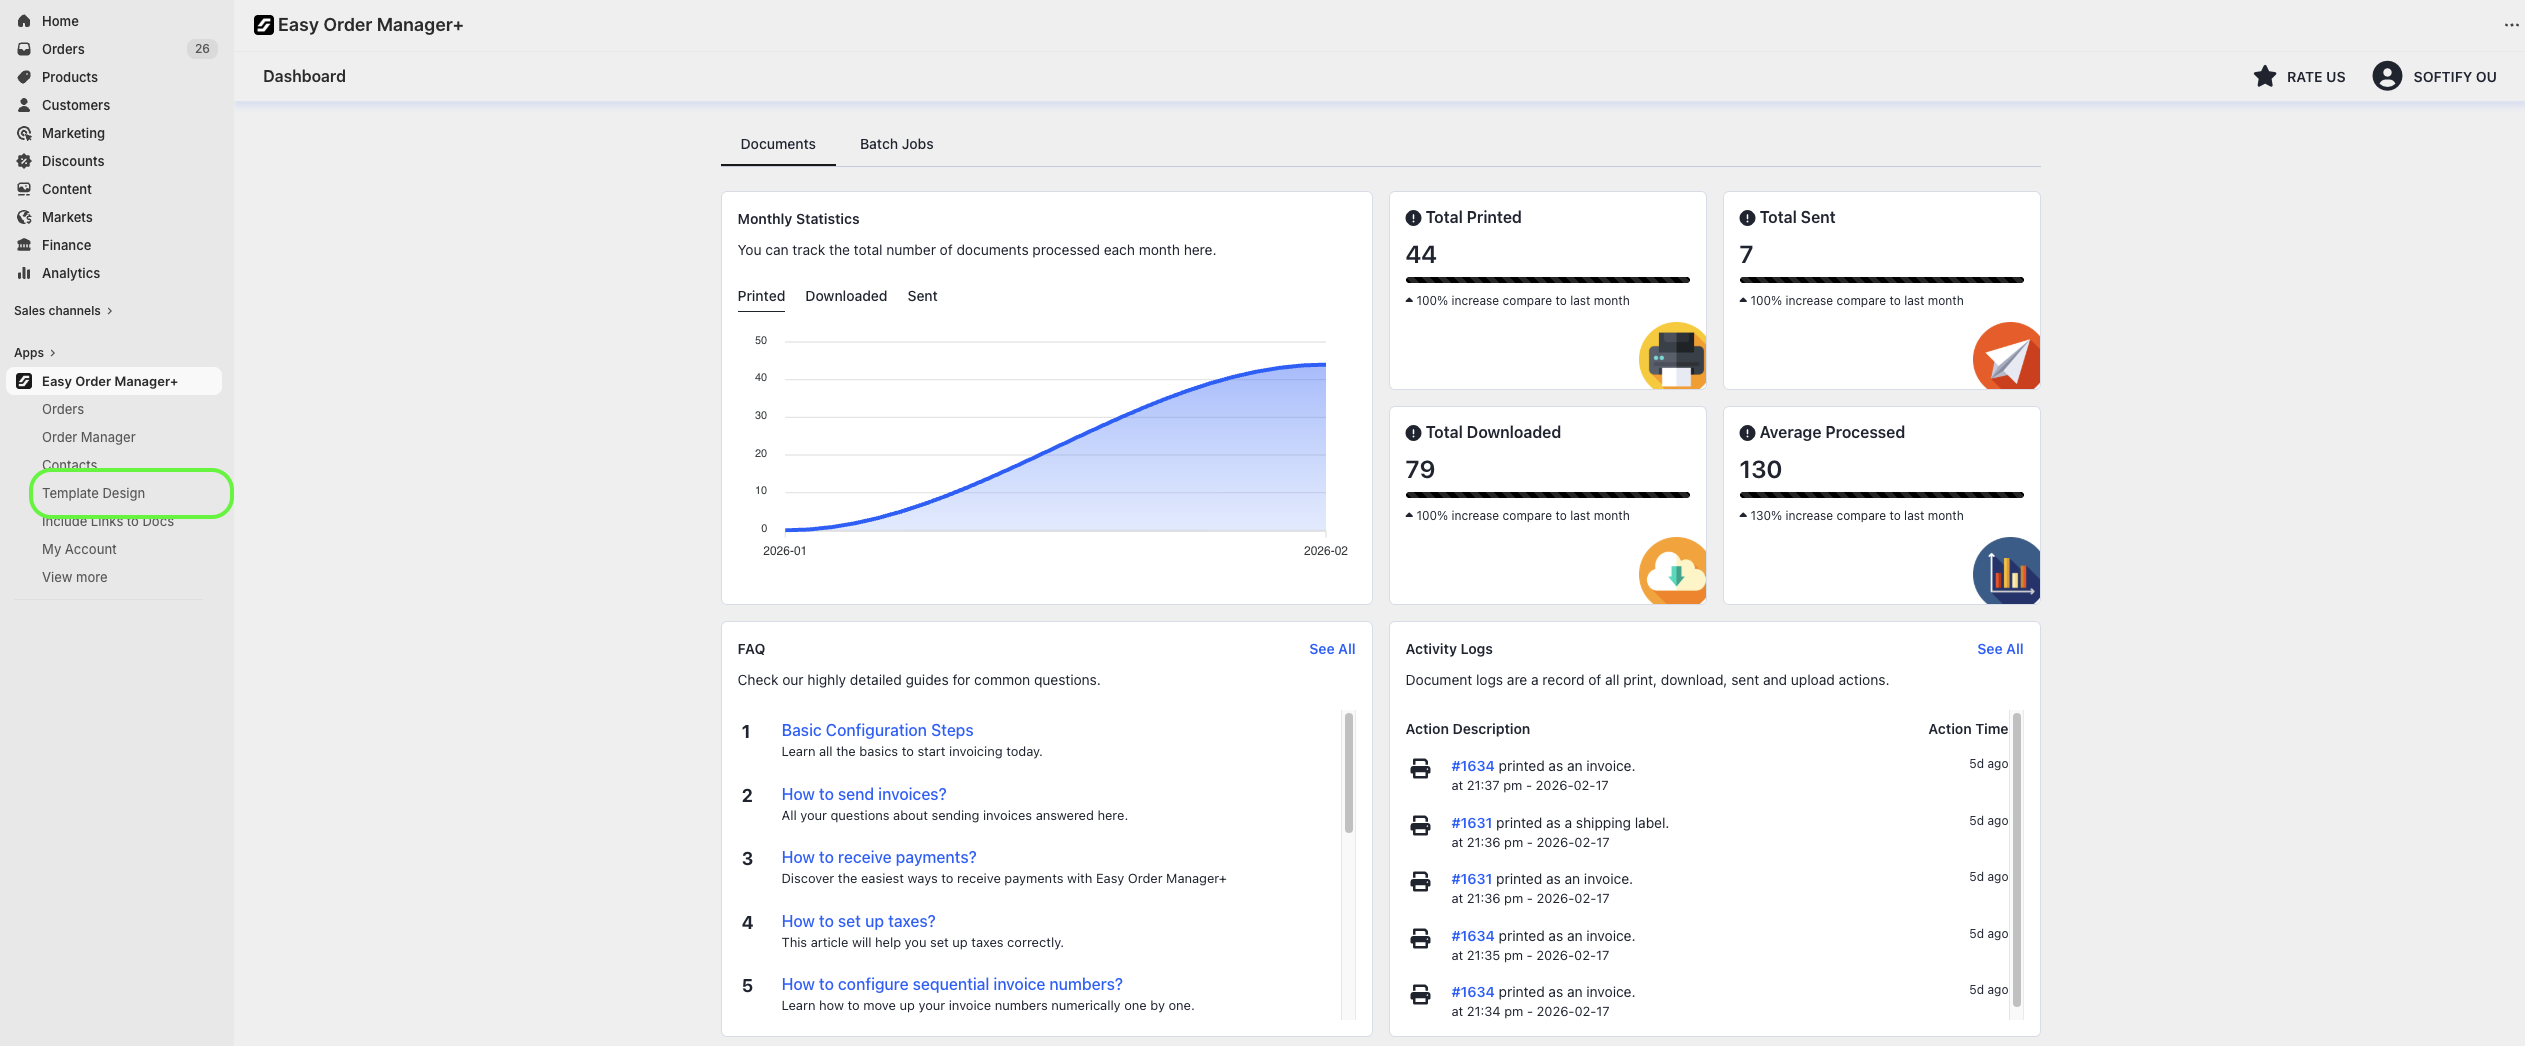
Access Template Design
Step 1: Log in to your Shopify account.
Step 2: Go to Apps and open Easy Order Manager+. You will be redirected to the app dashboard.

Step 3: From the dashboard, click Template Design.
Choose a Document Type
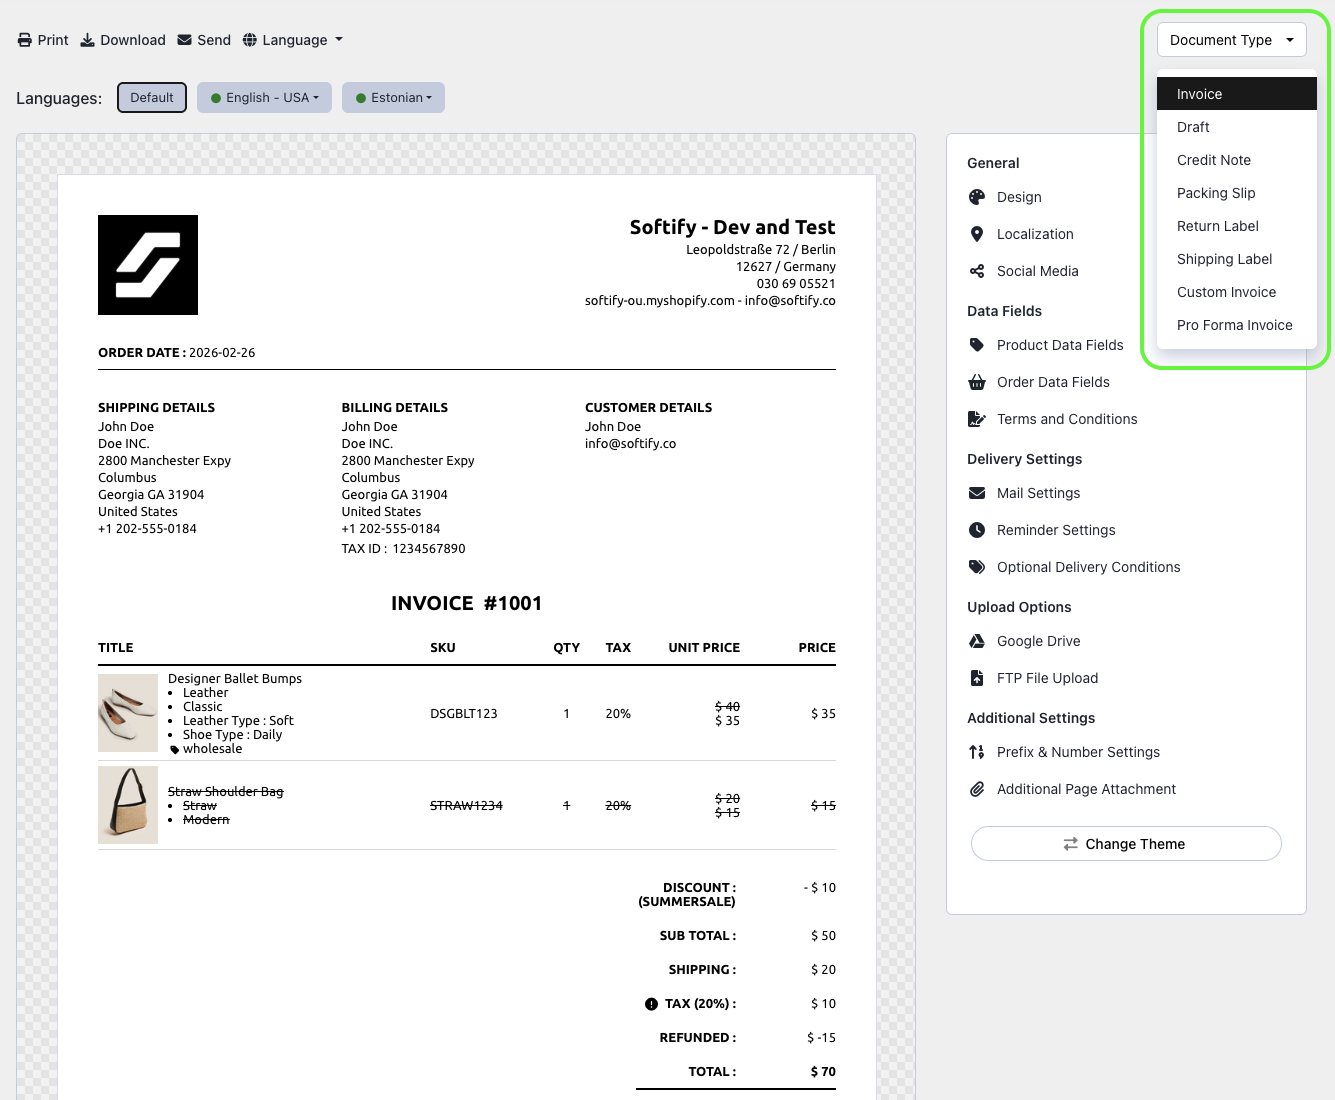
Step 4: By default, the Invoice template is selected. To customize another document, open the Document Type dropdown.
- Invoice
- Draft
- Credit Note
- Packing Slip
- Return Label
- Shipping Label
- Custom Invoice
- Pro Forma Invoice
Change the Template Theme
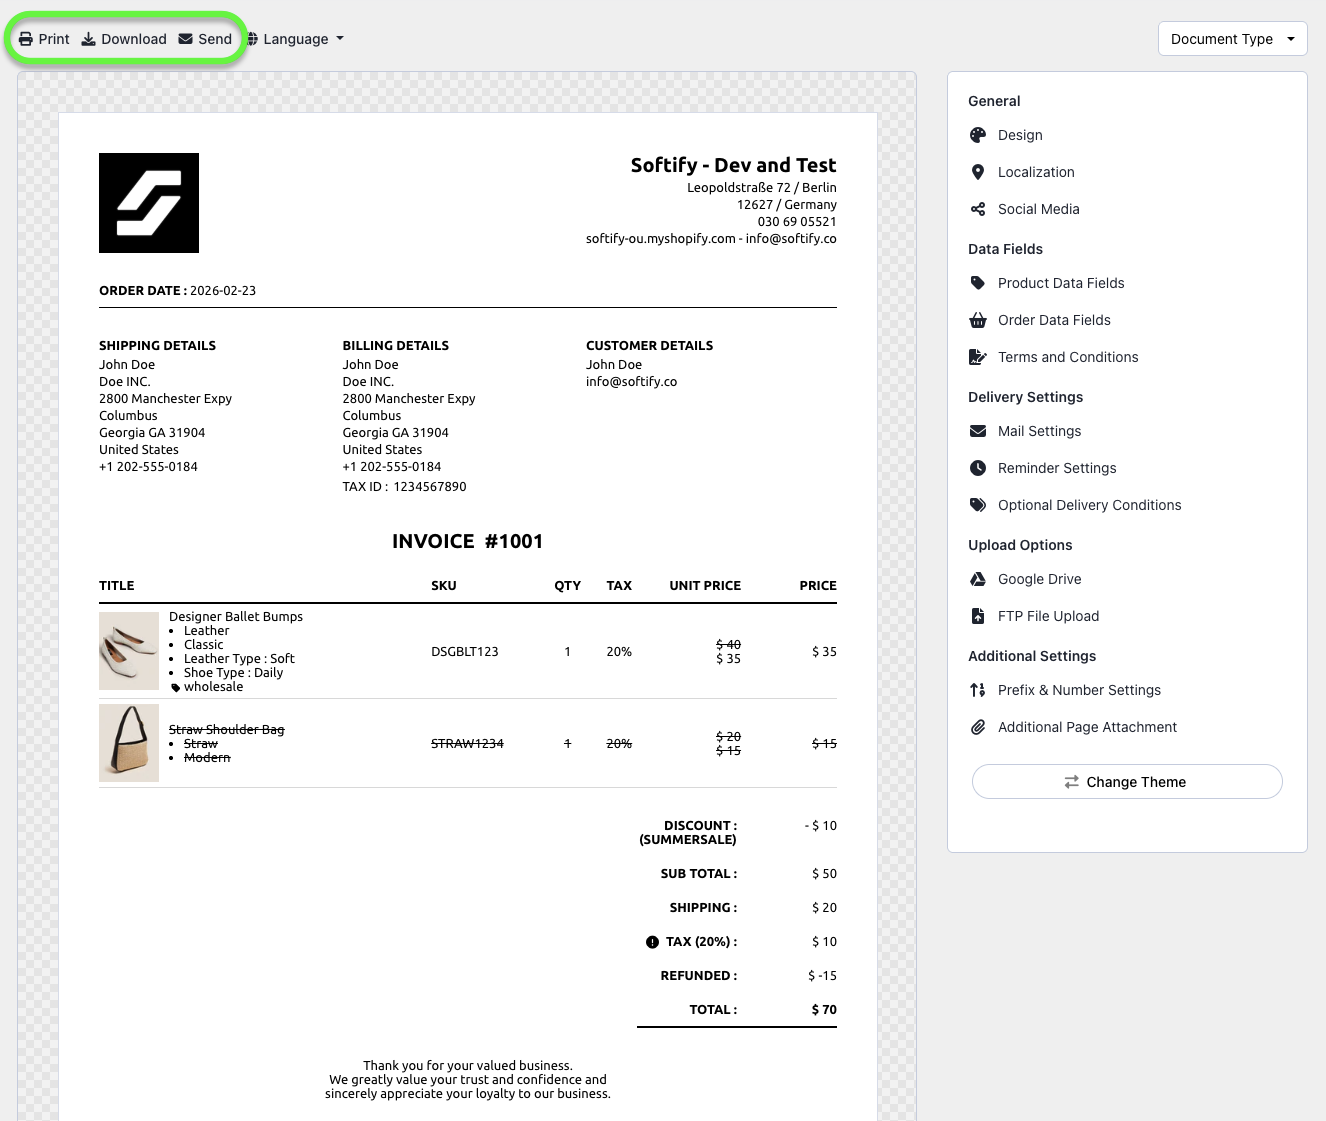
Step 5: You will see a live preview of your document. Click Change Theme to switch designs.
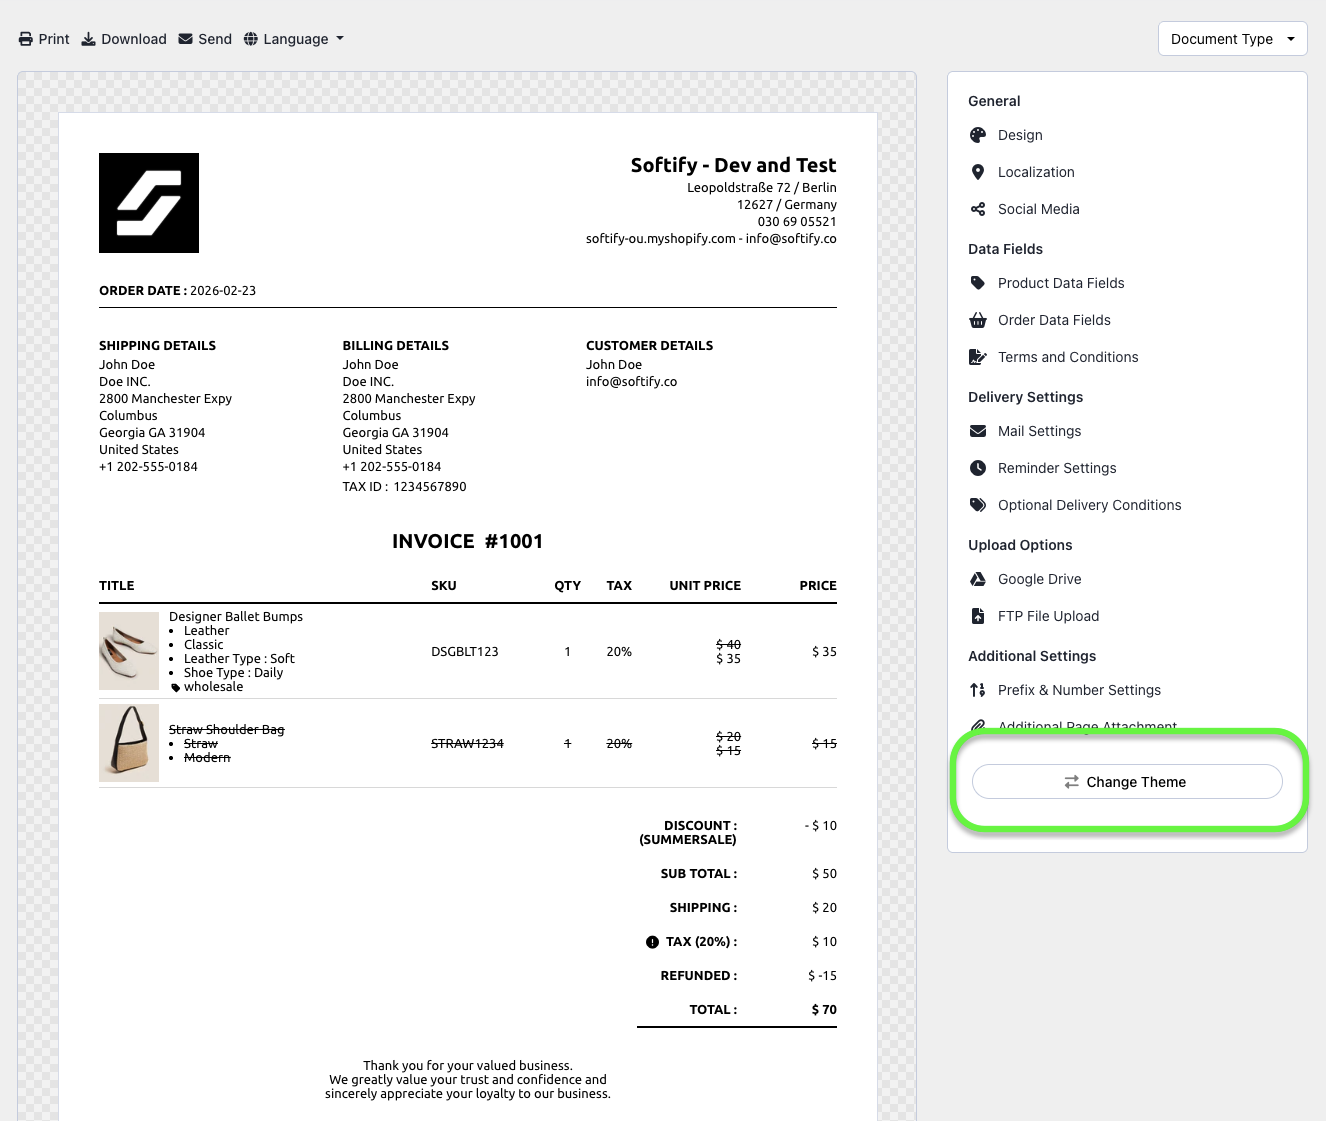
By default, you can select Simplex, Stripe, Clipper, Trigon, and Typewriter themes.
If you are subscribed to a plan higher than Basic, you can also access Agile, Aqua, Aurora, Epoch, Leo, Ocean, Retro, Rhythm, and Drag&Drop themes.
Customize Design & Localization
Step 6: After selecting a theme, use the right-hand panel to customize your template. All text in the preview is editable—simply click and type.
Design Settings
- Add or update your store logo
- Change logo size and fonts
- Set primary and text colors
- Adjust font sizes
- Control product image and variant display
- Sort line items by name, SKU, quantity, vendor, or original order
- Product name translation (Shopify Translate & Adapt app is required)
Localization Settings
- Document format (PDF or HTML)
- Currency and decimal settings
- Address and date formats
- Weight units
Social Media
Optionally display social media icons and links such as Facebook, X (Twitter), Instagram, YouTube, Pinterest, LinkedIn, and TikTok.
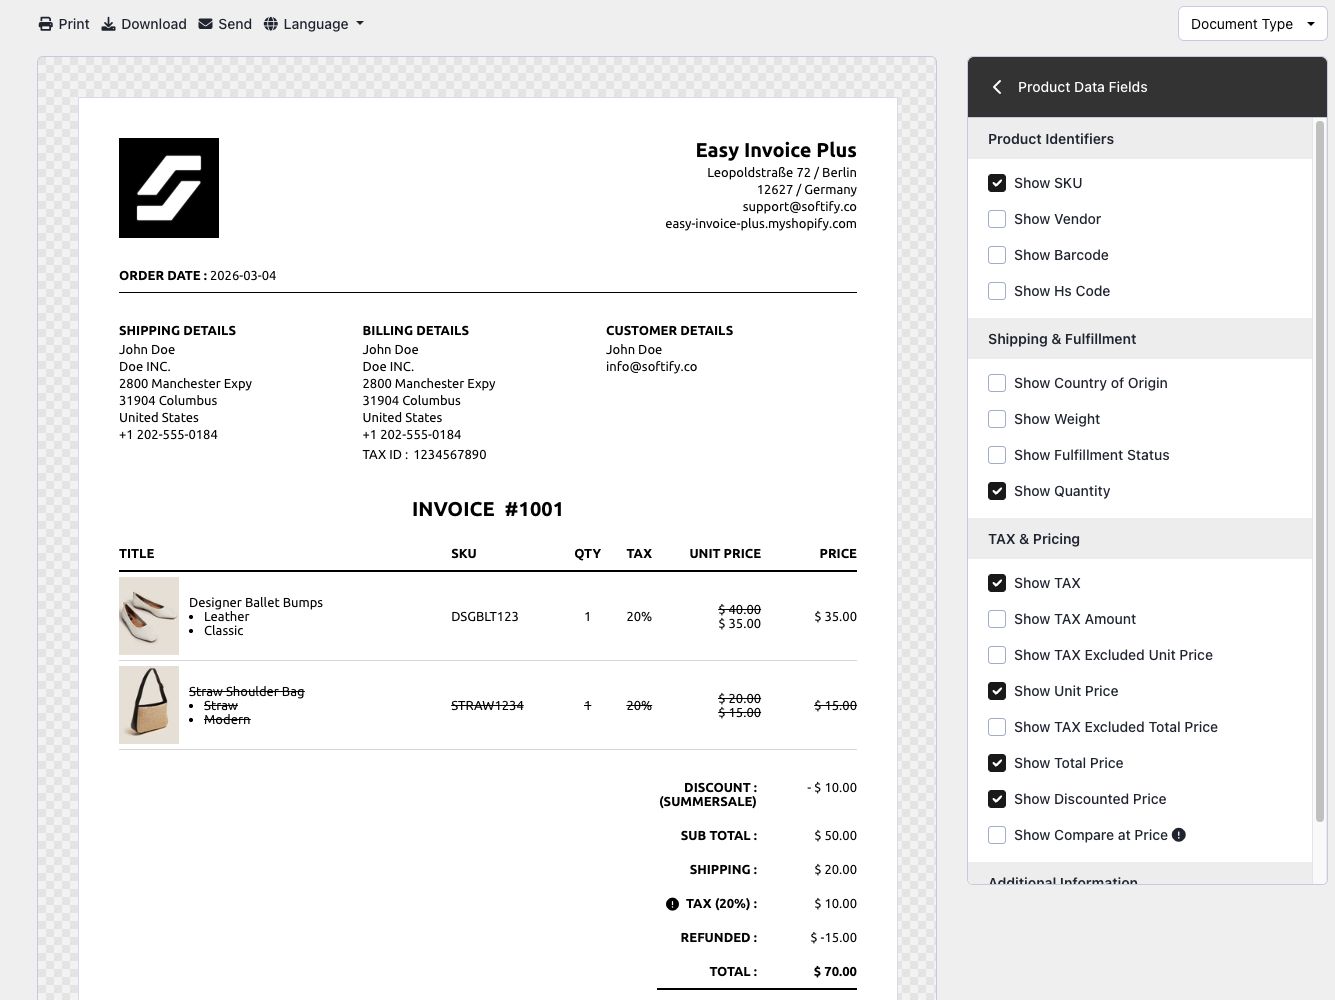
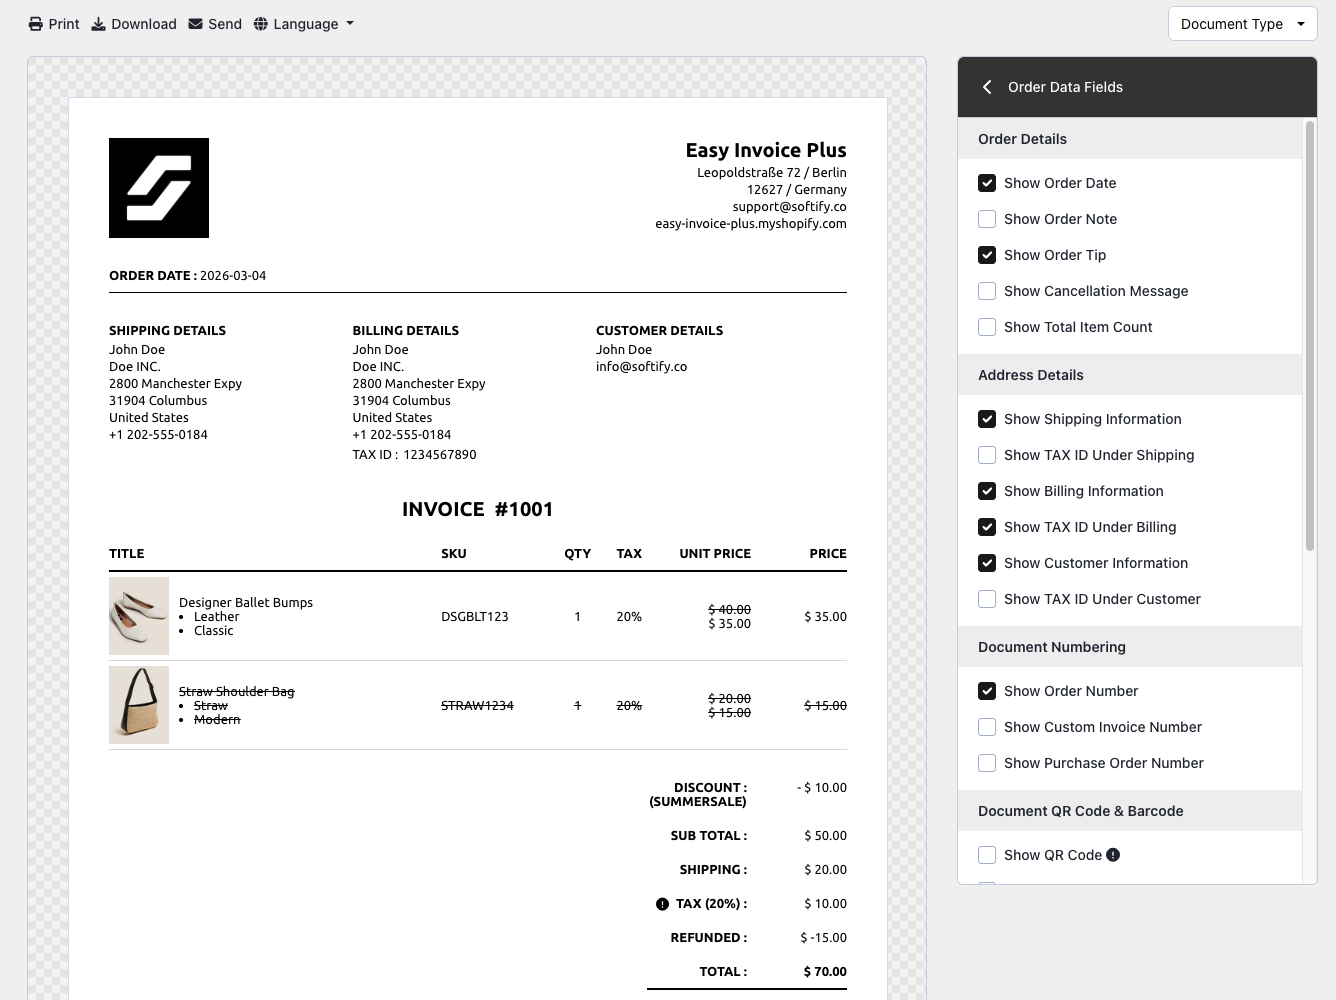
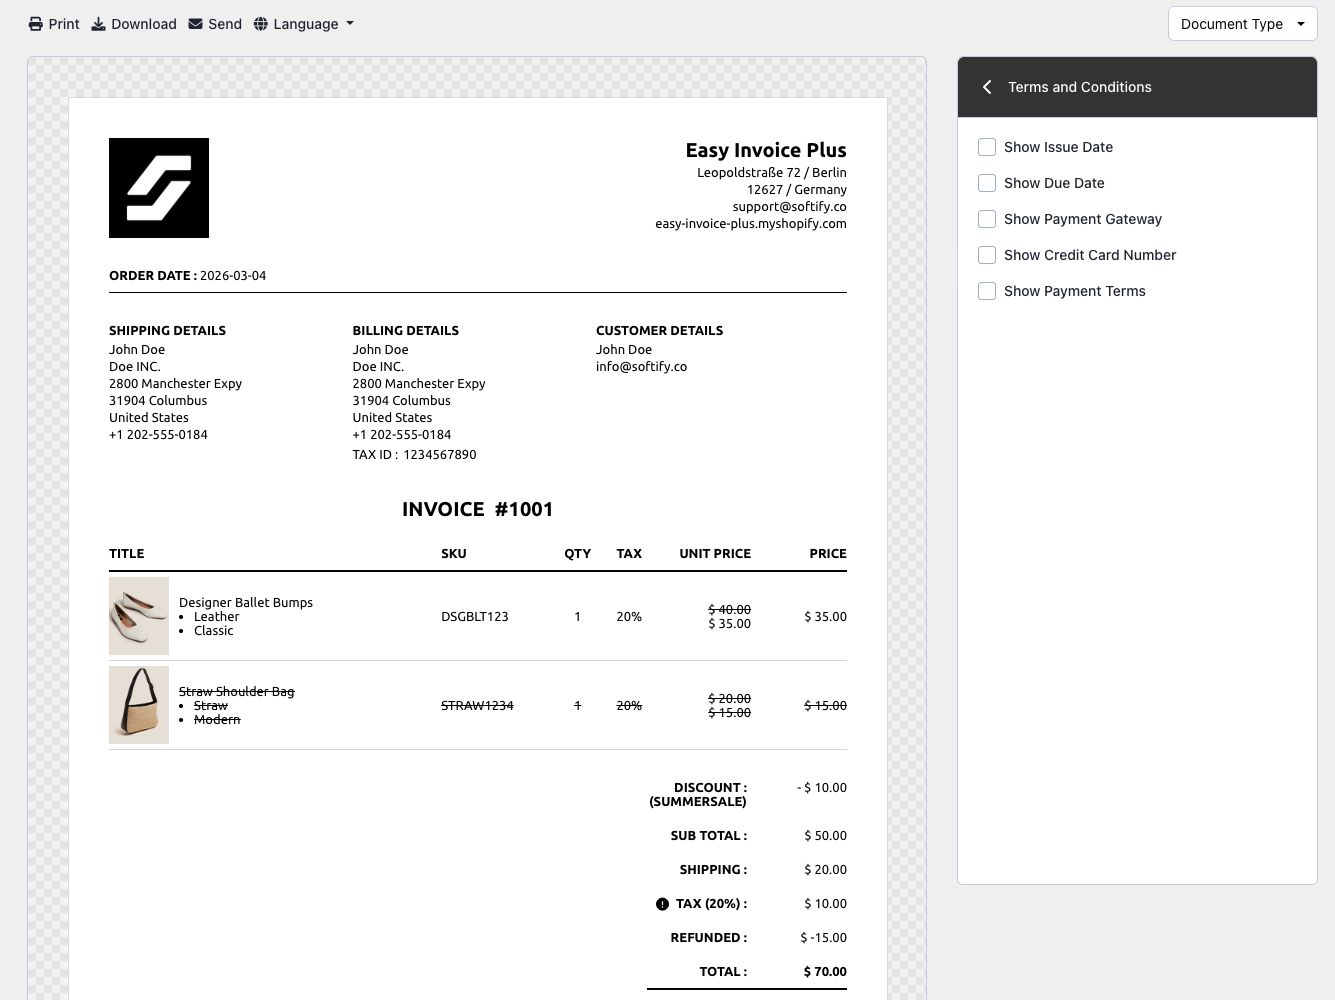
Show or Hide Data Fields
Product Data Fields
Use these to control product-level details such as SKU, price, taxes, and meta fields.
Order Data Fields
Use these for order, payment, and shipping information.
Terms & Conditions
Use these for adding issue and due dates, payment terms, credit card, and payment gateway information.
Save & Preview
Step 7: Once you are satisfied with your changes, click Save at the top of the screen.

Step 8: Click Print, Download, or Send to preview your final document.
Need Help?
- Visit the Help Center inside your Easy Order Manager+ dashboard to create a ticket.
- Or contact us by email.
We’re always happy to help.