This guide outlines how to sort and filter your orders within Easy Invoice+ for easier navigation and management.
Step 1: Log in to your Shopify account.
Step 2: Navigate to the Apps section of your Shopify store and select Easy Invoice+. You will be automatically redirected to the app dashboard.

Step 3: Click on the Orders tab.

Step 4: Click the Filters button.
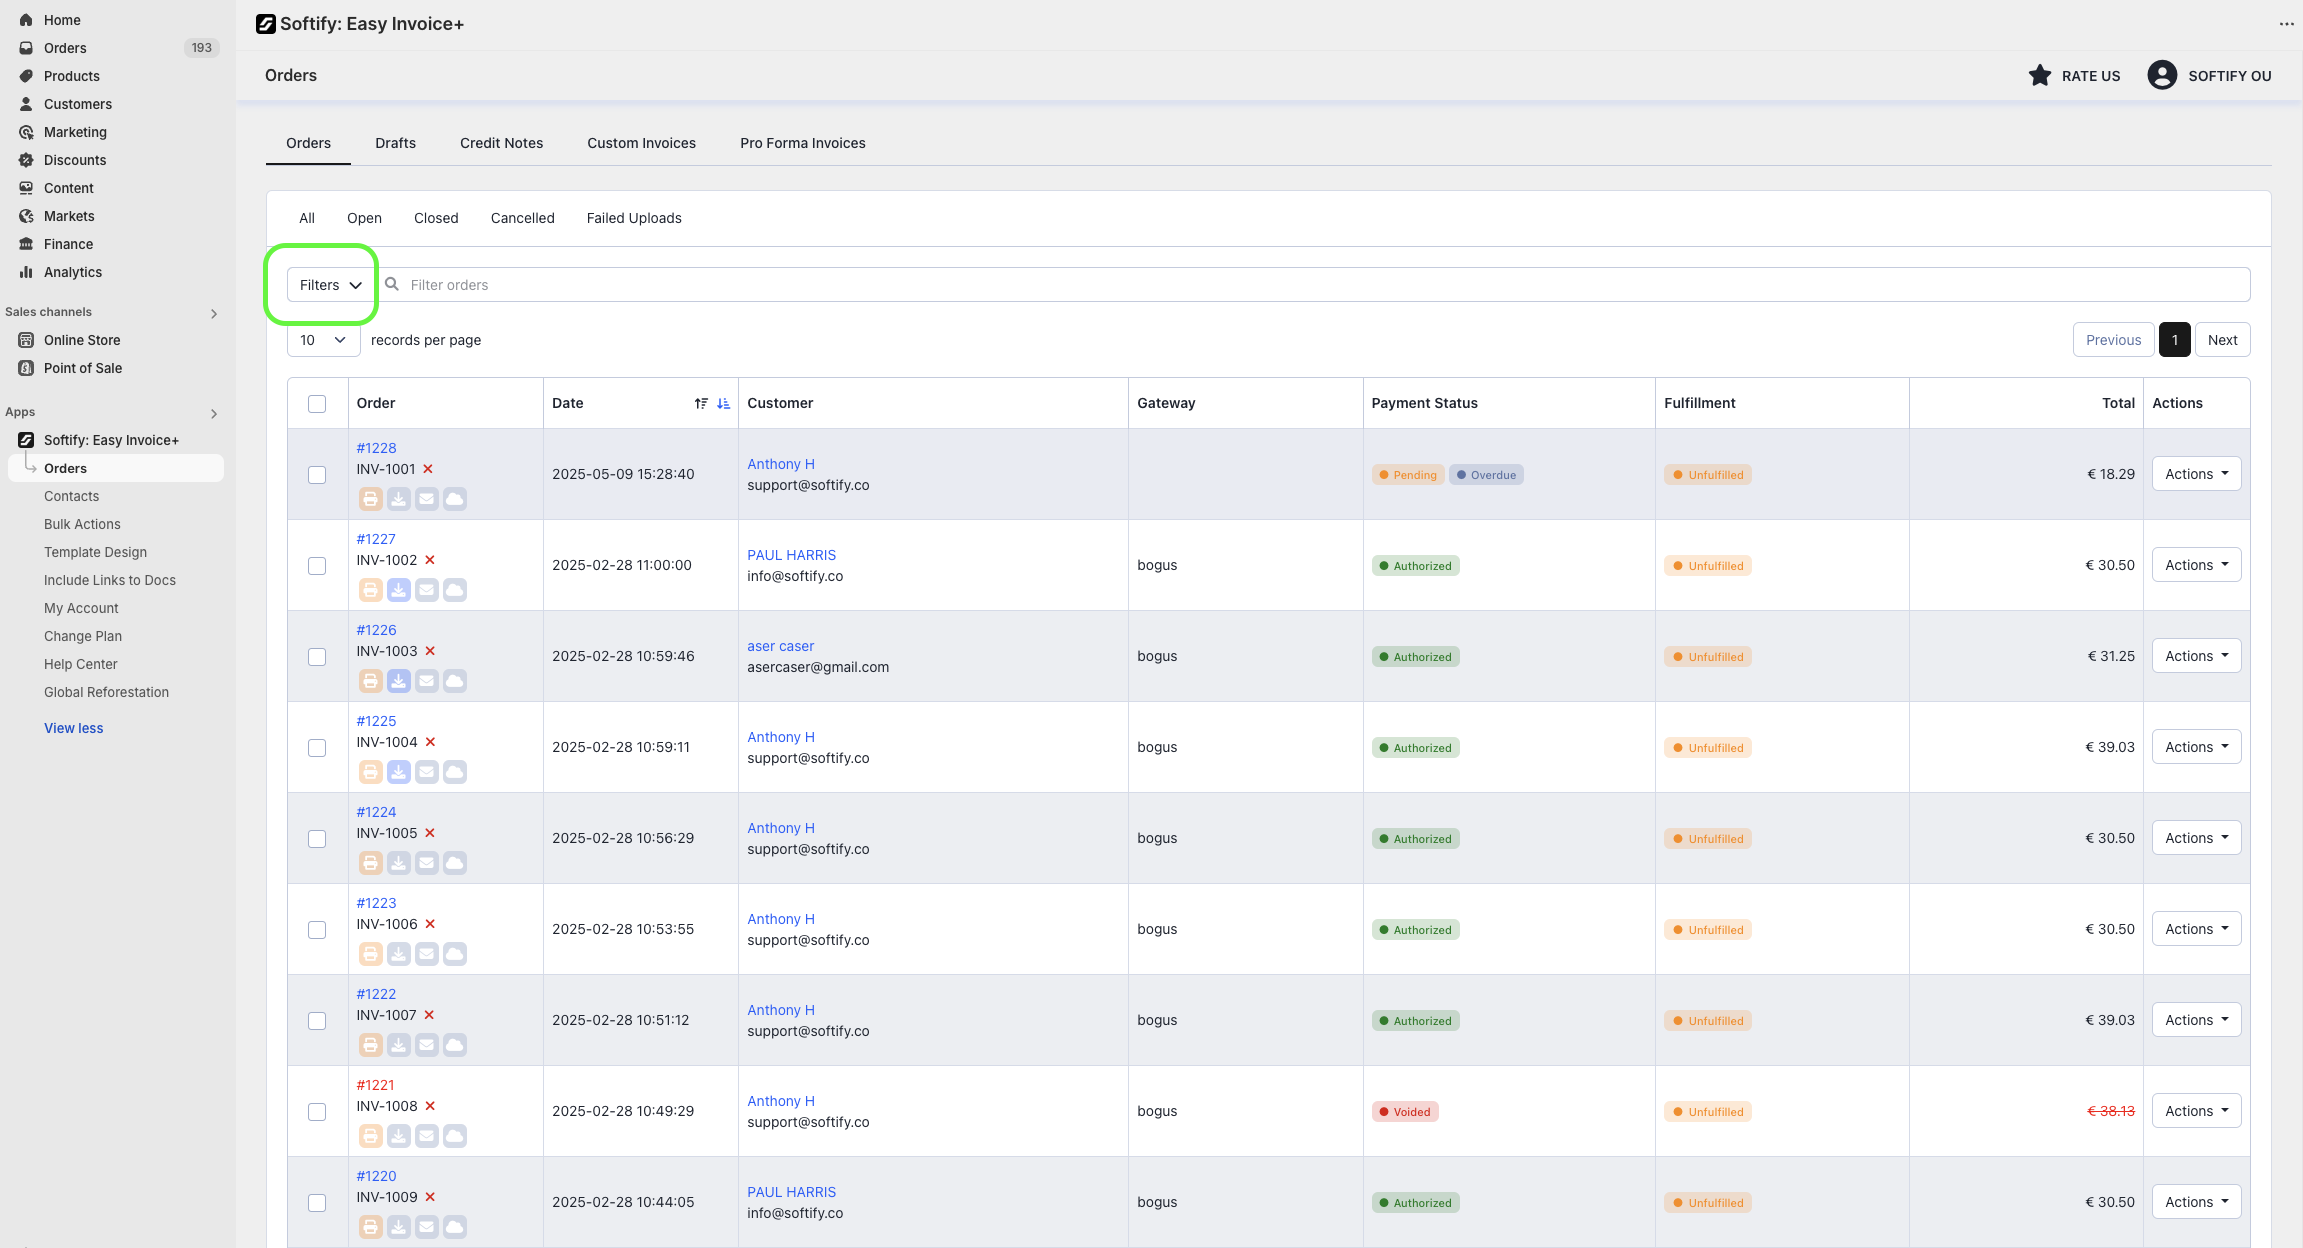
Step 5: In the Filters section, you can sort your orders using the following criteria:
- Payment Status
- Fulfillment Status
- Order Status
- Order ID
- Custom Invoice Number (Available only if sequential invoice numbering is enabled in Template Design)
- Order Tag
- Order Date
- Customer
- Gateway
- Order Source

By default, the Orders section displays all of your orders. You can filter them to show only Open, Closed, Cancelled, or Failed Uploads.

To sort your orders chronologically, click the upward arrow in the Date column to display orders from oldest to newest.

Need Additional Help?
If you’re still experiencing issues, feel free to reach out to our support team:
- Visit the Help Center section within your Easy Invoice+ dashboard to create a ticket
- Or click here to email us directly.
We’re always happy to help!