This guide explains how to use the restore feature to undo bulk edits and return products to their previous state.
What is the Restore Feature?
Every time you run an edit, the app automatically takes a “snapshot” of your products before any changes are made. Think of it as a save point; if an edit doesn’t go as planned, you can revert everything to exactly how it was before the process started. This allows you to experiment with your catalog without the fear of permanent errors.
What Can (and Cannot) Be Restored?
Most bulk changes are fully reversible, but there are critical exceptions regarding deletions.
| Field/Action | Can You Undo It? |
|---|---|
| Product Info (Title, Description, Vendor, Type) | Yes |
| Tags and Metafields | Yes |
| Pricing (Price, Compare-at, Cost) | Yes |
| Inventory and Shipping (Weight, SKU, Barcode) | Yes |
| Status and Publishing Channels | Yes |
| Image Alt Text | Yes |
| Image Uploads | Yes (Removes the uploaded images) |
| Image Deletions | No (Permanently removed from Shopify) |
| Product Deletions | No (Permanently removed from Shopify) |
Step-by-Step: How to Restore
Restoring a Bulk Edit
- Go to History > Edit Products.
- Locate the edit you wish to undo using the date, change type, or product count.
- Click on the View Details option under the Actions Dropdown menu.
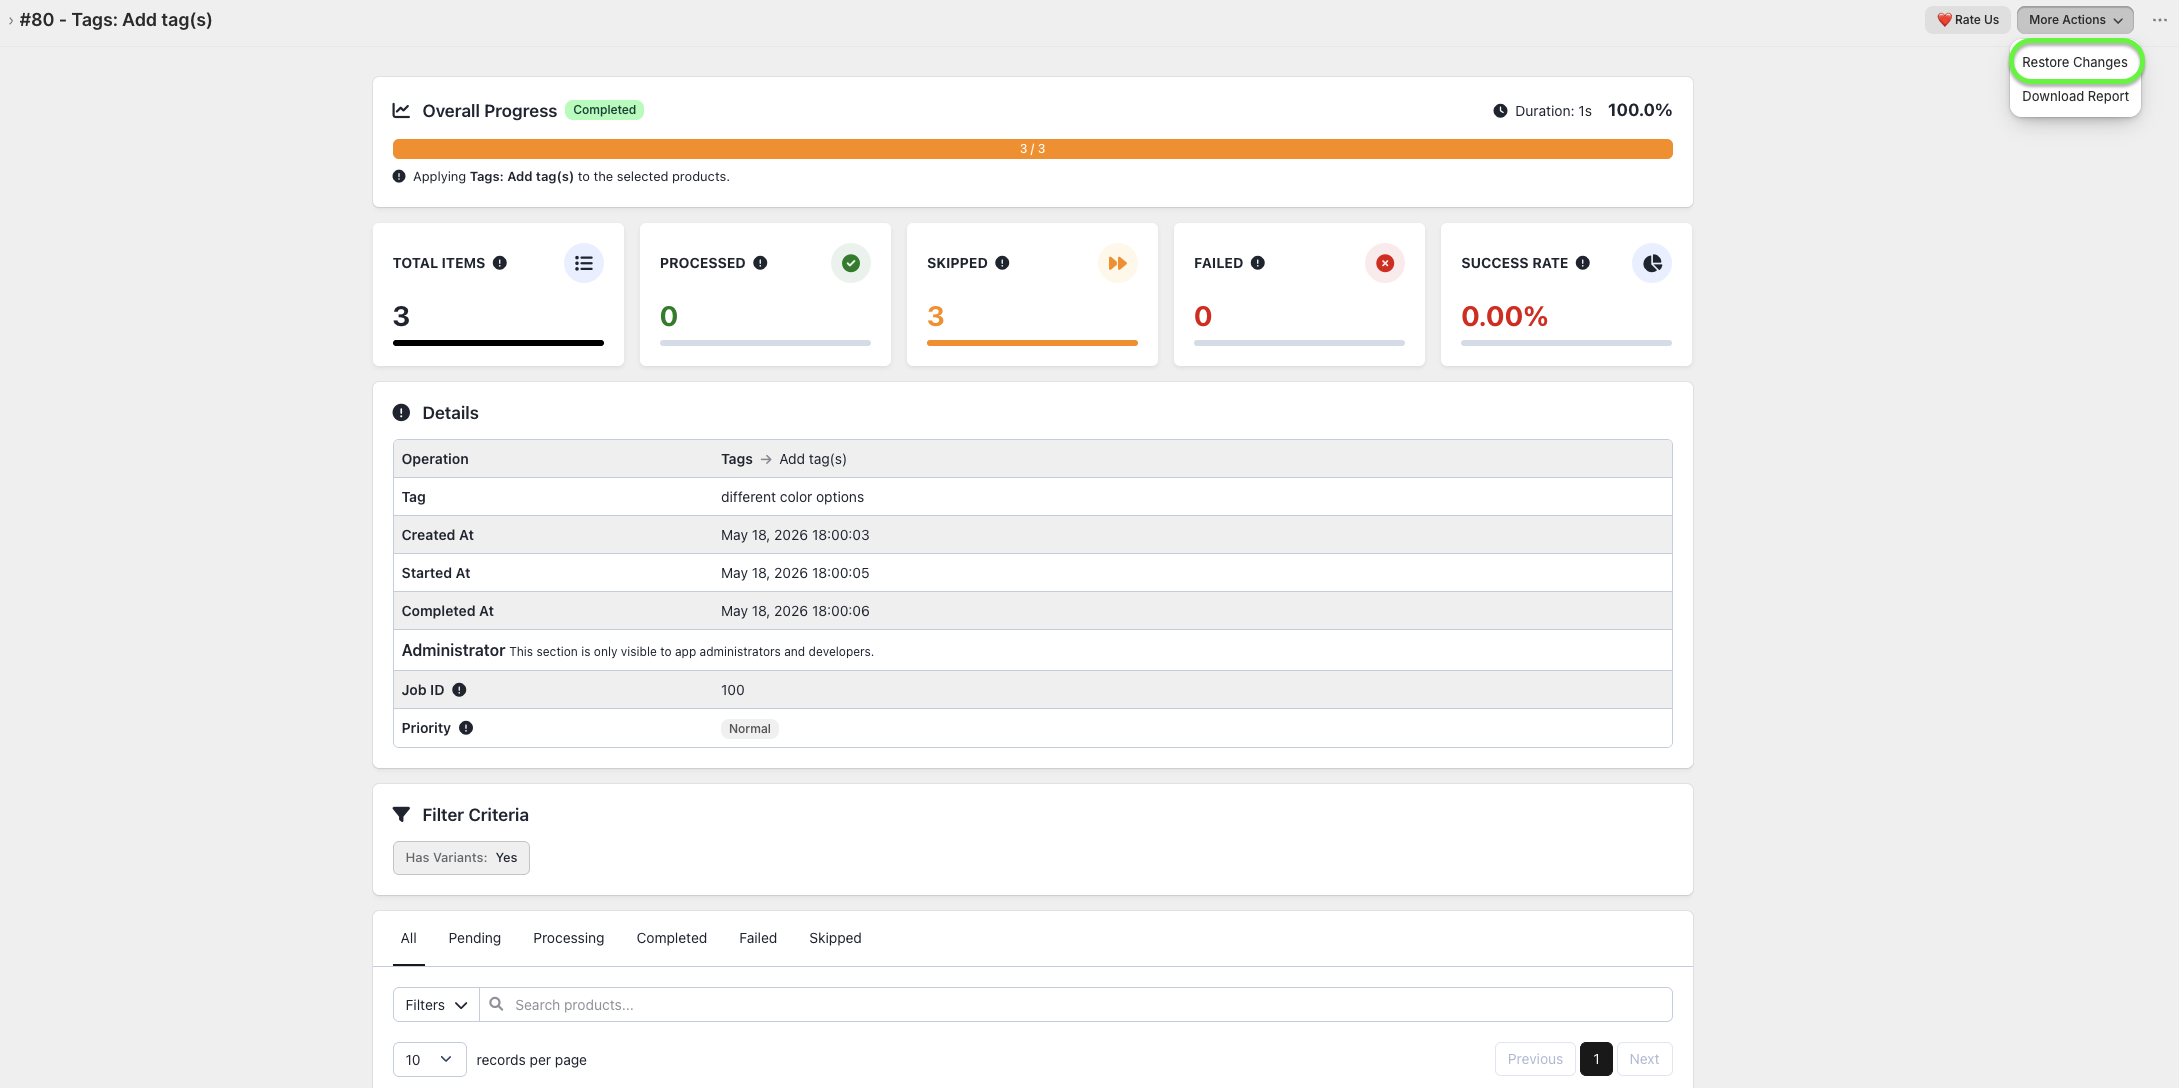
- Click the Restore Changes button from the More Actions dropdown menu and confirm.
Reverting an Image Upload
- Go to History > Image Uploads.
- Find the specific upload batch.
- Click Revert Upload.
- Confirm the action to remove those images from the products.
Important Things to Know
- Exempt from Limits: Restore operations do not count toward your plan’s monthly product edit limit.
- Snapshot Precision: The restore resets a field to its value immediately before that specific bulk edit. If you manually changed a product after the bulk edit, the restore will overwrite that manual change.
- Reverse Order: If you ran multiple edits (Edit A, then Edit B) on the same products, you should restore them in reverse order (Restore B first, then Restore A) to ensure data consistency.
- History Retention: Your ability to restore depends on how long your plan keeps history.
Plan Retention Periods
| Plan | History Kept For |
|---|---|
| Free | 7 days |
| Basic | 30 days |
| Advanced | 90 days |
| Enterprise | 1 year |
Pro Tips
- Don’t Panic: Most mistakes are easily fixed via the History page.
- Act Quickly: Restore sooner rather than later to avoid conflicts with other manual updates or app changes.
- Verify Results: After a restore, download the results report to ensure all items were reverted successfully.
- Test Small: Try new edit types on a small batch of products first, so a restore (if needed) is minimal.