This guide explains how to increase, decrease, or set prices for multiple products at once, helping you keep your store’s pricing strategy up to date quickly and easily.
What Prices Can You Edit?
Your products have three types of prices, and you can edit all of them in bulk:
- Price (Selling Price): This is the most important price—it is what your customers see and pay when they buy a product. You will likely edit this the most.
- Compare-at Price (The “Was” Price): This is the original price that appears with a line through it to show customers they are getting a deal. For example, if a product is on sale for $40, setting the compare-at price to $50 makes it display as
$50.00$40.00. If you leave this blank, no special sale formatting is shown. - Cost (Your Supplier Cost): This is what you pay your supplier for the item. Customers never see this number; Shopify uses it behind the scenes to calculate your profit margin.
Price Actions Explained
Adjusting the Selling Price
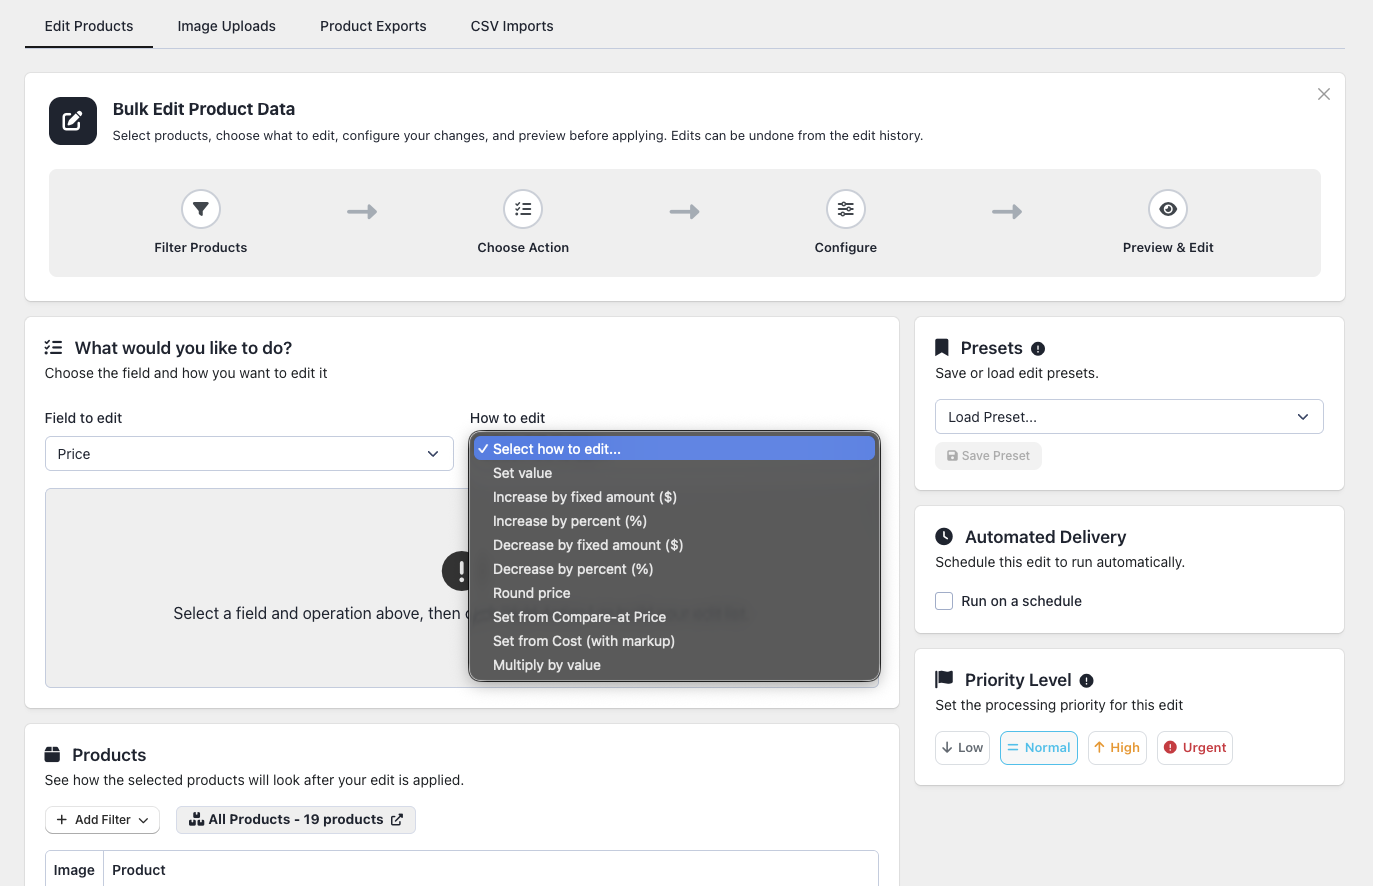
- Set a specific price: Apply the exact same price to all selected products (e.g., make everything $29.99).
- Increase/Decrease by amount: Add or subtract a flat dollar amount from every product’s current price (e.g., subtract $3 from all items).
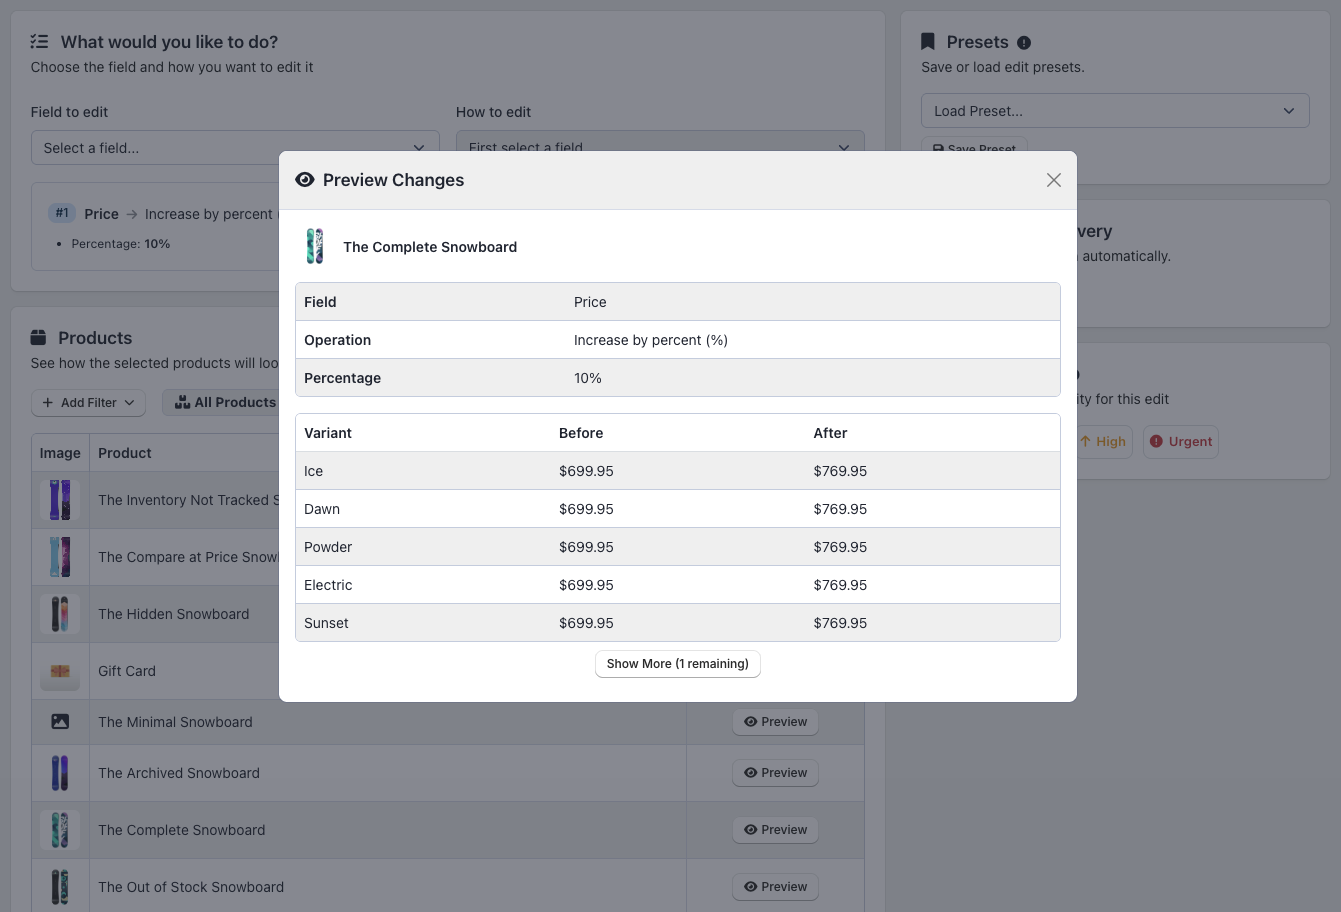
- Increase/Decrease by percentage: Raise or lower prices proportionally based on their current value (e.g., a 10% increase turns a $20 item into $22, and a $50 item into $55).
- Multiply by a number: Useful for currency conversions or bulk doubling. Multiplying by 1.2 increases prices by 20%, while multiplying by 2 doubles them.
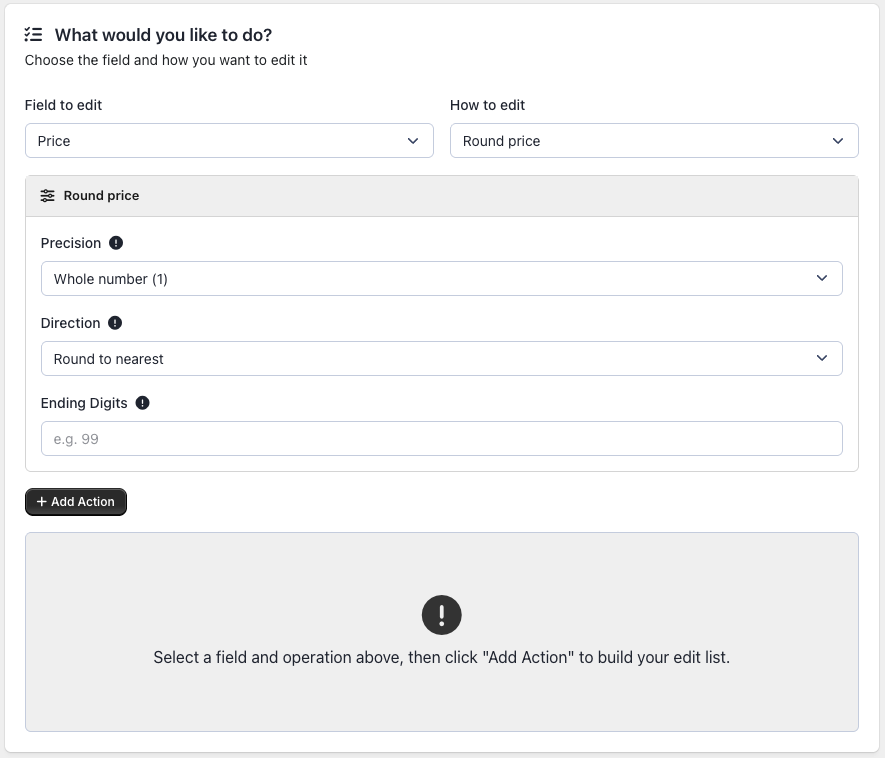
- Round the price: Clean up messy numbers. After a percentage discount, an item might cost $23.47. Rounding can automatically adjust this to a clean $22.99 or $23.00.
- Copy from Compare-at Price: End a sale instantly by resetting the selling price to match the original “Compare-at” price.
- Calculate from Cost: Automatically set your selling price based on what you pay, plus a markup percentage.
Adjusting the Compare-at Price
- Set, Increase, Decrease, or Multiply: These options work exactly the same as the selling price actions, but they apply to the crossed-out “original” price.
- Copy from selling price: This takes your current selling price and moves it to the Compare-at field. This is the perfect first step for setting up a storewide sale.
- Remove it completely: Erase the Compare-at price from selected products, removing the crossed-out “sale” look from your store.
Adjusting Your Supplier Cost
- Set, Increase, Decrease, Multiply, or Round: Adjust your internal costs up or down when your supplier changes their pricing.
- Remove it completely: Clear the cost field entirely from selected items.
Step-by-Step Examples
Example 1: “I want to raise all my prices by 10%”
- Open the app and go to Edit Products.
- Add filters to target specific products, or skip this step to affect your entire store.
- Under Field to edit, select Price.
- Under How to edit, select Increase by percent (%).
- In the value field, type 10.
- Click Preview to verify the changes, then click Start Edit.
Example 2: “I want to run a sale with crossed-out prices”
Creating a visible sale takes two quick edits:
Step A: Save current prices as the “original” price
- Filter for the products going on sale.
- Set Field to edit to Compare-at Price.
- Set How to edit to Copy from Price and click Start Edit.
Step B: Reduce the actual selling price
- Keep the same filters.
- Set Field to edit to Price.
- Set How to edit to Decrease by percent (%).
- Type 20 (for 20% off) and click Start Edit.
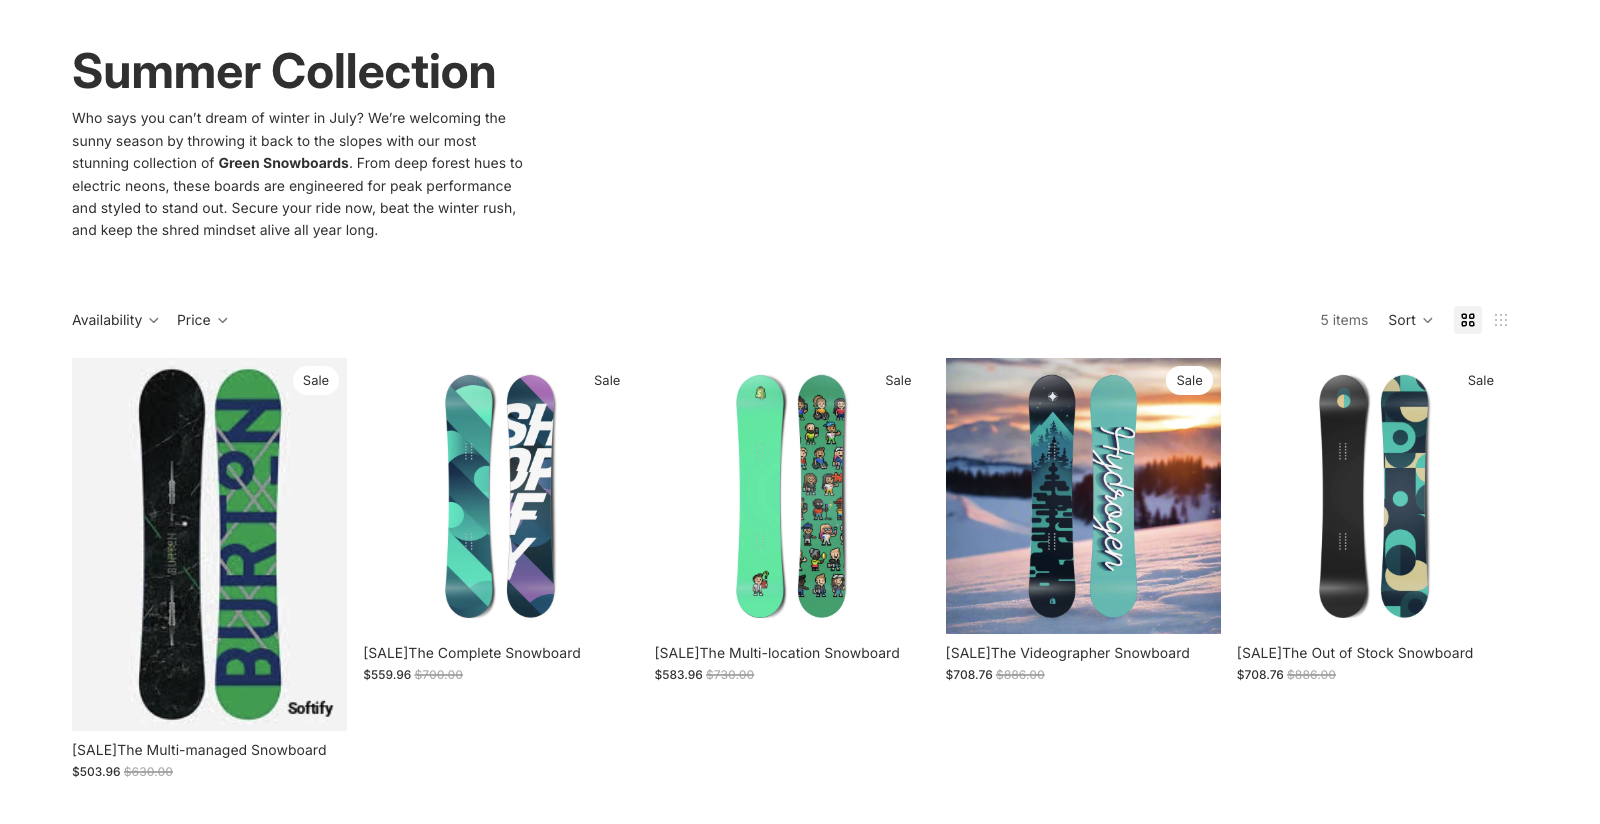
Your store will now display the original price crossed out next to the new discounted price! When the sale ends, simply use the Restore feature in your History tab, or copy the Compare-at price back to the Selling price.
Example 3: “I want to clean up my prices so they all end in .99”
- Set Field to edit to Price.
- Set How to edit to Round price.
- Configure it to round to the nearest dollar ending in .99, and click Start Edit.
Helpful Tips
- Use percentages for varied prices: If your items range from $10 to $500, a flat $5 increase barely affects the expensive items but heavily impacts the cheap ones. A 10% increase keeps pricing proportional.
- Round after percentage changes: Percentage adjustments often create awkward totals like $19.03. Always follow up with a rounding edit to keep your storefront looking professional.
- Test it first: If you are unsure, apply your filters to isolate just 2 or 3 products. Run the edit, check your Shopify admin to ensure it looks right, undo it, and then confidently run the full batch.
- Mistakes happen (and that’s okay!): Every price change is safely logged in your History page. If you make an error, you can reverse it with a single click using the restore feature.
Plan Limits
Price editing is available on all plans, including the Free tier. The only difference is the number of products you can update at one time:
| Plan | Products per Edit |
| Free | 50 |
| Basic | 10,000 |
| Advanced | 100,000 |
| Enterprise | Unlimited |