This guide explains how to export your product data to a spreadsheet file for review, backup, or external editing.
What is Exporting?
Exporting downloads your product data from Shopify into a spreadsheet file that you can open in Excel, Google Sheets, or any spreadsheet program. This is useful when you want to:
- Review your catalog: See all your products and their details in a spreadsheet format.
- Make changes externally: Edit product data in a spreadsheet and then import the changes back.
- Share with others: Send product data to your supplier, accountant, or team members.
- Create a backup: Save a copy of your product data in case you ever need to restore it.
- Analyze your data: Use spreadsheet features like sorting, filtering, and charts to understand your catalog.
File Formats
You can export your data in three formats:
- CSV (Comma-Separated Values): A simple text-based file that can be opened by any spreadsheet program. This is the most universal format.
- CSV (Spreadsheet-Compatible): The same as above, but with a special marker at the beginning of the file that tells Excel and Google Sheets to display special characters correctly (like accented letters or currency symbols). If you plan to open the file in Excel, choose this to avoid garbled characters.
- Excel (XLSX): A native Excel file with full formatting support. Available on the Advanced plan and above.
What Data Can You Export?
You can choose exactly which columns to include in your export file. You don’t have to export everything; just pick the data you need.
Product Information:
- Product ID, Title, Handle, Description, Vendor, Product Type, Tags, Status, Template, Category, Country of Origin, and dates (Created, Updated, Published).
URLs:
- SEO Page Title, SEO Page Description, URL Handle, Admin URL, Storefront URL, and Preview URL.
Images:
- Image URLs (up to 6 per product), Image IDs, Image Alt Text, and Main image dimensions.
Variant Details:
- Variant ID, Title, Position, SKU, Barcode, Price, Compare-at Price, Cost, Options 1-3 (Name and Value), and dates.
Inventory & Shipping:
- Inventory Quantity (per warehouse location), Weight, Inventory Policy, Tracking, Taxable status, Tax Code, Requires Shipping status, HS Code, and Country/Province of Origin.
Publishing & Custom Data:
- Collections the product belongs to, Sales Channels, Published status, plus Product and Variant metafields.
Step-by-Step: Creating an Export
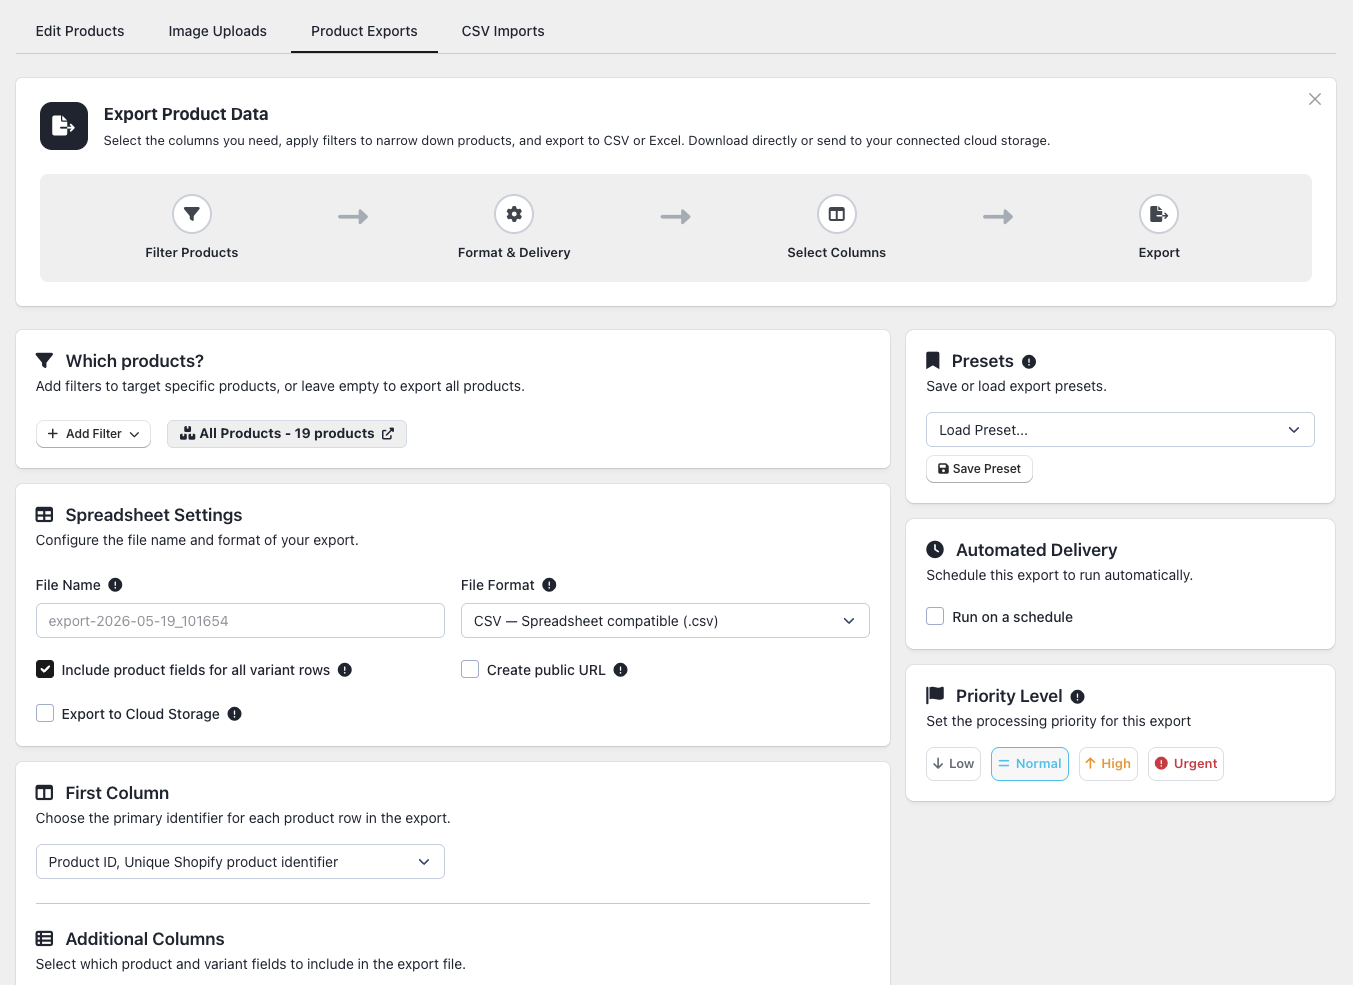
- Go to Edit Products > Export.
- Filter your products (optional): Target specific products or skip to export everything.
- Select columns: Check the boxes next to the data you want to include. Columns are grouped for easy browsing.
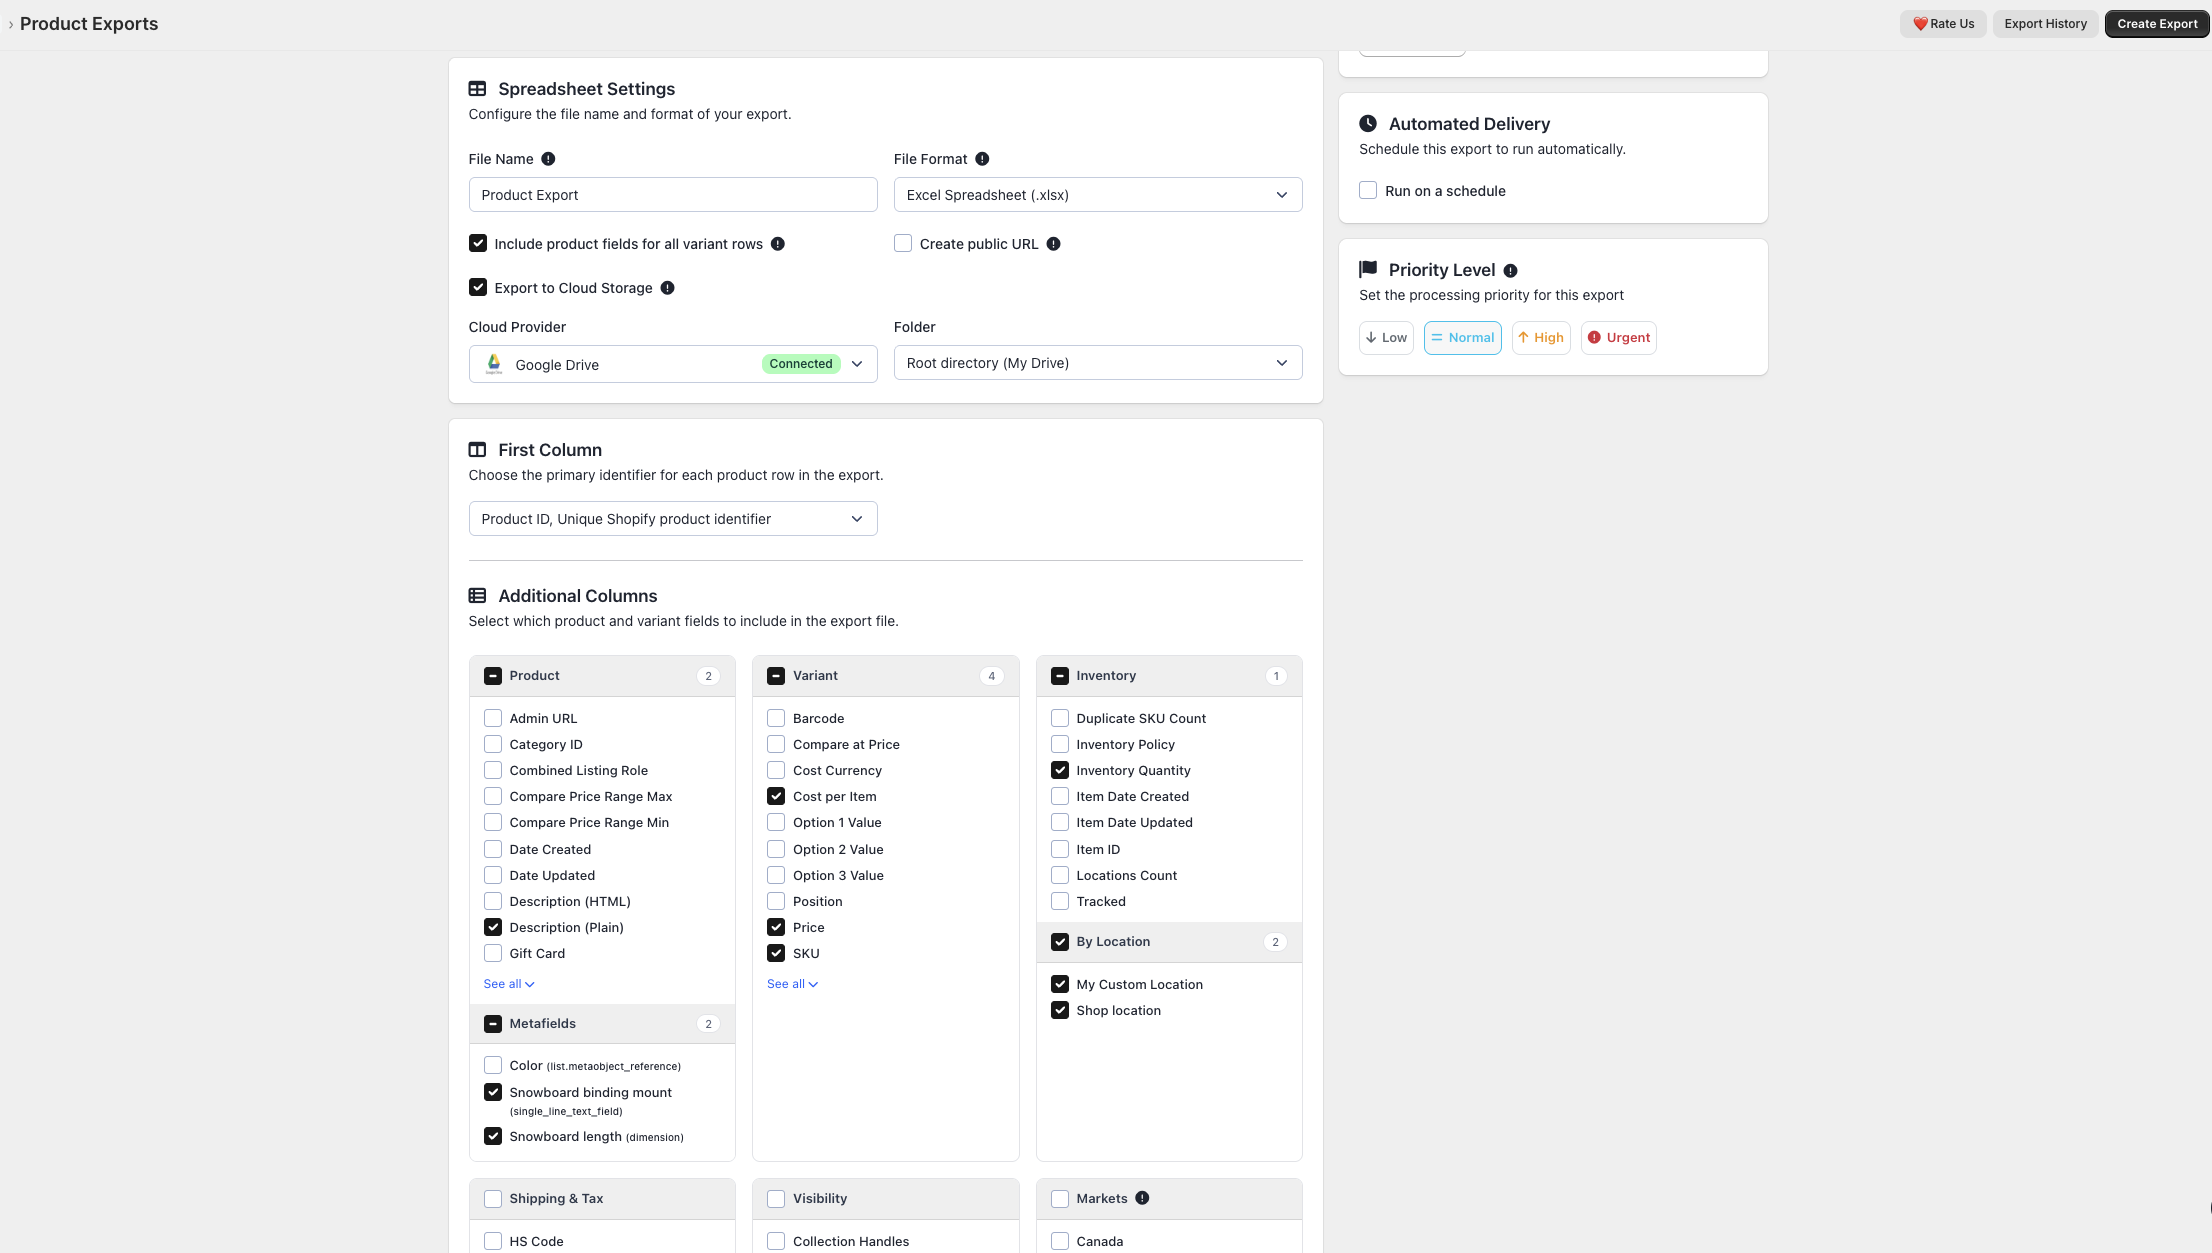
- Choose the file format: CSV, CSV (Spreadsheet-Compatible), or Excel.
- Choose a product identifier: Options include Product ID, Handle, or Title.
- Cloud delivery (Advanced+): Automatically send the export file to your connected Google Drive or Dropbox folder.
- Click Start Export.
- Wait for the export to finish.
- Download your file: Save it to your computer immediately or find it later under History > Exports.
You will also receive an email notification when your export file is ready, which you can turn off in your preferences.
Advanced Features
Using Export Presets
If you regularly run the same export (e.g., a weekly inventory report), you can save the setup:
- Configure your filters, columns, and format.
- Click Save Preset and name it.
- Next time, just click Load Preset to automatically fill in all your settings.
Sending Files to Cloud Storage
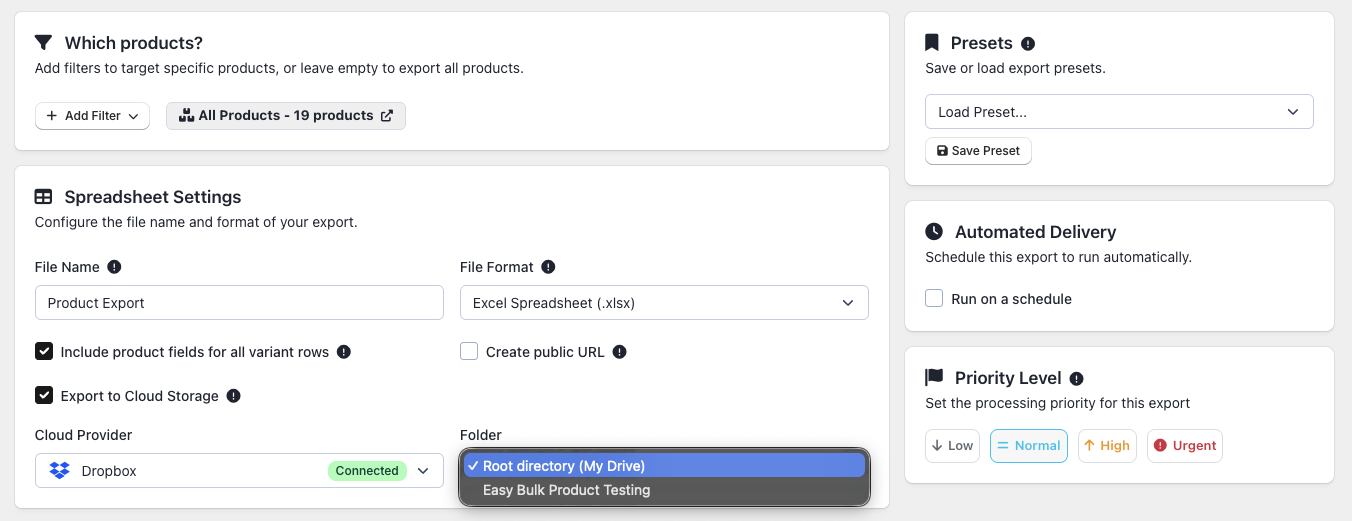
Users on Advanced or higher plans can send exports directly to the cloud:
- Ensure your cloud storage is connected via Settings > Cloud Storage.
- During export, enable Send to cloud storage, select Google Drive or Dropbox, and pick your destination folder.
Understanding the Export File
- Each row represents one variant: If a product has 3 size variants, it takes up 3 rows, with product-level information repeated on each row.
- Products with no variants take up 1 row.
- The first row contains the column headers.
Helpful Tips
- Be selective: Only include the columns you need for a faster, smaller file.
- Filter first: Exporting 100 relevant products is much faster than downloading your entire 10,000-product catalog.
- Download promptly: Files are stored temporarily (7 to 90 days depending on your plan).
Plan Details
Exporting requires a Basic plan or higher.
| Feature | Free | Basic | Advanced | Enterprise |
|---|---|---|---|---|
| Export access | No | Yes | Yes | Yes |
| Monthly exports | – | 50 | 250 | Unlimited |
| Excel (XLSX) format | – | No | Yes | Yes |
| Cloud storage delivery | – | No | Yes | Yes |
| File kept for | – | 7 days | 30 days | 90 days |